Have you ever discovered something BIG and then a few months later you start seeing it everywhere? I came across this something a year or two ago and I’ve been keeping it a secret…until all the TikTok and YouTube DIYers figured it out & shouted it from the rooftops (and no I’m not mad about it) but now it’s time for me to come forward with the information I have. This thing I’m talking about is called Pole Wrap and it’s basically a bunch of slatted wood pieces matted together on a flexible, easy-to-cut, & very thin backboard. Pole wrap is awesome because it makes achieving the ‘fluted trend’ very easy + you can bend it any which way so it’s easy to use and wildly easy to cut. Did I mention it’s easy to cut? Yeah, you don’t even need a saw for this thing, just some scissors and an Exacto knife. So it’s perfectly designed for lazy DIYers (like me) who don’t have or don’t want to use saws or a lot of crazy power tools (although if you have power tools, it wouldn’t hurt to use them either).
I’ll start right off the bat saying the price can really vary depending on HOW much you need (anywhere from $60 for the smaller size to $220 for the big 8ft role) but if you’re trying to get a fluted look for a cabinet face, piece of furniture, or on your wall, the alternative is buying a TON of individual slats and putting them together which is both a money and time suck and not to mention would be extremely annoying. As I’ll explain more in this post, there are A TON of different things you can use pole wrap for, but this video will show you its intended use (hint: it will make a lot of sense why it’s called pole wrap), and it will show you how easy it is to use.
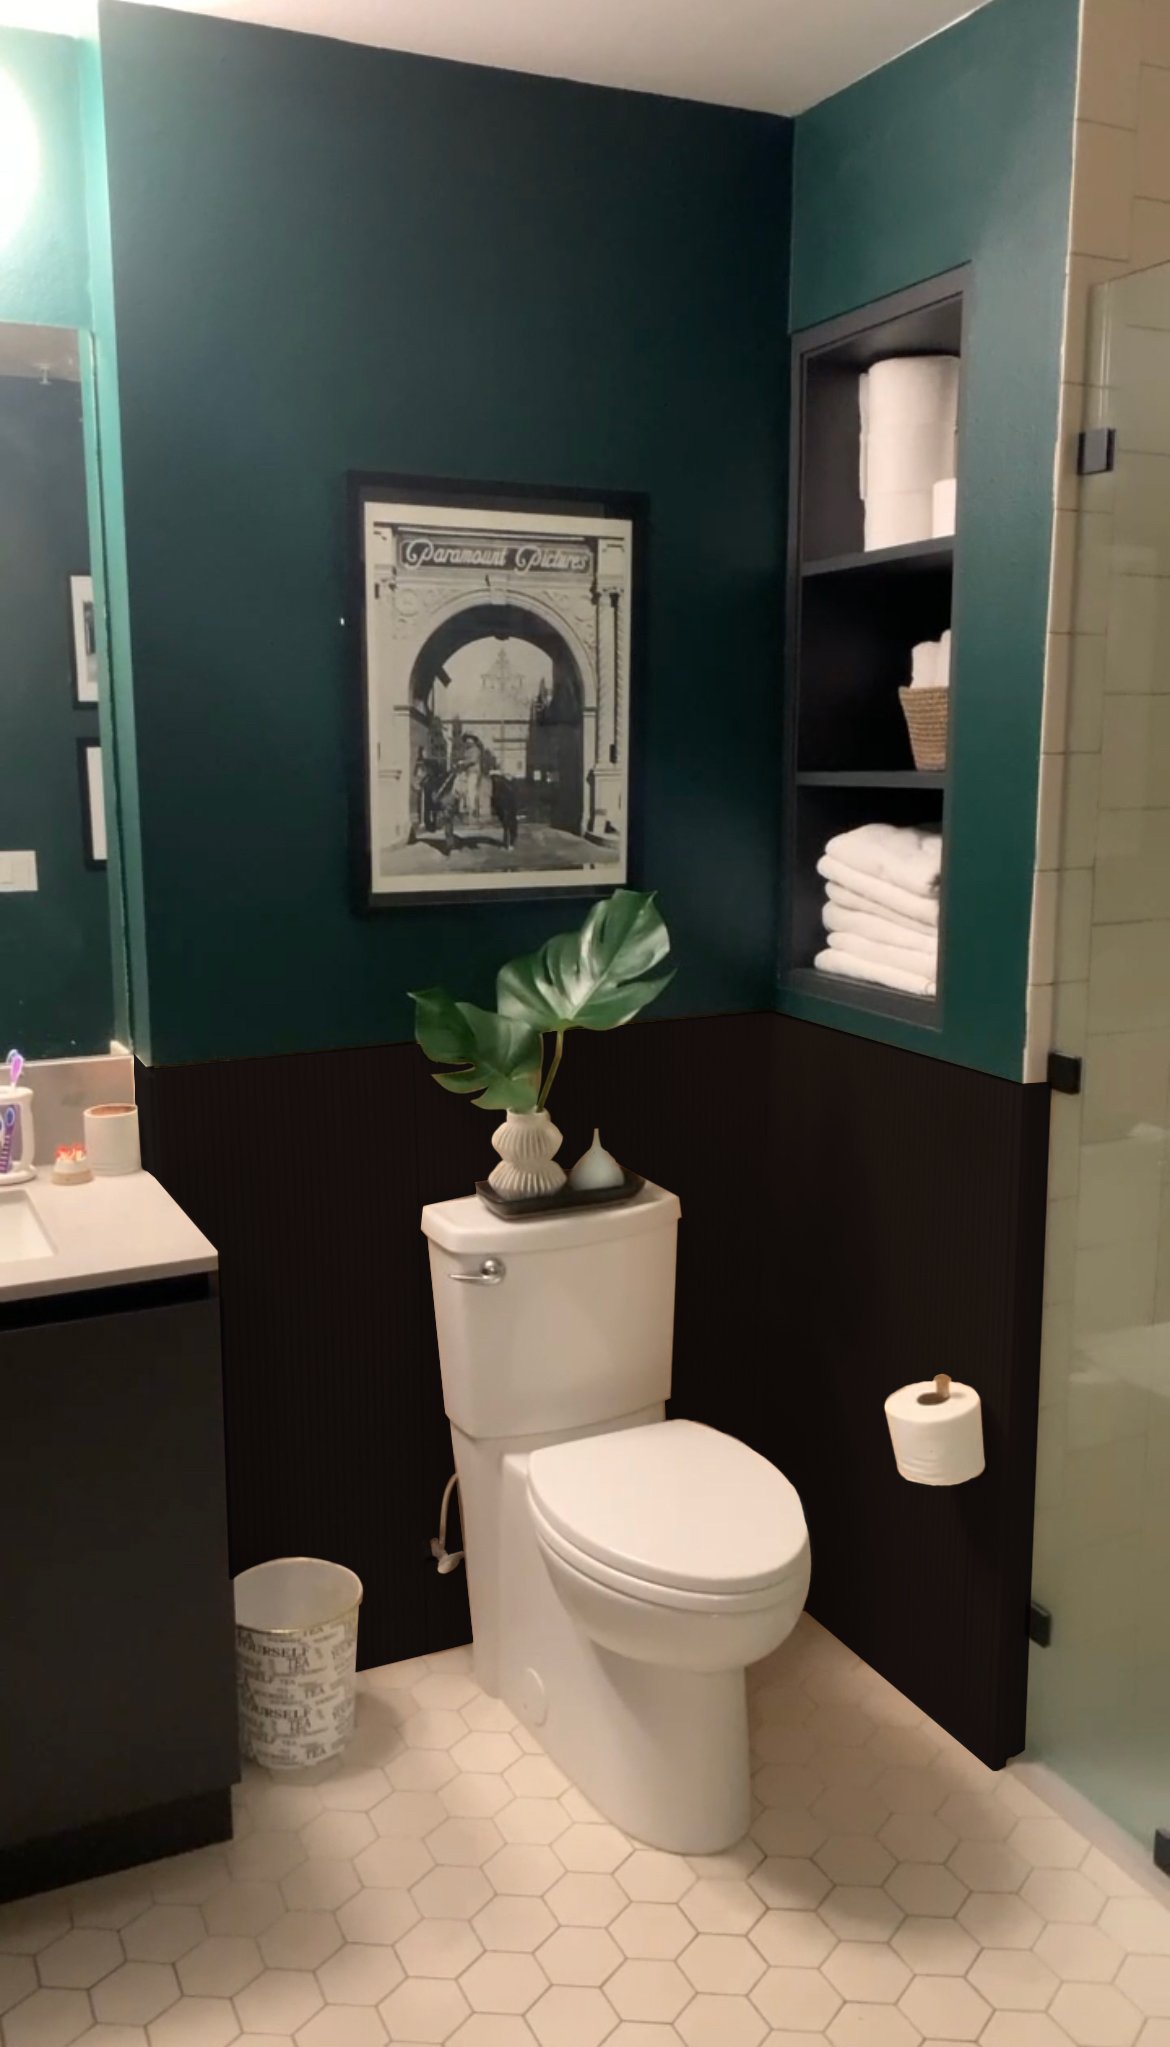
Now, let me back it up a bit and explain how and why I “discovered” pole wrap (well, personally discovered it…I’m sure a lot of DIYers had already figured this out a while ago). Basically, I was looking to cover up this tan tile I have in my bathroom that I just do not vibe with (I like a clean black and white usually so ‘tan’ is not normally a color I gravitate toward in design.
Tan Tile Troubles
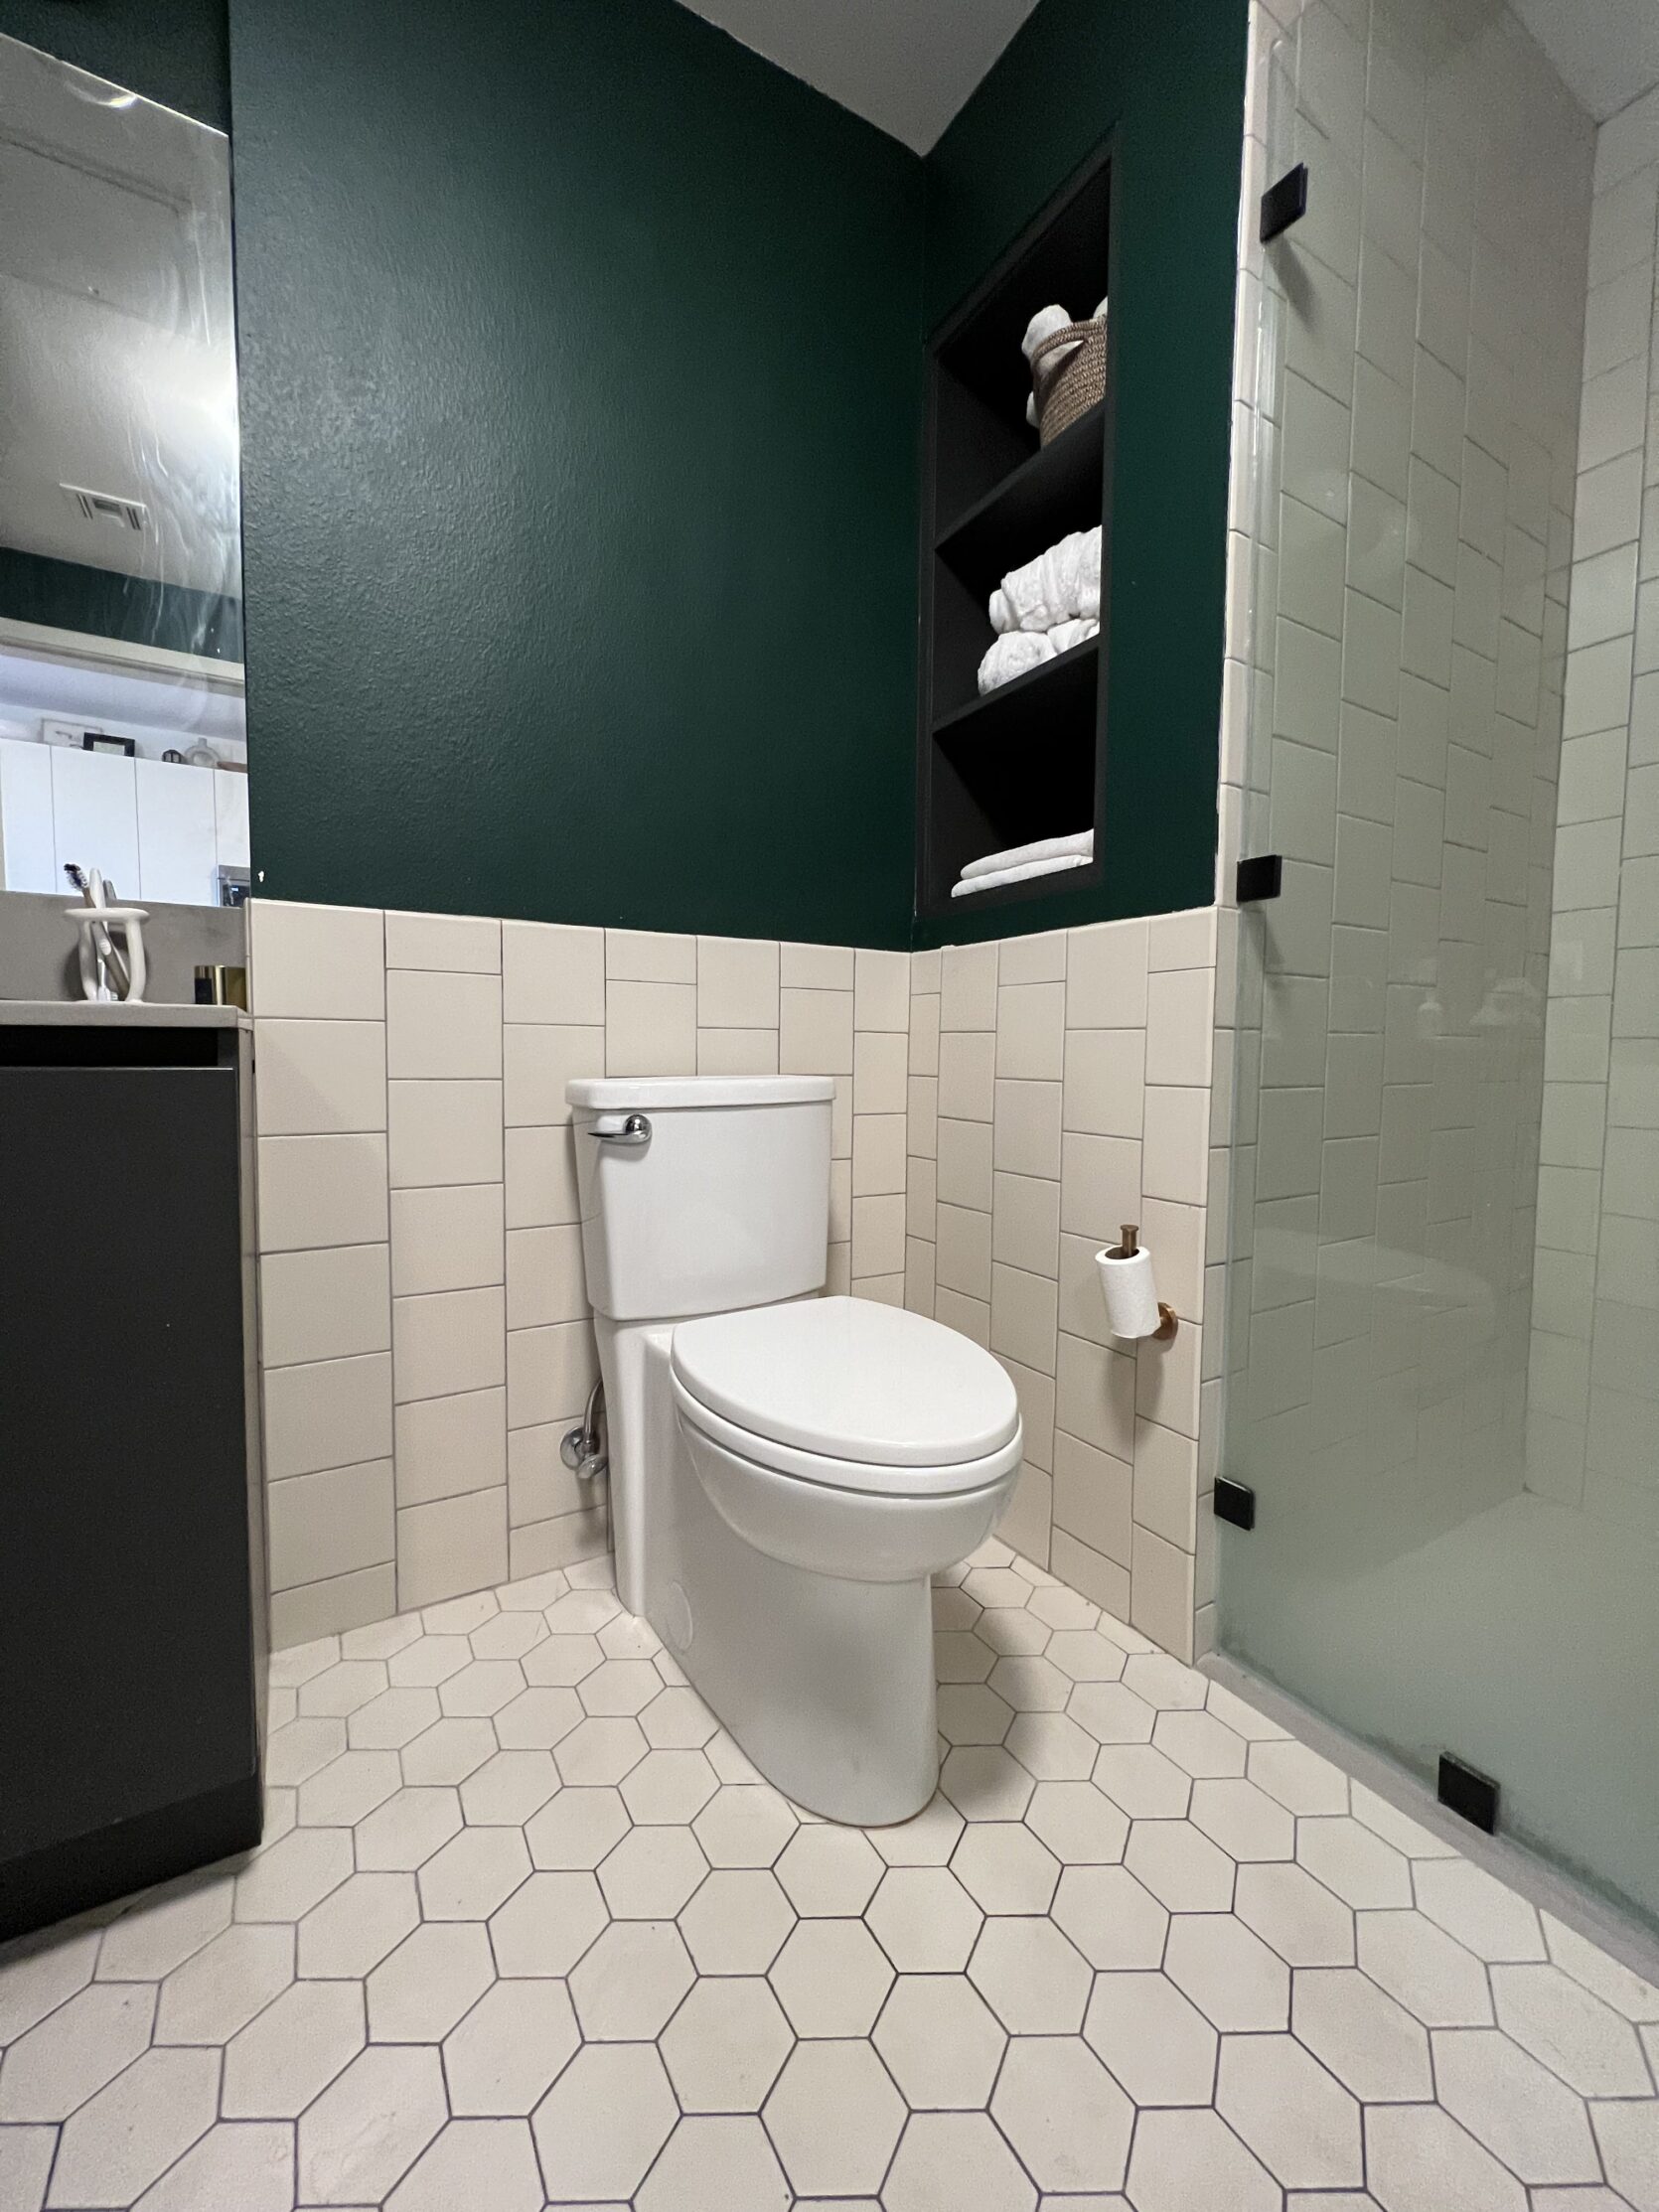
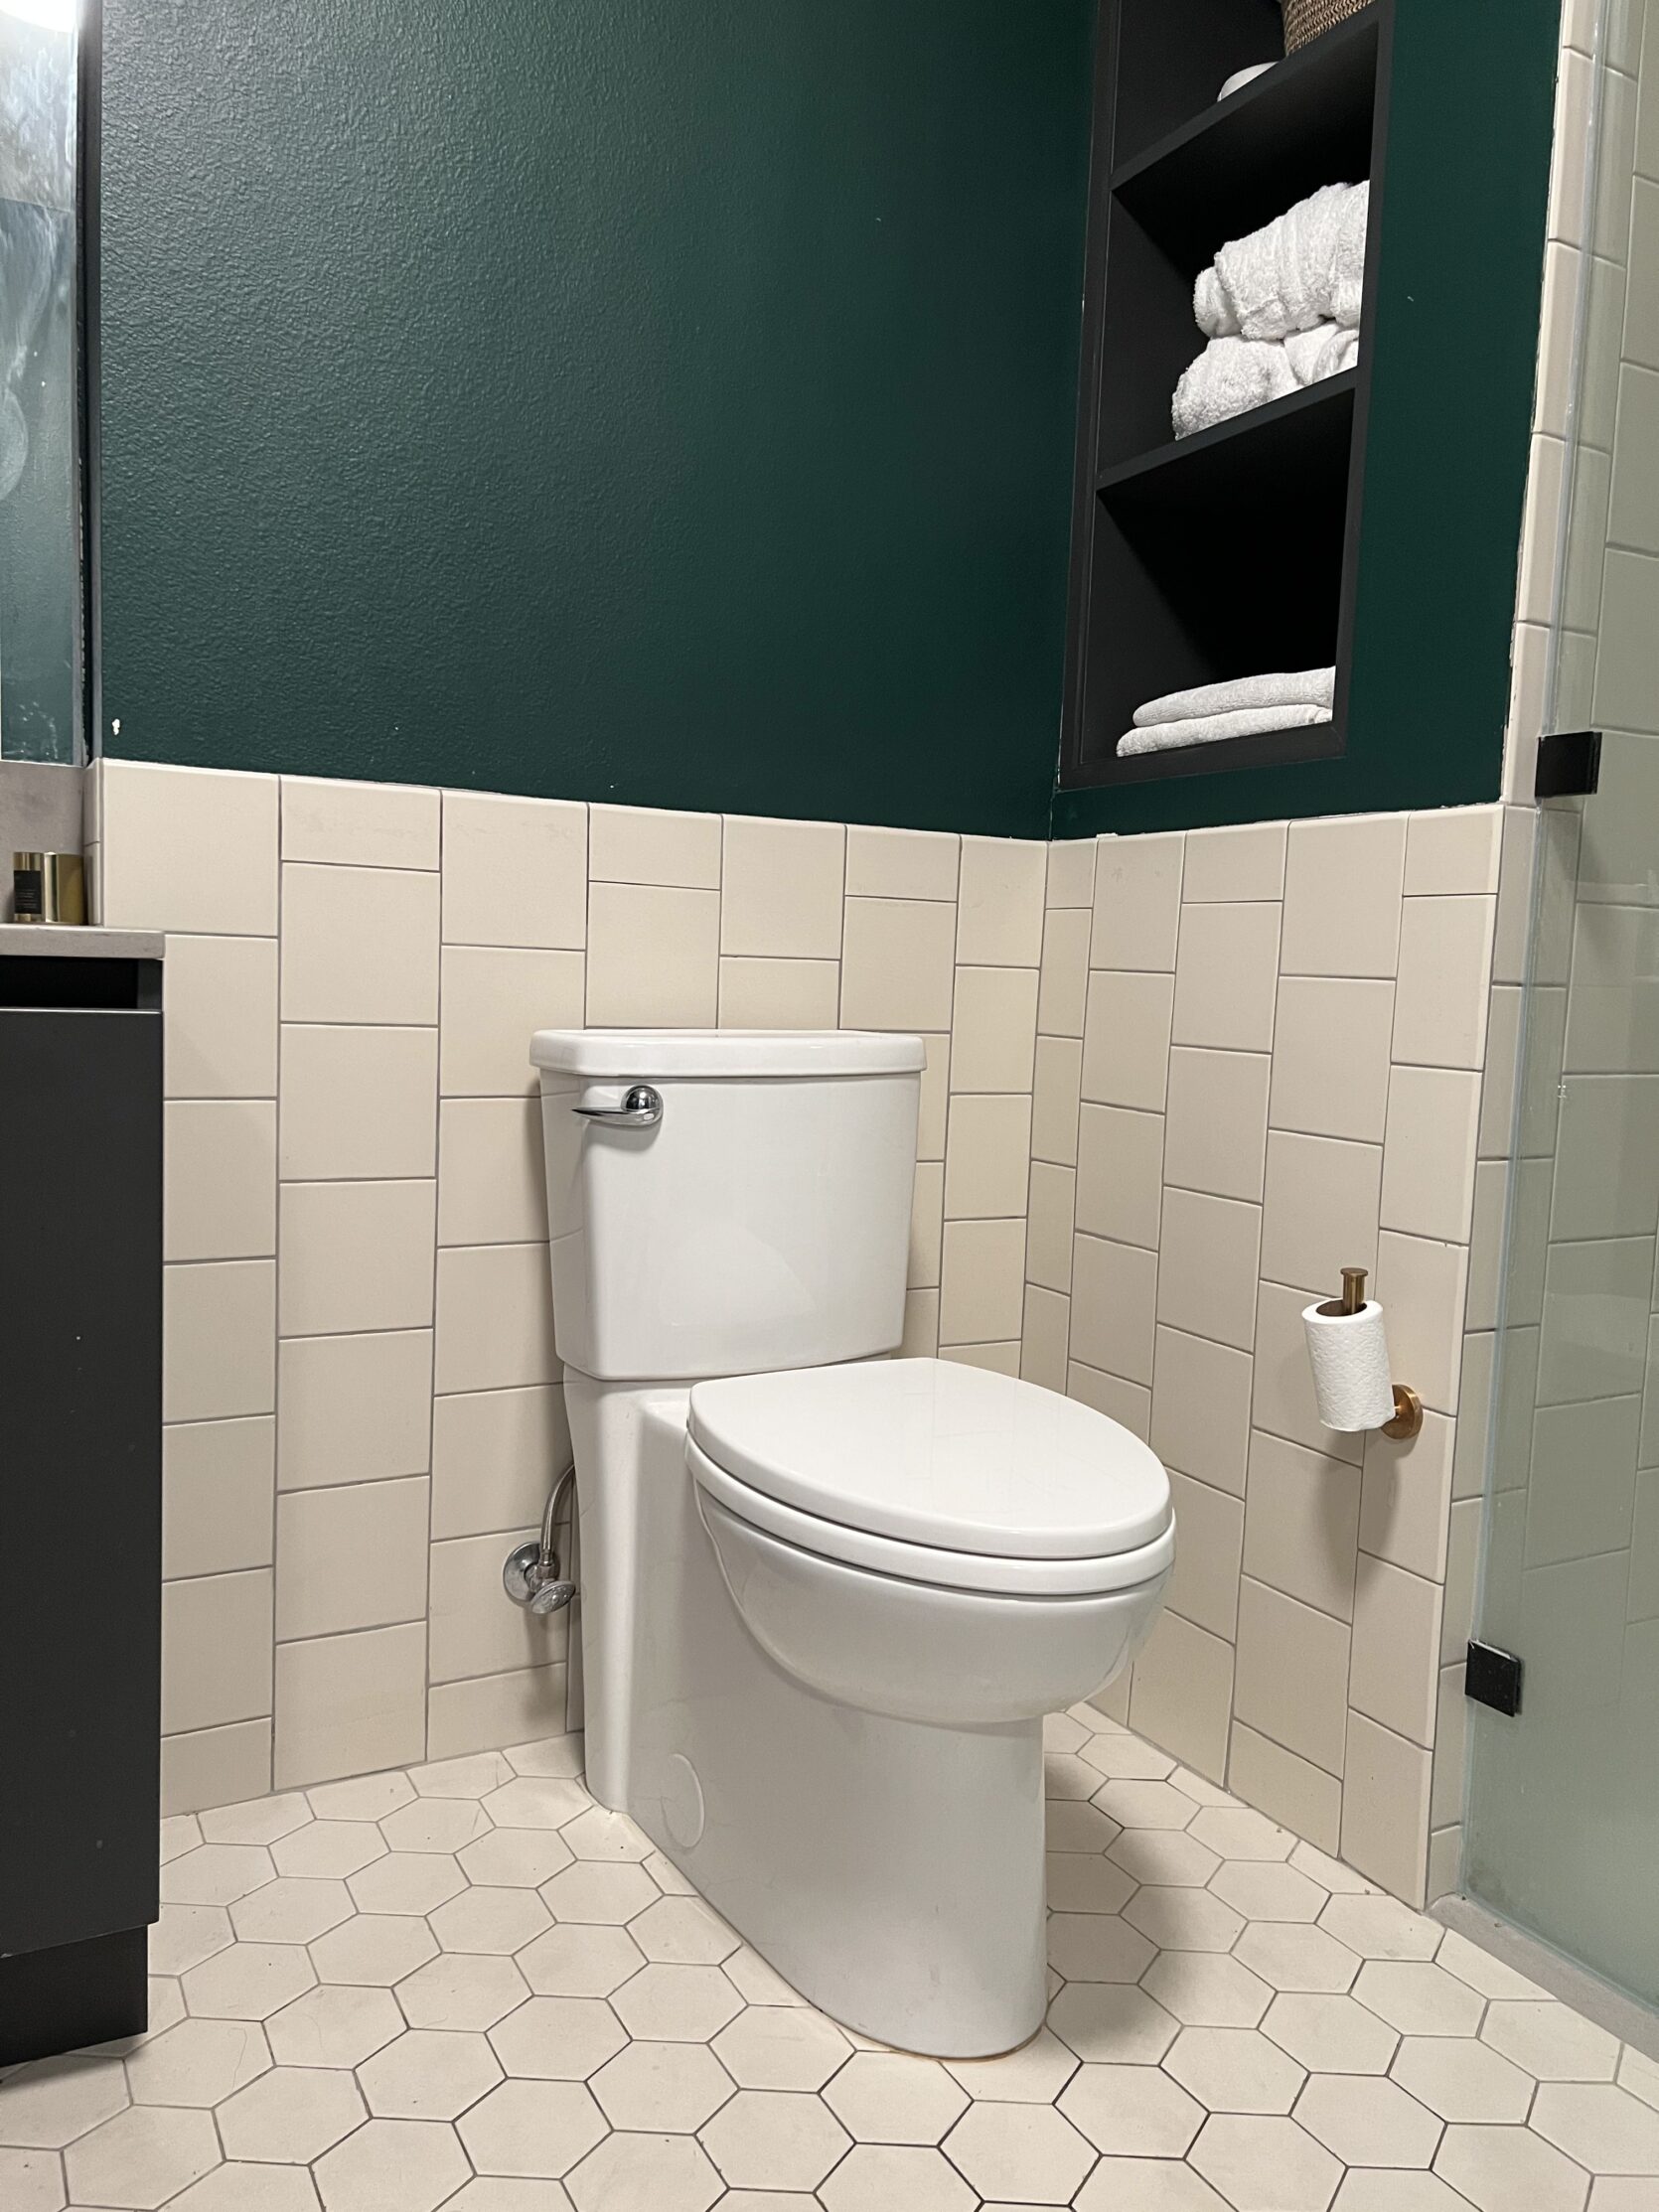
So, to minimize the amount of tan tile happening in this bathroom (especially on the walls), my plan was to paint the walls a chic moody green (which I did) and then do a board and batten type thing halfway up the wall (covering the tile) but with the ‘fluted’ look. BUT I didn’t want to spend time and money cutting individual slats and then nailing them to a board (it sounded like hell) so I was desperate to find other alternatives…
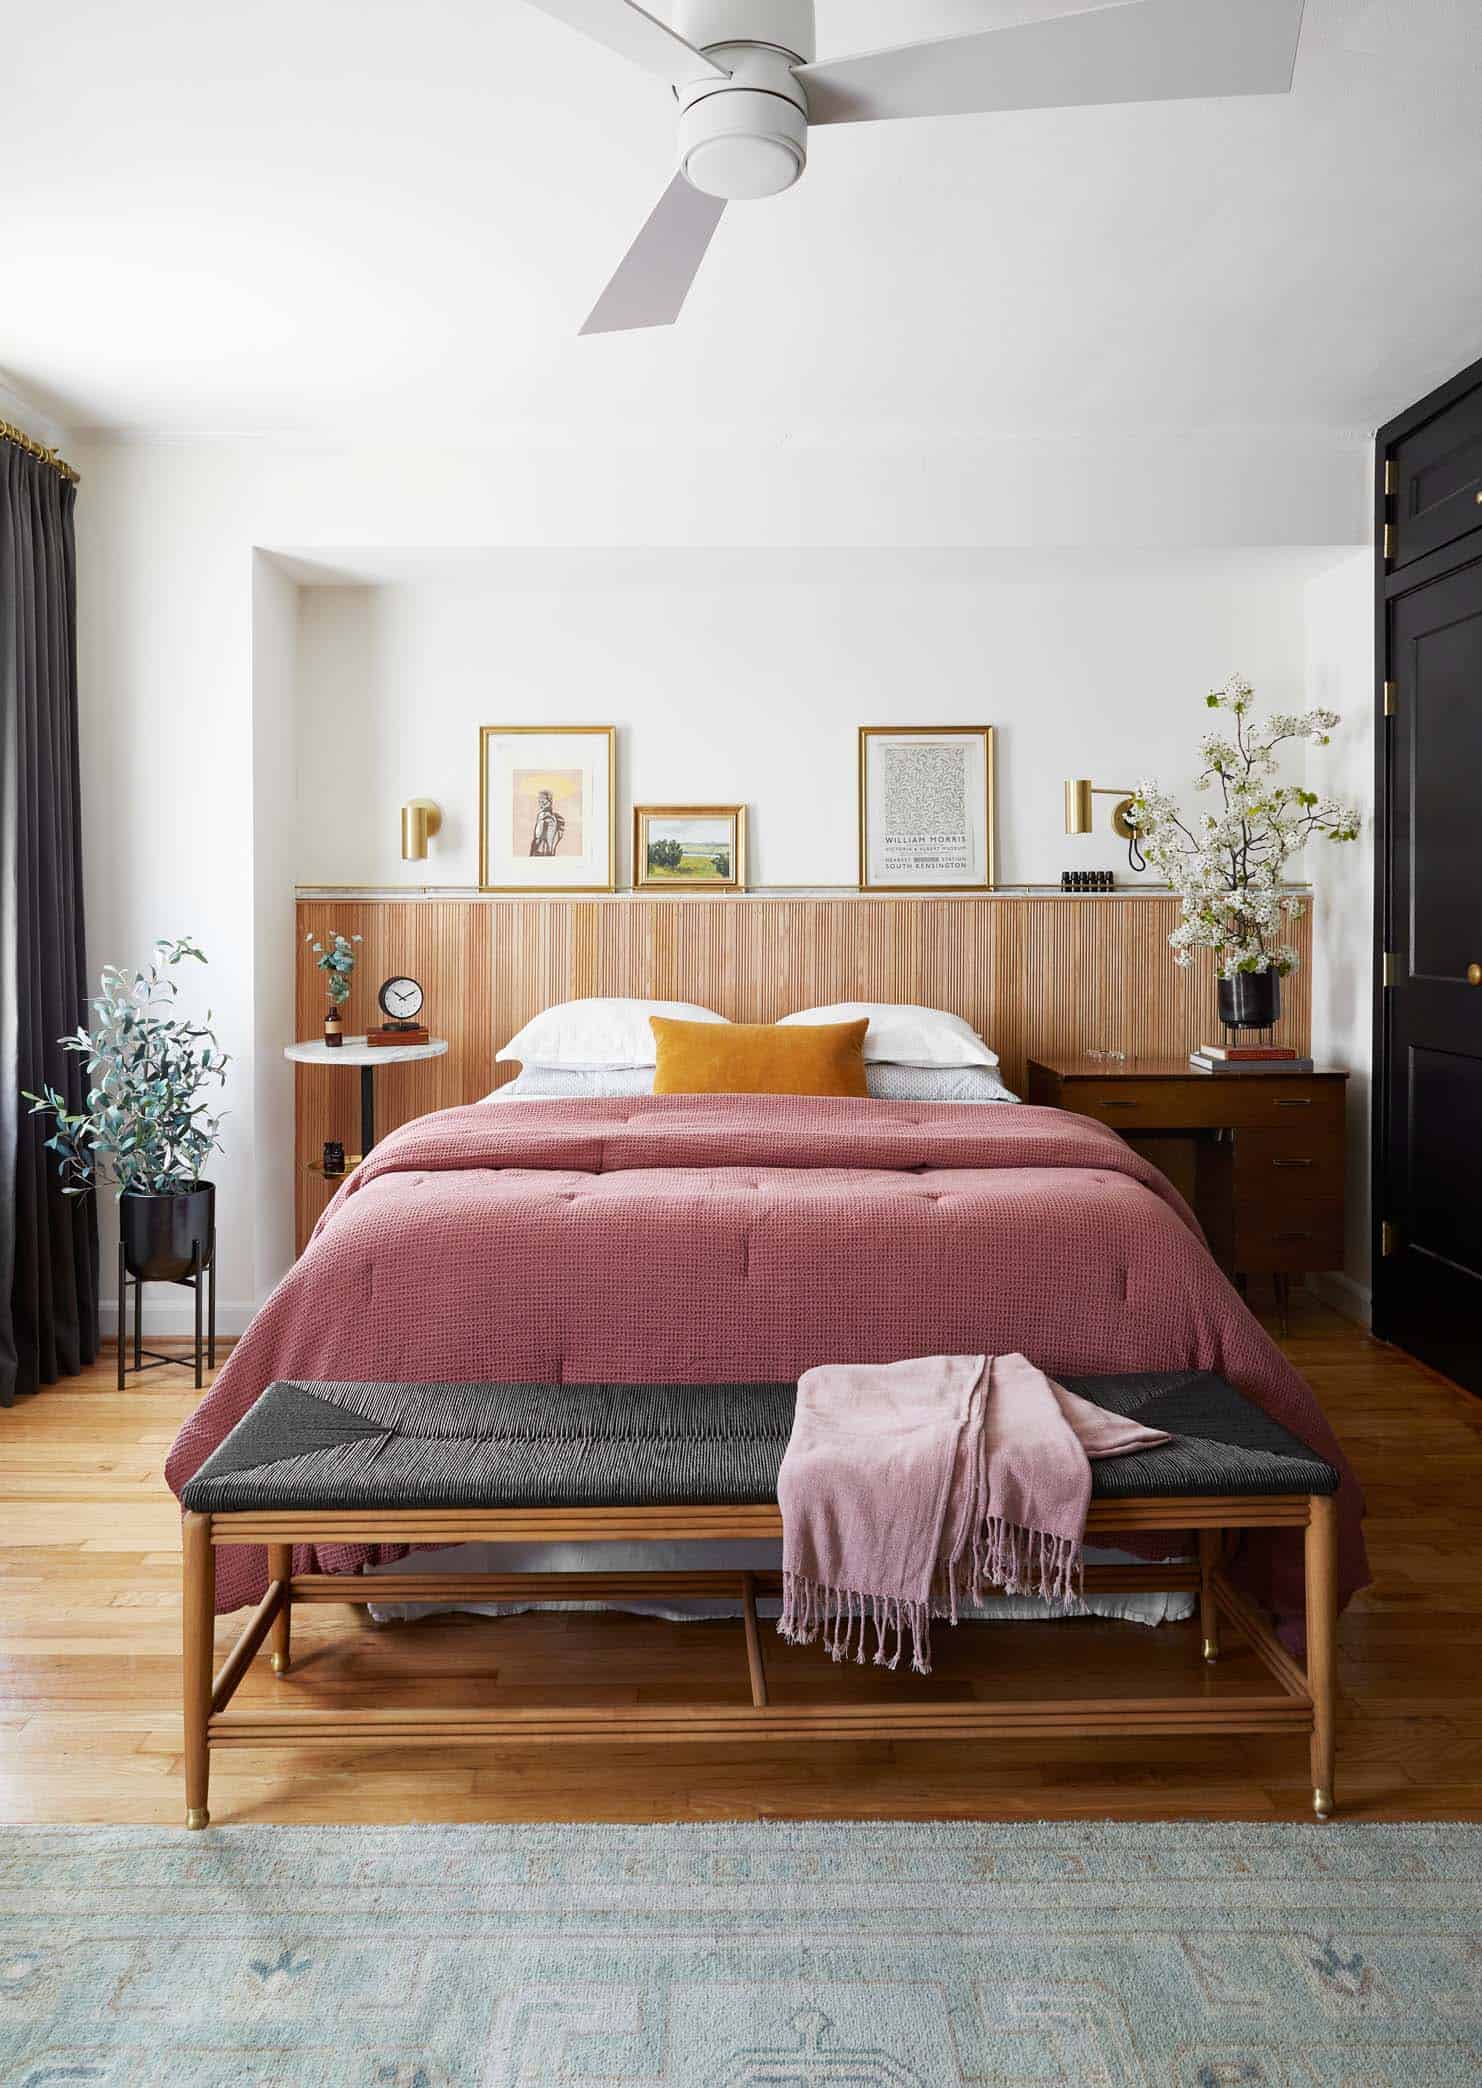
After seeing Malcolm’s headboard DIY (above), I started considering looking for mouldings or some sort of larger piece I could put side by side like he did to avoid buying and cutting hundreds of individual slats. Unfortunately for me, most of the moulding options were too tall and too thick to work in my bathroom, so I kept on hunting online at Home Depot until I finally came across EXACTLY what I was looking for. Sweet, sweet pole wrap. I purchased a stupidly large amount of it (because I was sure I could figure out another use for it if it didn’t work in my bathroom). And I shipped it to my store so I could have them cut it down to size for me. When I got to there, I wheeled my $200 worth of pole wrap to the back and asked if they would cut it down. The man that was working there took one look at it and was like “uh, we only cut wood, wtf is this?” After a few minutes of me begging I finally took the L and wheeled my 8ft of pole wrap to my VW bug and shoved it all inside to bring it home (it was a miracle I got my trunk to close). I hauled it up to my apartment and threw the pole wrap on the floor, baffled with how I could cut this thing down as someone whose entire toolbox includes 2 screwdrivers and a hammer. “I guess I’ll try scissors????” I thought to myself, desperate to get this thing smaller. I had HEAVY disbelief when I began, but to my surprise, I cut the entire thing using a dull pair of scissors and it was very easy. Was the edge perfect?? Absolutely not but I was planning to put a little shelf on top of it so it didn’t matter. Let me show you first with a video, then with photos (make sure to watch through the ad to see the video 🙂
Here’s what it looked like on the left, and on the right was my rendering of how I was planning to paint it:
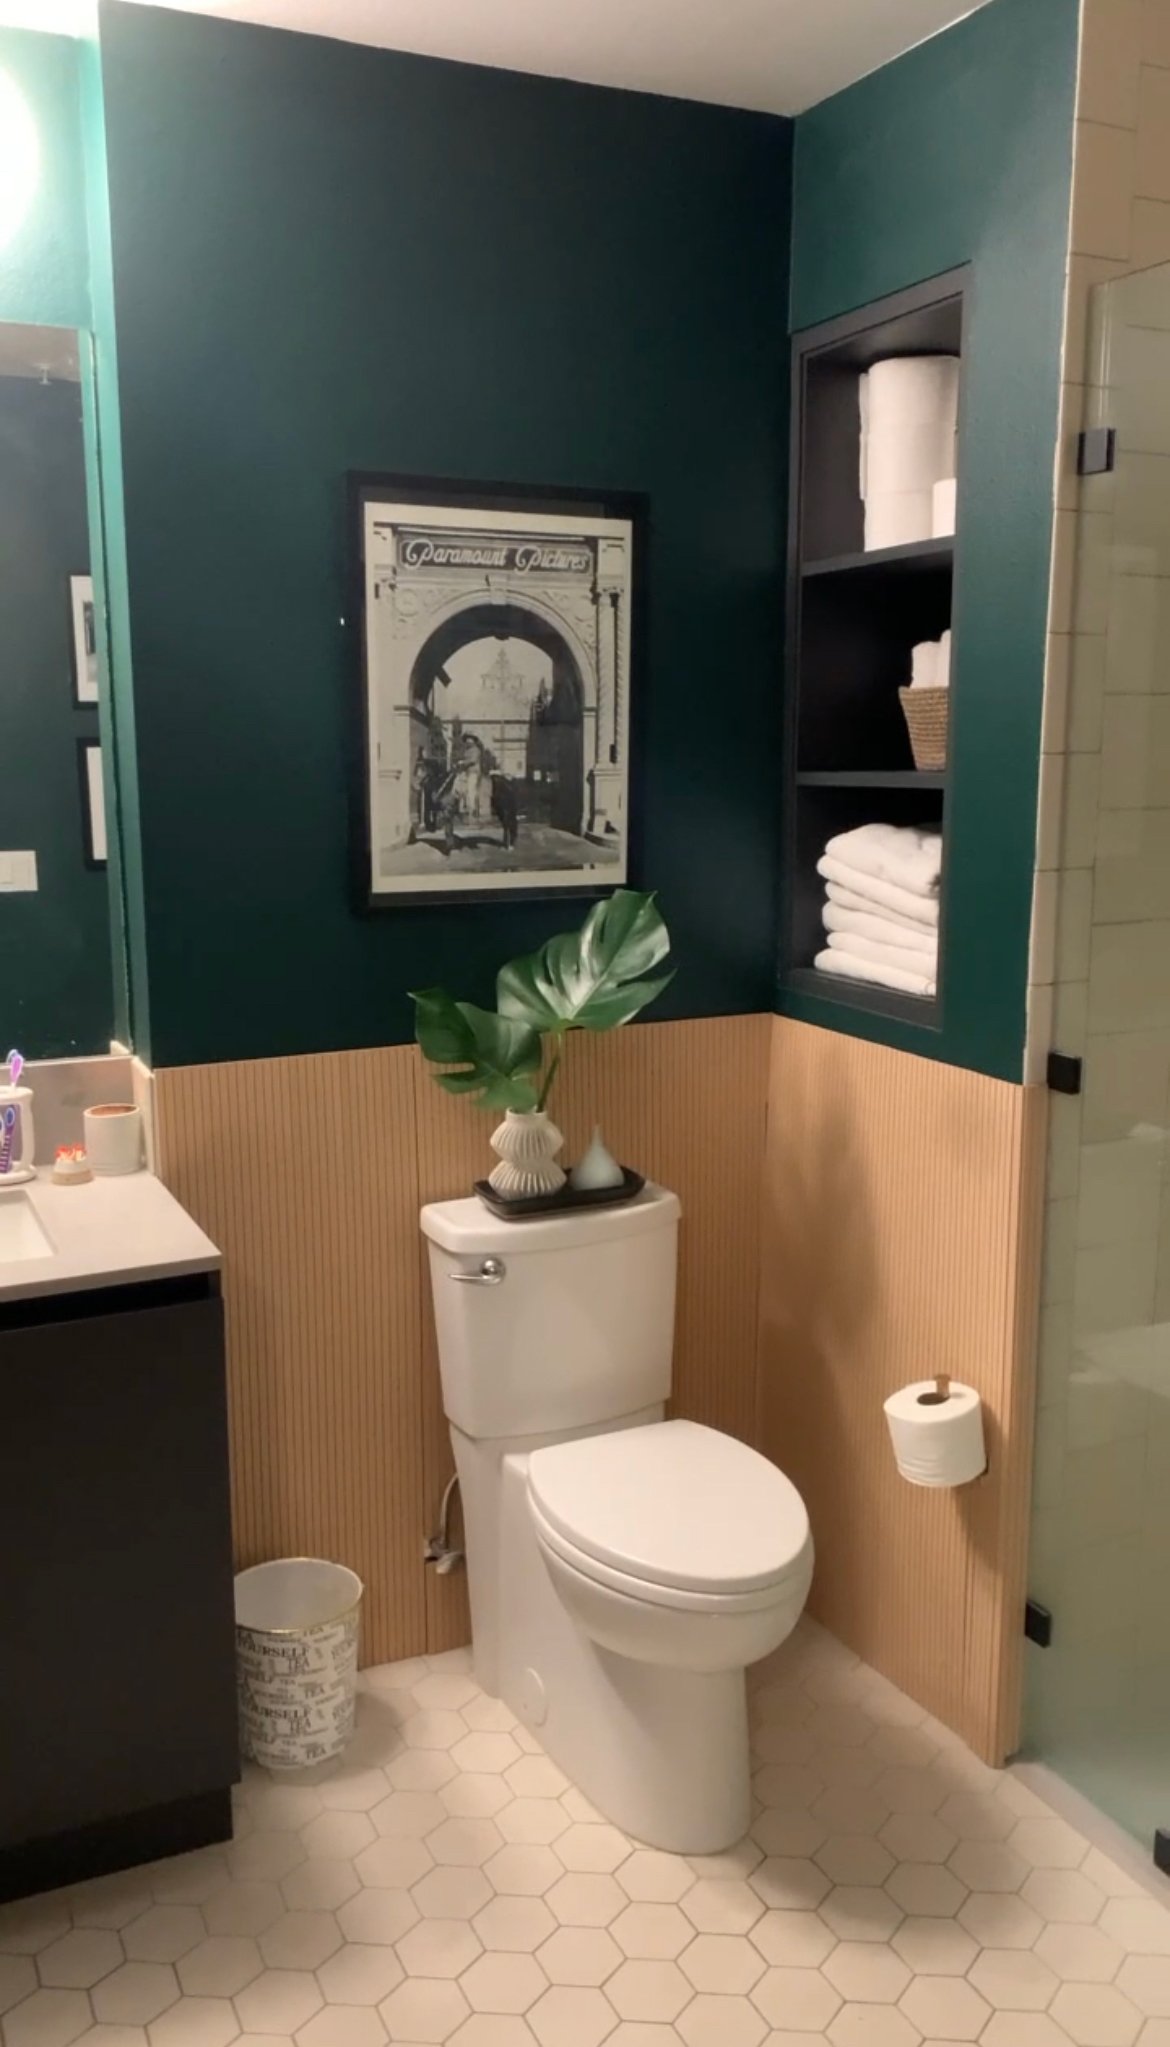
Ultimately, this design wasn’t wowing me and I grew less and less fond of the green paint color I picked after living with it, so I decided to retreat and not go with this design (but I’m THRILLED with what we’ve got planned for this space instead). So no, we’re not doing the pole wrap/paint situation anymore (although, it was a really cool solution that I still want to incorporate SOMEWHERE in my apartment). But, I thought it might be fun to show you what almost was (and to show off the cool and weird product I found in the process). The best part was after I put the pole wrap up, I started seeing it EVERYWHERE. So many DIY influencer people were using it and I am so excited to share it with you!!! So now that you know what pole wrap is and how I (almost) used it…let me show you some other creative ways to use it that will inspire ya (spoiler: there are a lot of cool IKEA hacks).

Abby Road Home NAILED her entryway console by using pole wrap & extending it all the way around her credenza (giving it a curved shape). She absolutely killed the fluted trend and the curved furniture trend and it made this piece look so incredible. Watch the full reel to see it in action (it’s very fun!)
Then in the same kind of world, I love how this DIYer hacked this IKEA bathroom vanity using pole wrap…GENIUS. The fluted drawer faces give this IKEA vanity a modern touch and it looks so special (and not a lot of $$$) to pole wrap just the drawer faces. It was around $100 which is much more affordable than doing the entire credenza 🙂
Here’s another great idea for the IKEA Kallax dresser. As a note, TikTok/IG have an ABUNDANCE of reels about pole wrap like this, so check there for other fun examples on how to use the stuff.
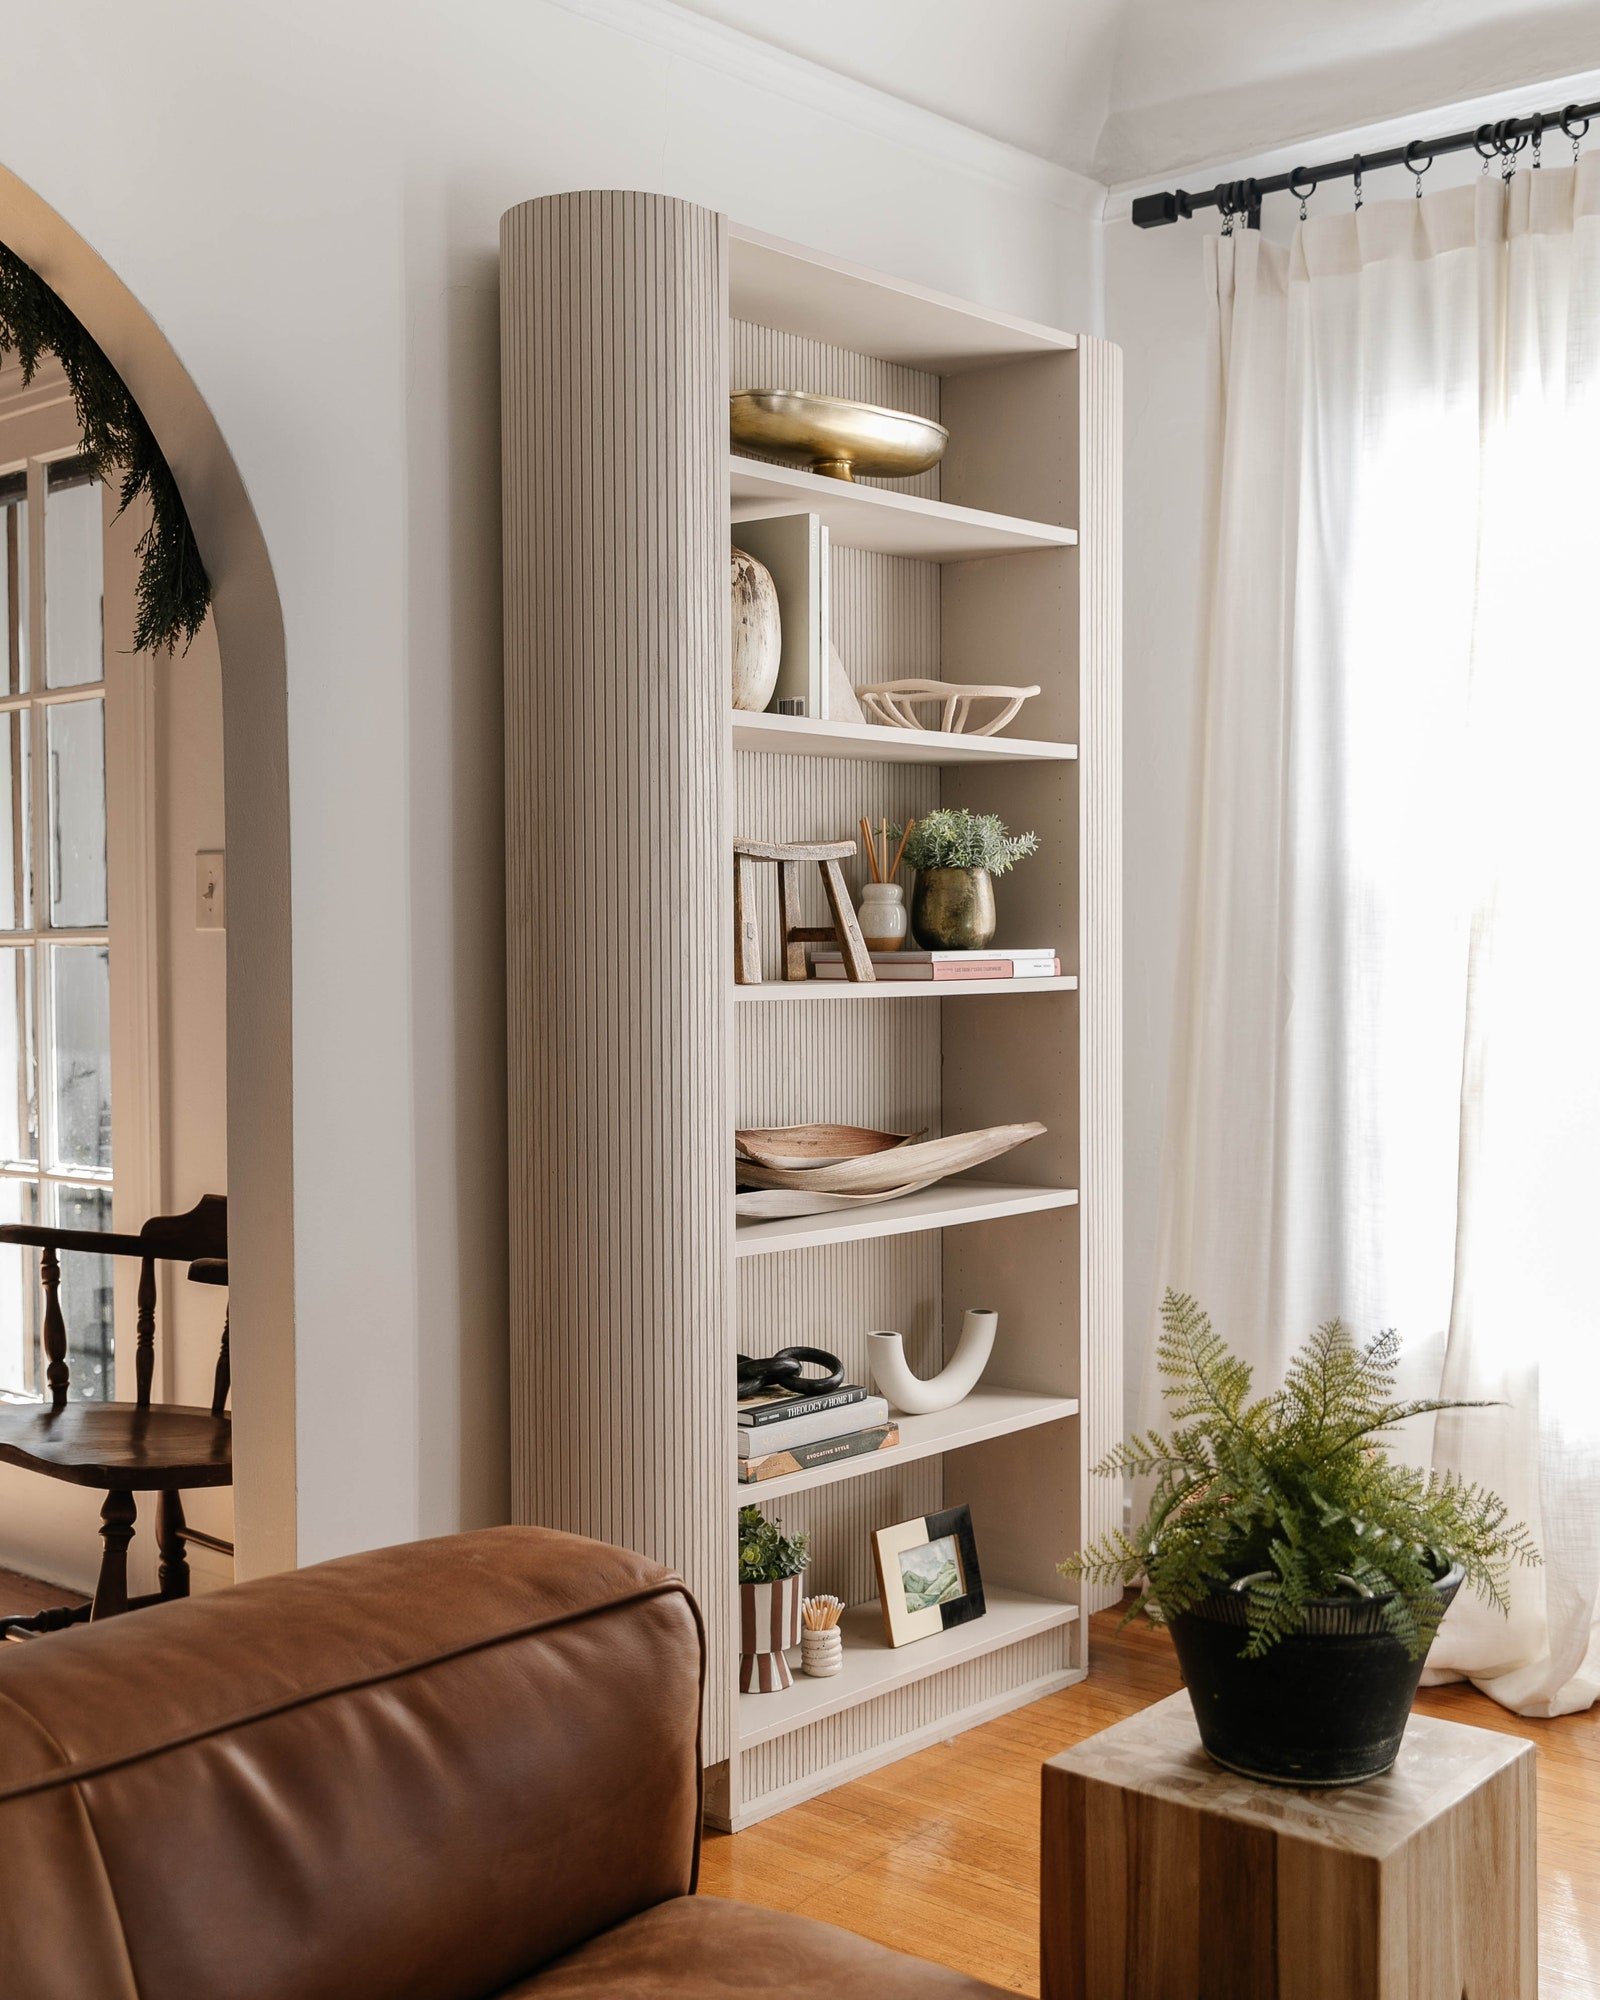
Lone Fox Home is one of my favorite follows because he comes up with super great DIYs and budget-friendly hacks. He did a challenge with AD to transform a billy bookcase and he nailed it by using pole wrap. It seriously looks so good!!
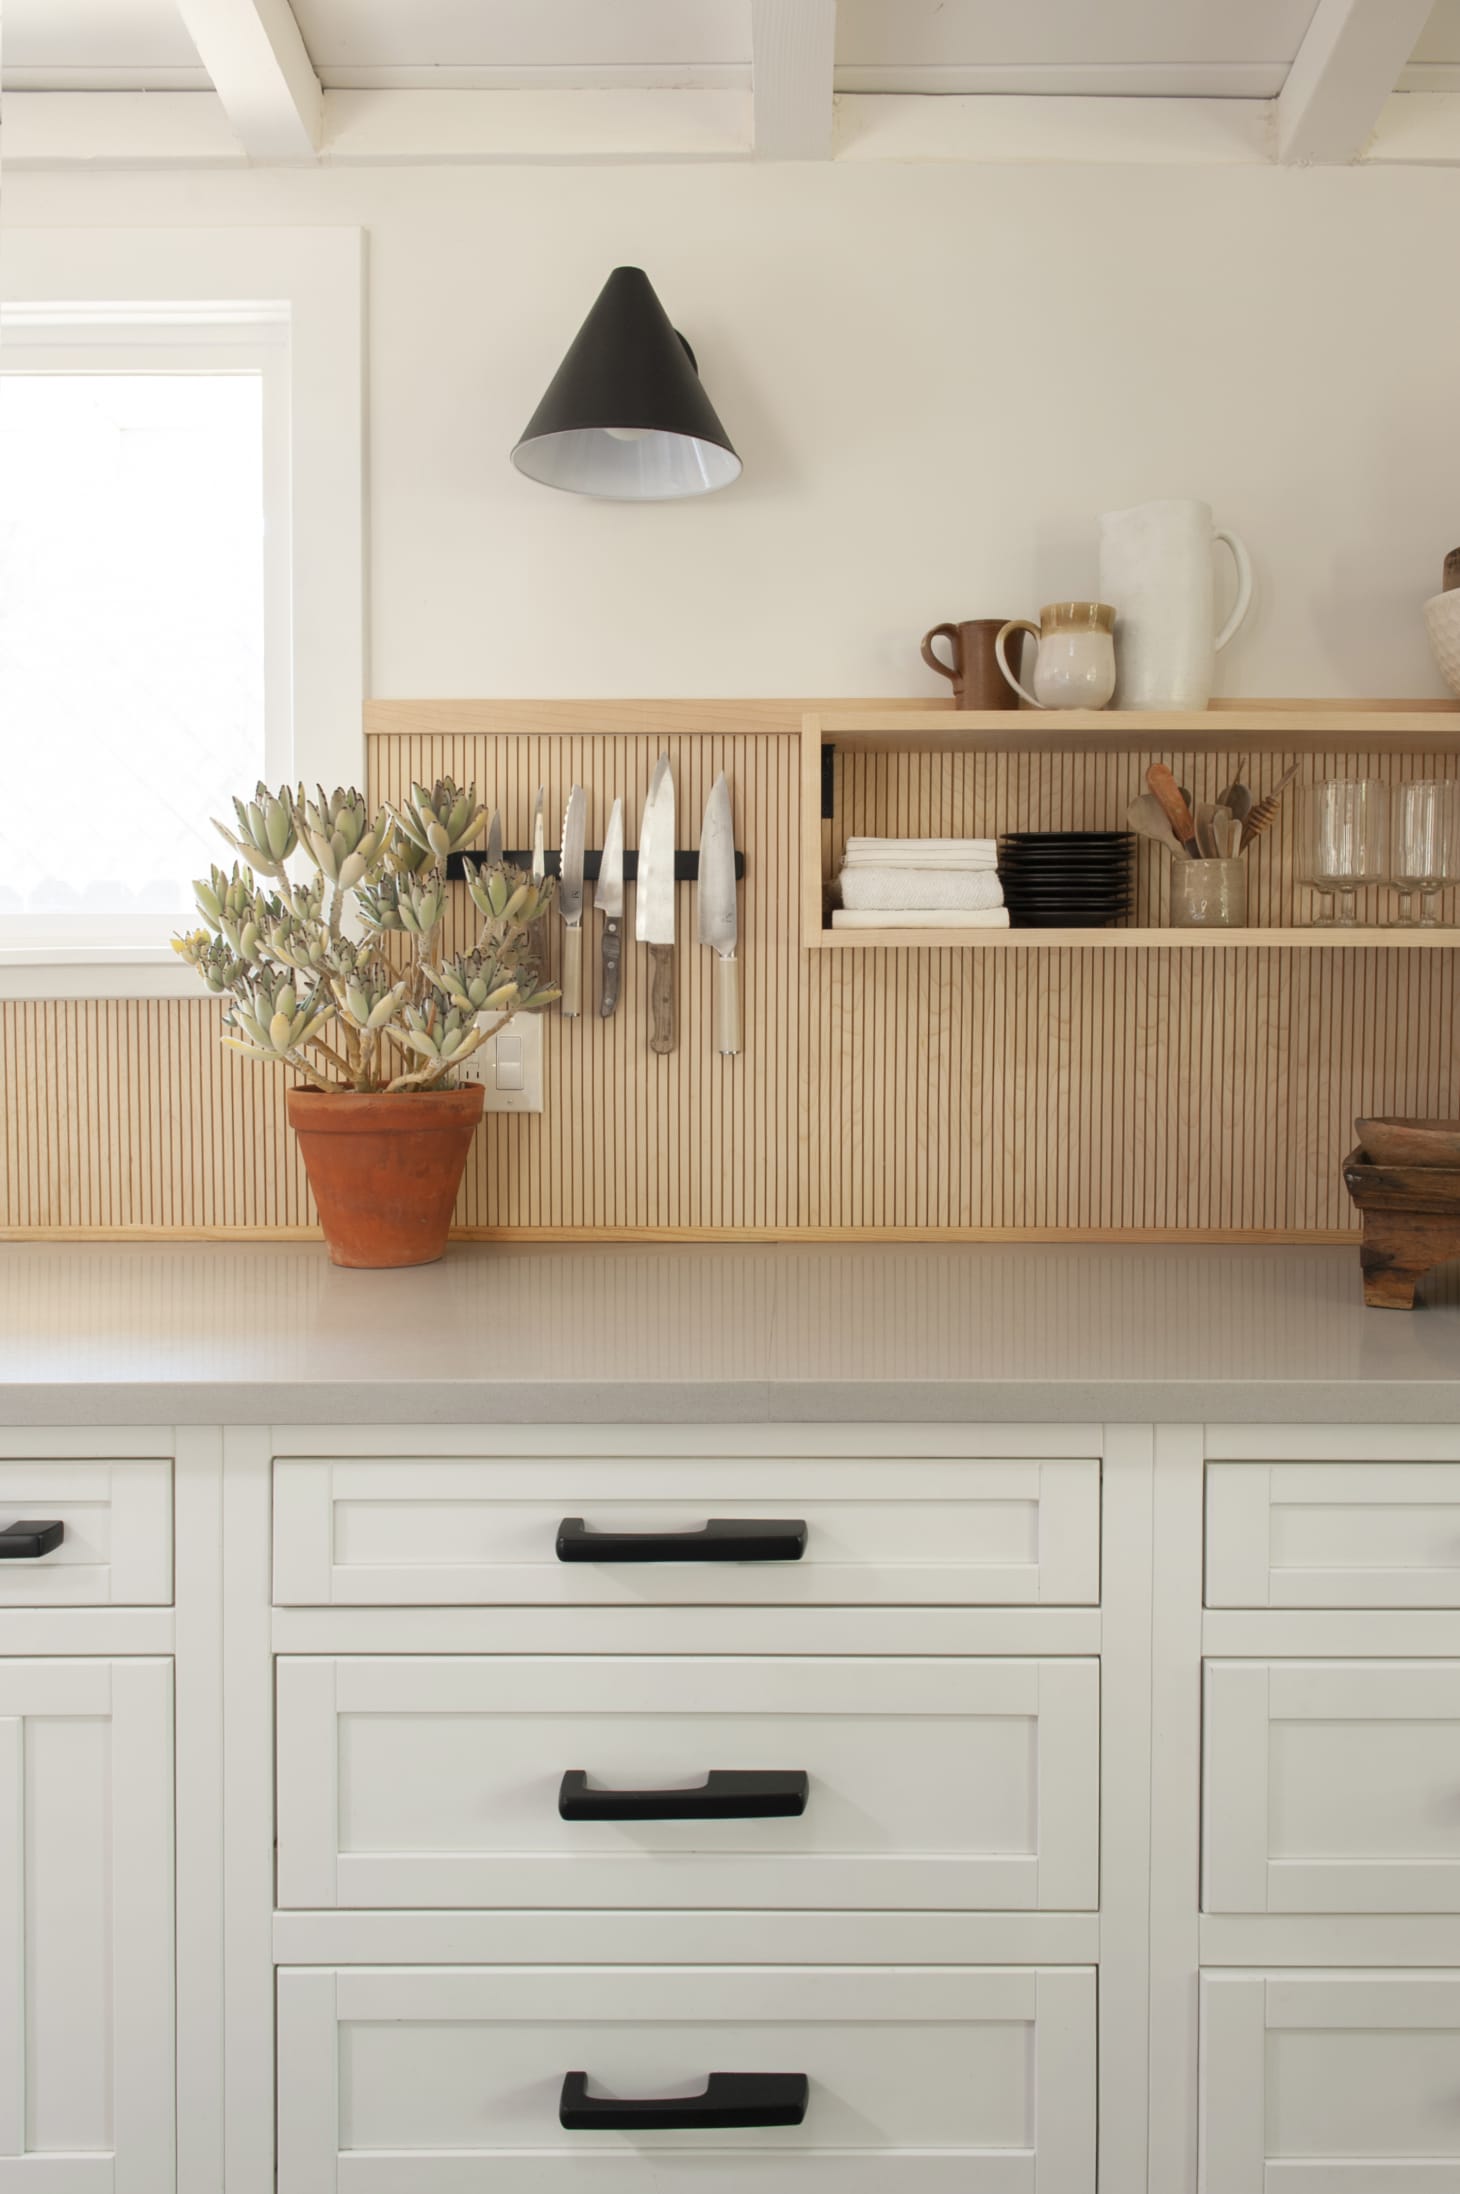
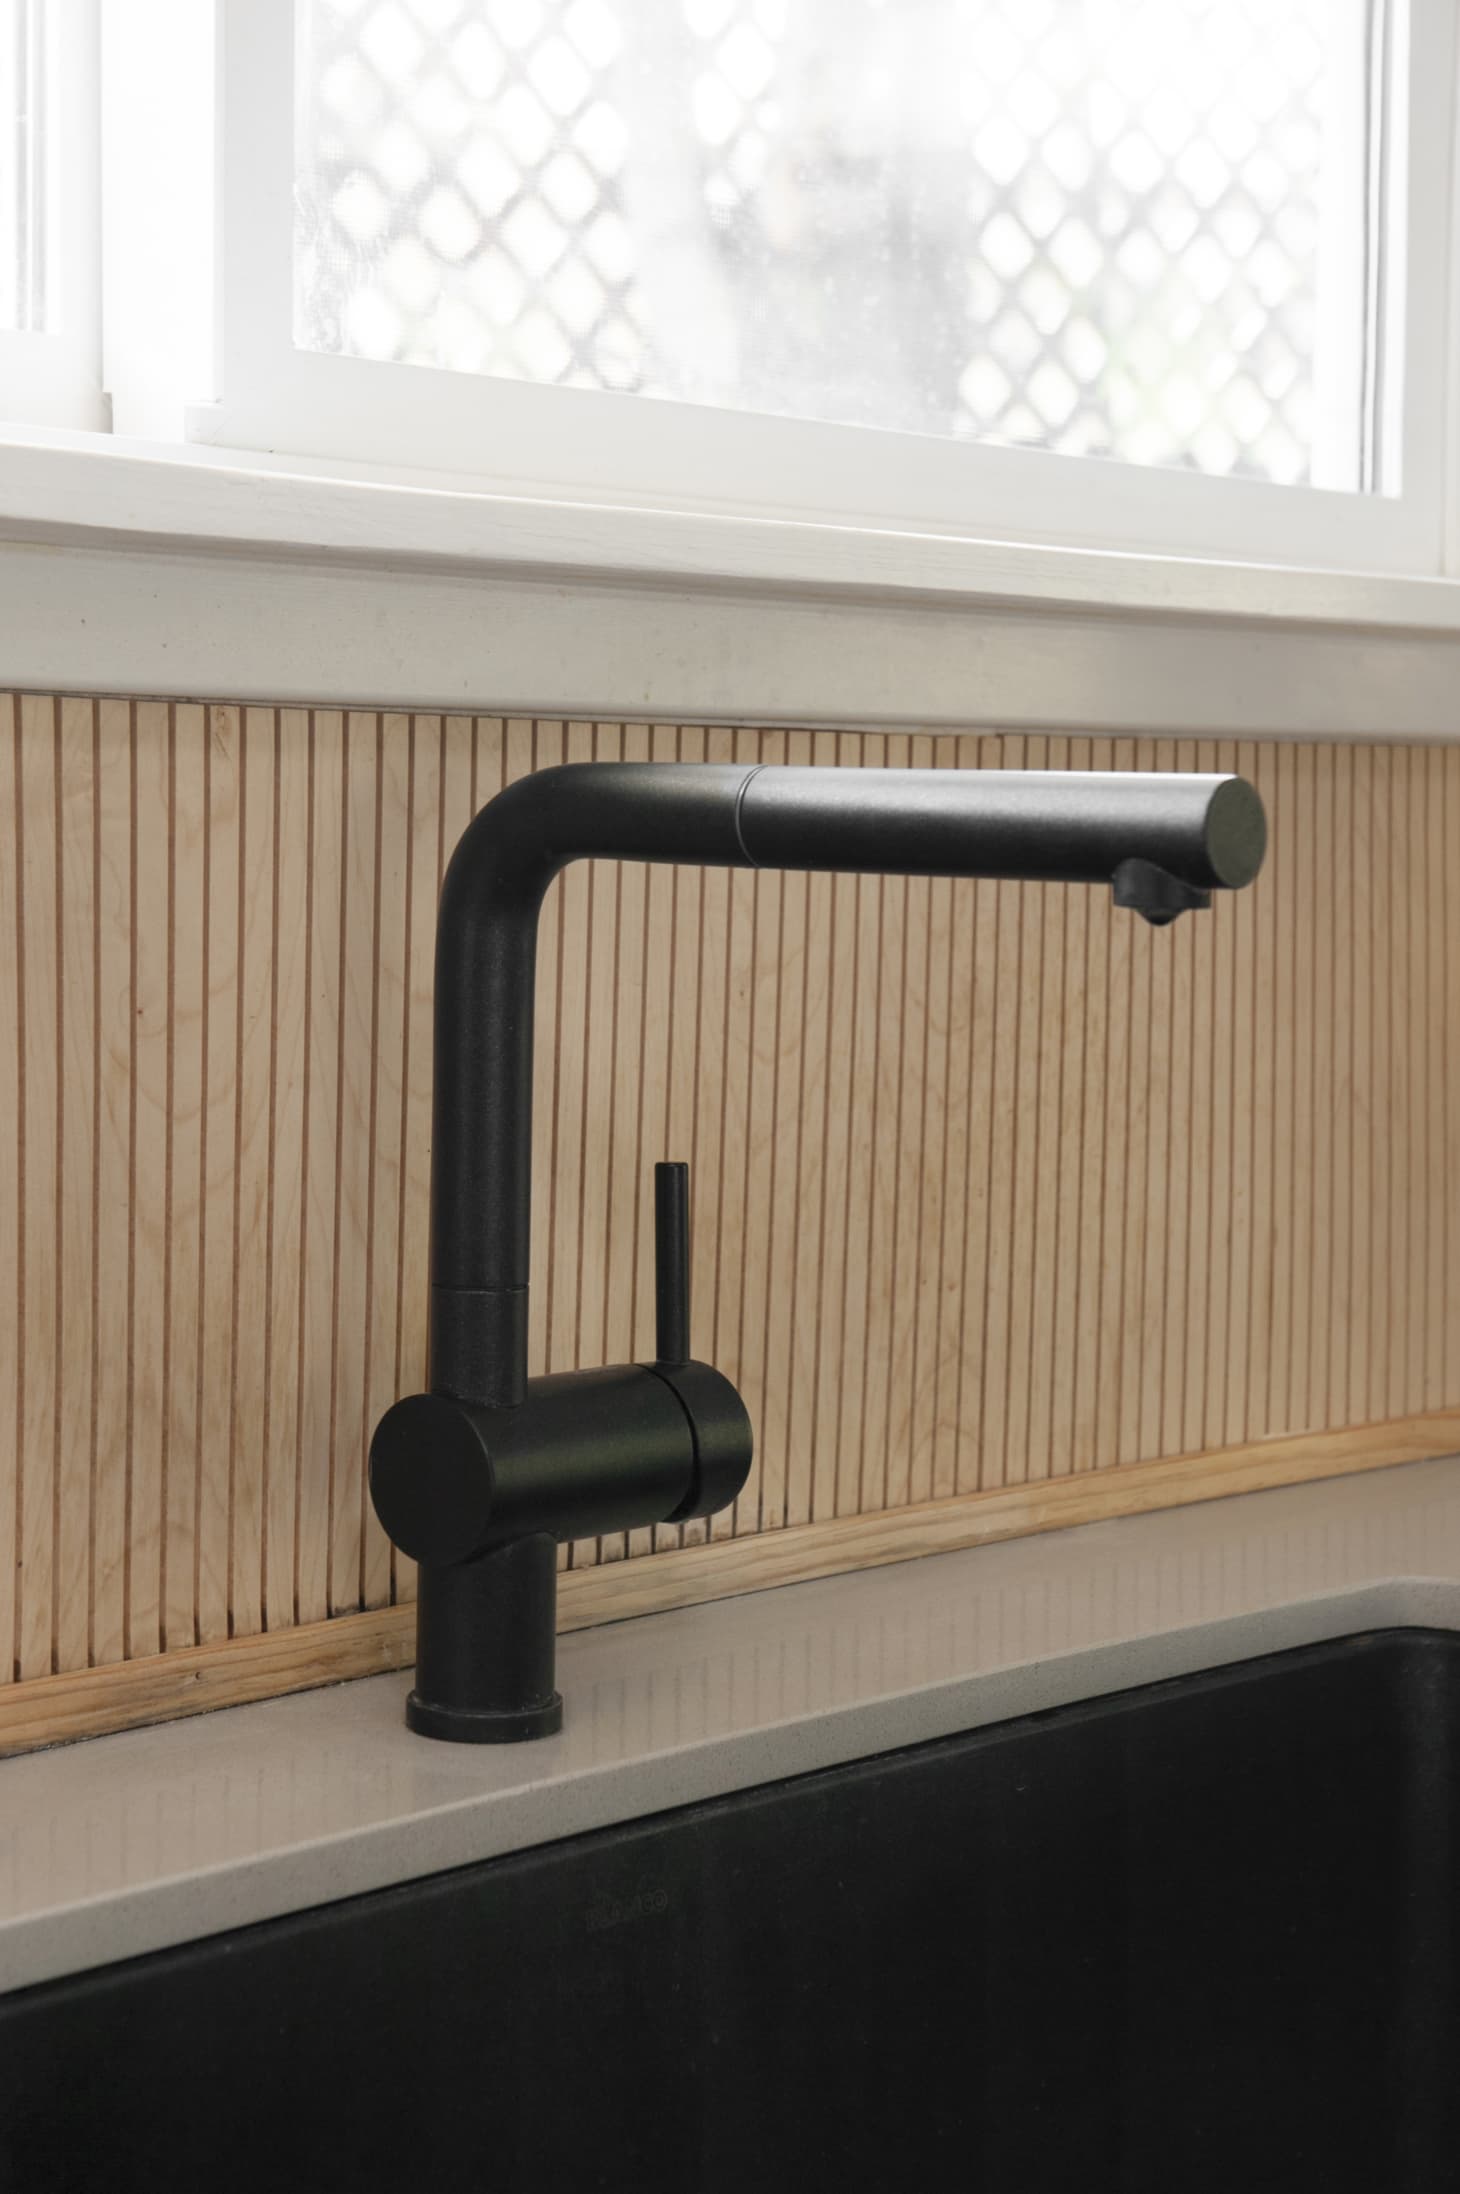
Hands down one of the wild & coolest applications of pole wrap I’ve ever seen, this pole wrap backsplash might be my #1 favorite DIY. Jennifer has such awesome style, and this inexpensive hack totally transformed her kitchen. My only question/concern would be if it gets stained easily?? You would just have to properly seal it but there might have to be some maintenance here. Regardless, it’s certainly is cheaper than installing tile, so if there’s a little maintenance, the cost might make up for it 🙂
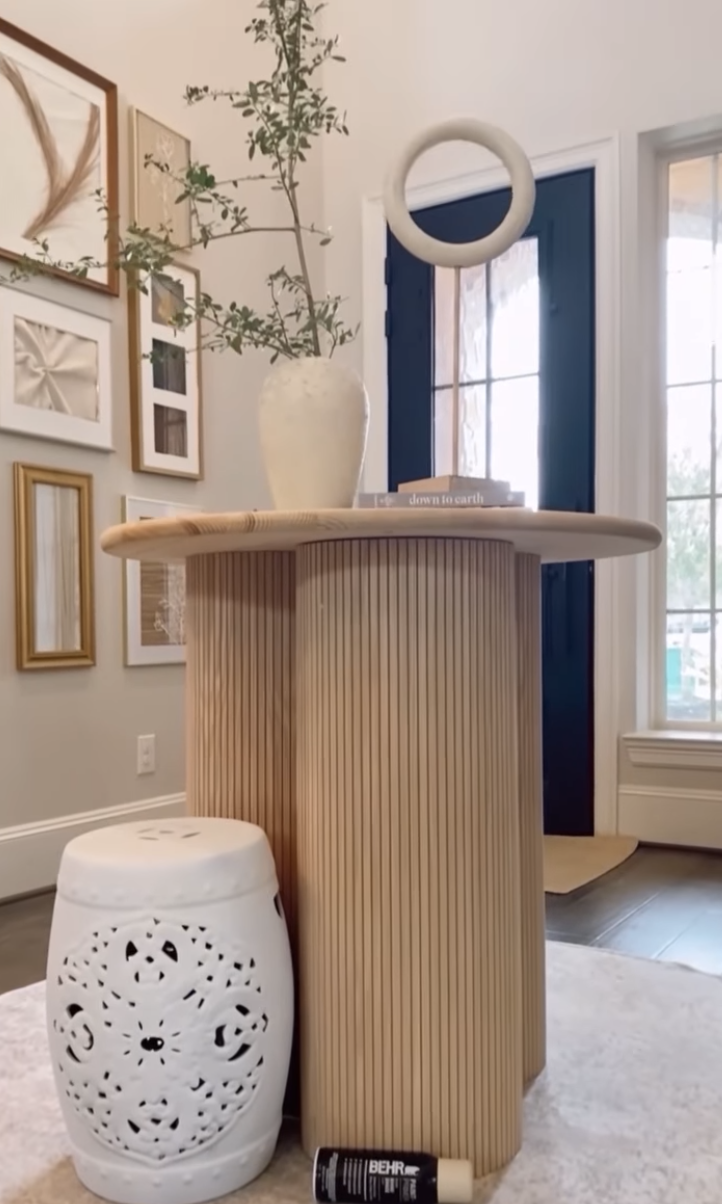
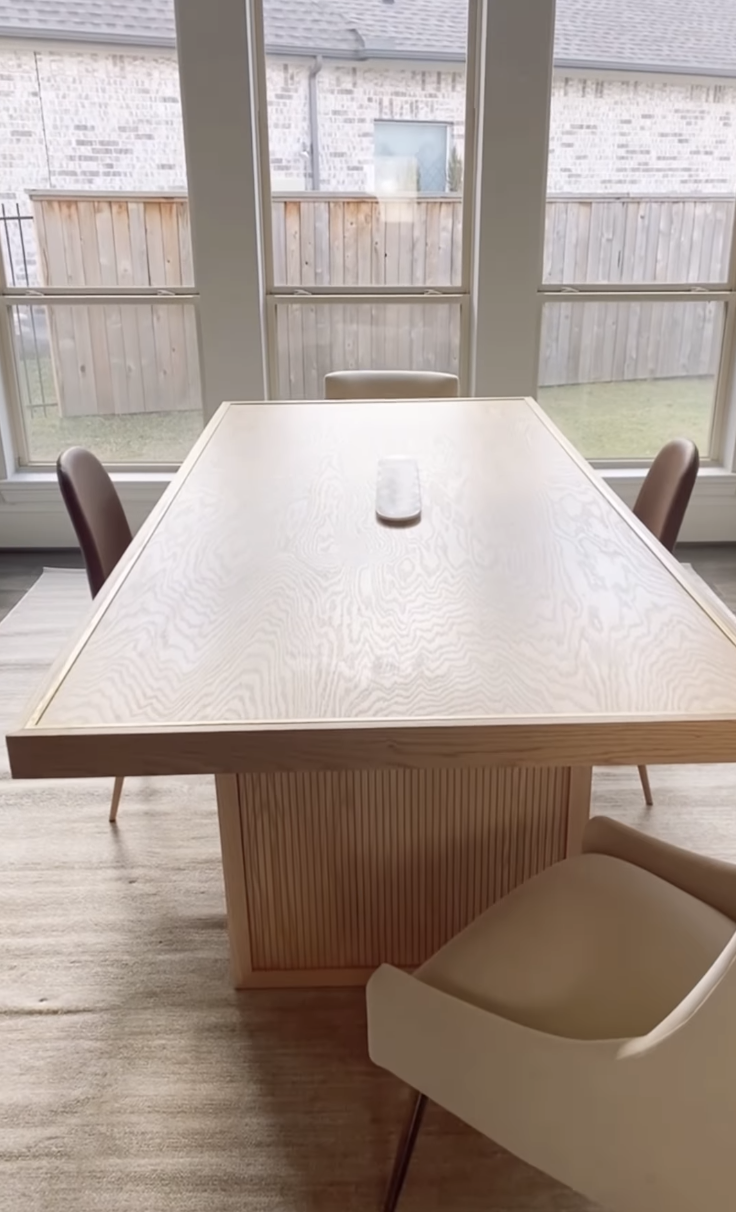
Cara Newhart is a pole wrap expert and absolutely nailed these table bases. I love the idea of giving a table a new life (or creating one from scratch) with this cool fluted detail on the base. Plus, IMHO it’s a great place to DIY because people notice it but don’t stare at the base of your table 24/7 so if you make any mistakes no one will probably know 🙂 This one (the entryway table) was made from scratch and then her dining table was given a facelift. Both are great ideas!!
She also created these awesome barn doors using pole wrap and I couldn’t believe my eyes! What a fun, inexpensive idea for any wall, door, or surface. Speaking of using it on walls, this one from Bonnie Grolley needed to get an honorable mention. I love how she uses it right above her bathroom vanity!
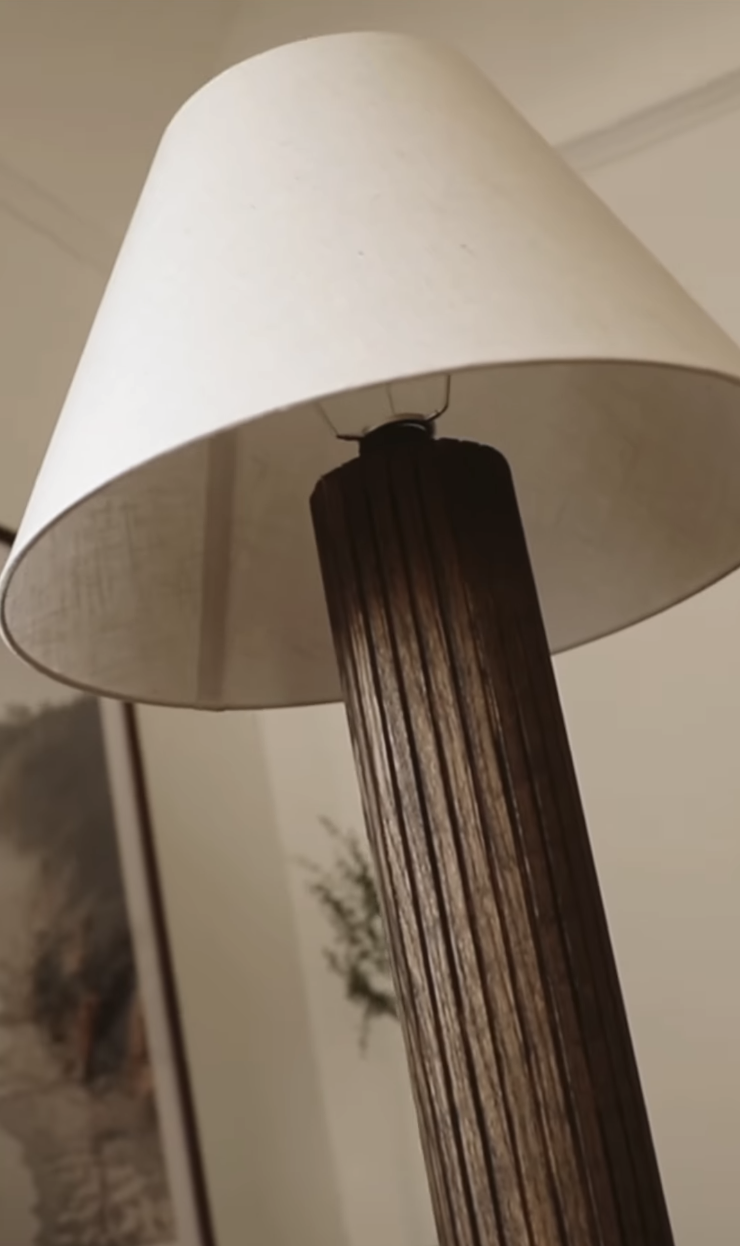
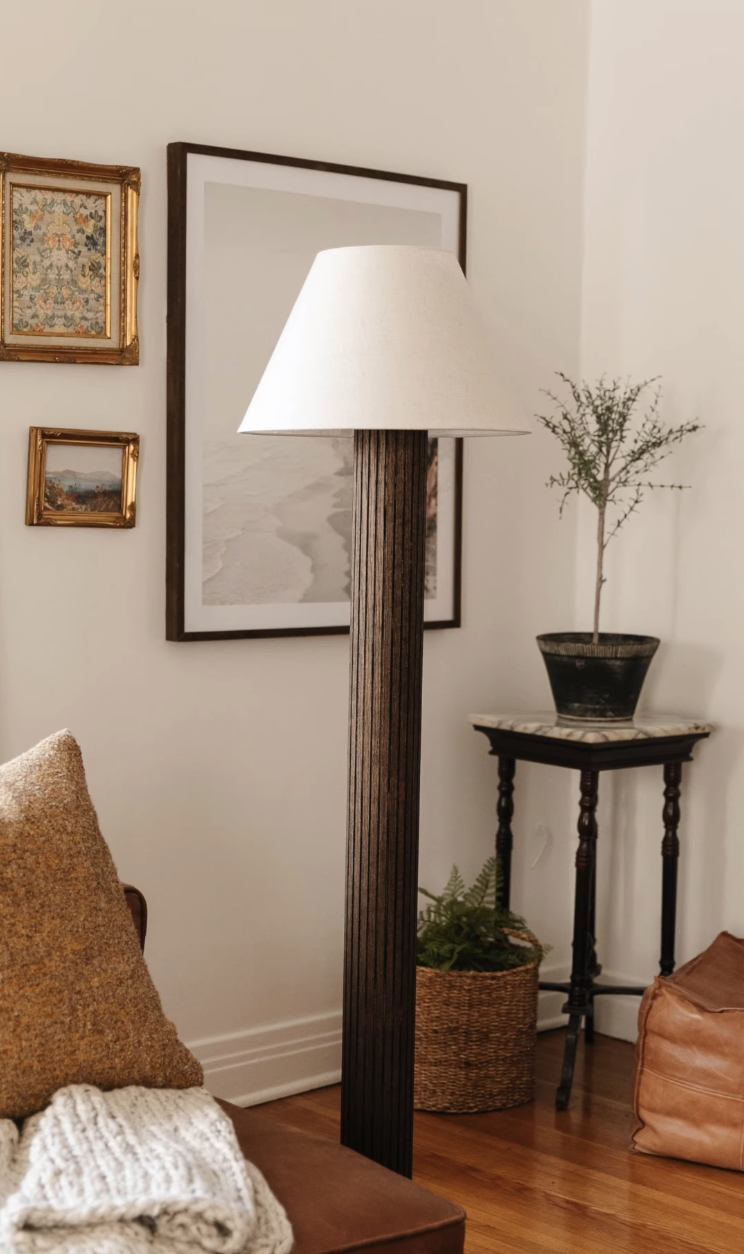
Lastly, Lone Fox Home had another cool pole wrap DIY where he totally transformed this lamp. Love this idea too + it’s fun to see a darker pole wrap stain too 🙂
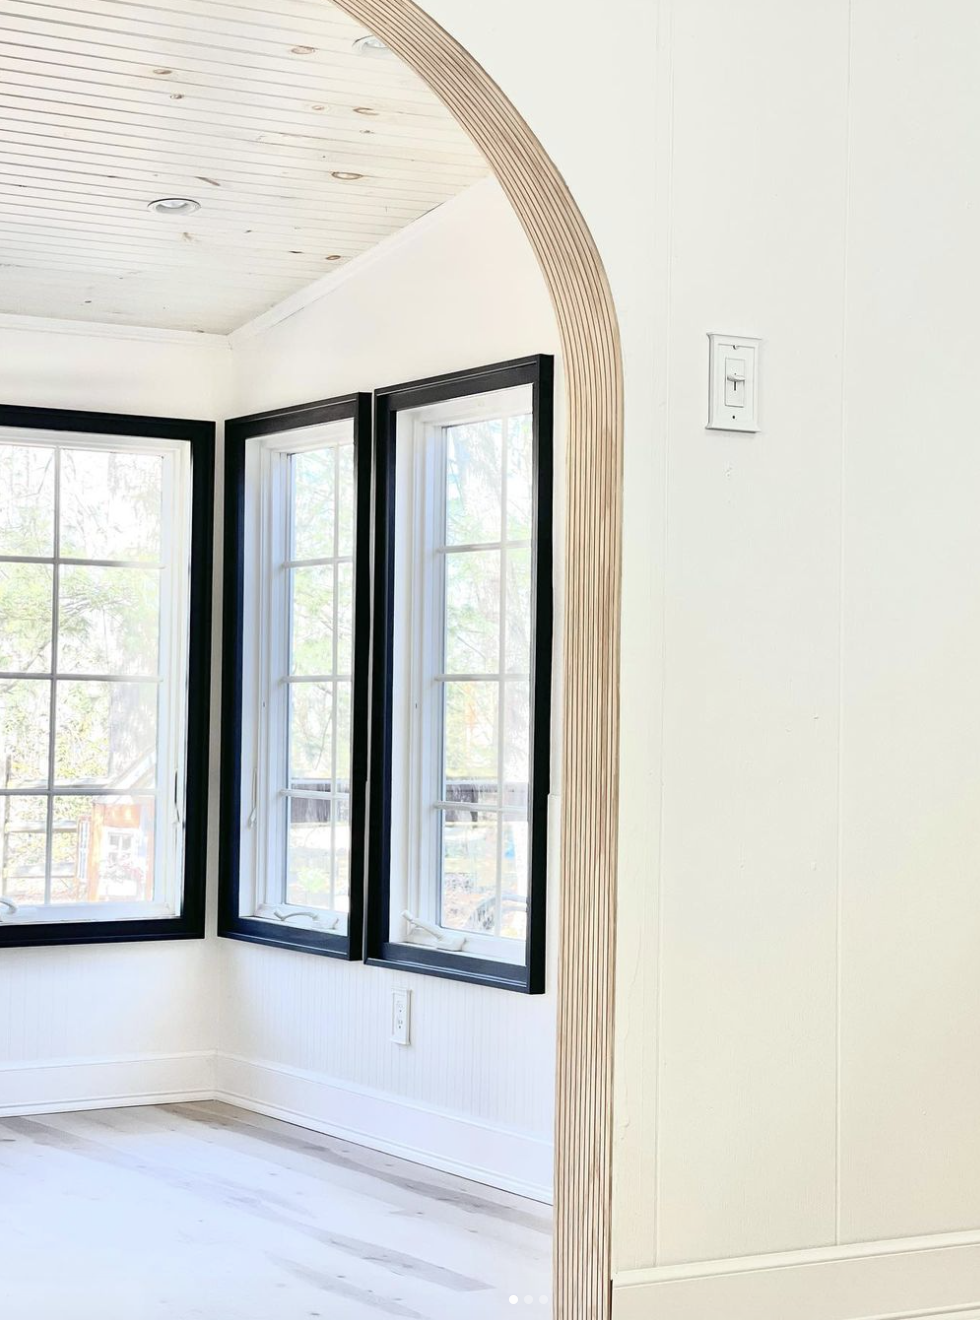
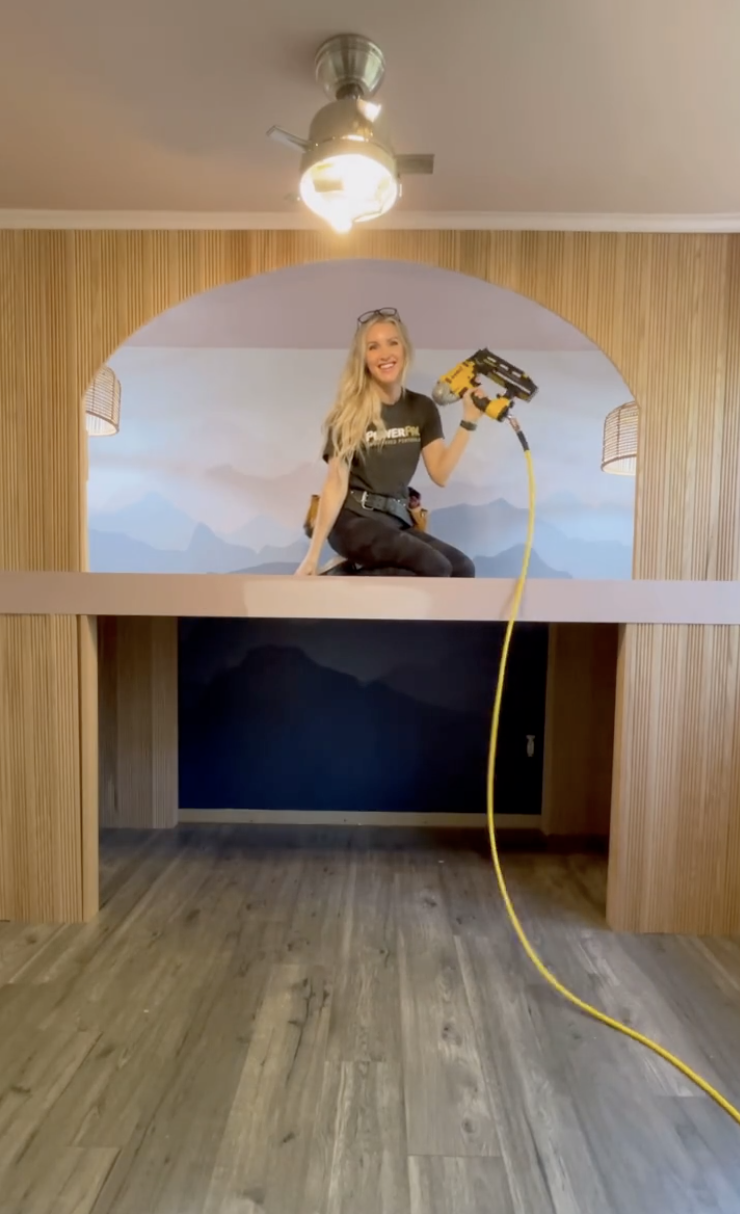
Jessie from Eye in the Detail is basically a pole wrap ambassador because she uses it so much in so many cool ways around her home. One thing I found particularly cool and fun was how she used it in the archways she created in her space. I mean how fun is that little wood detail??
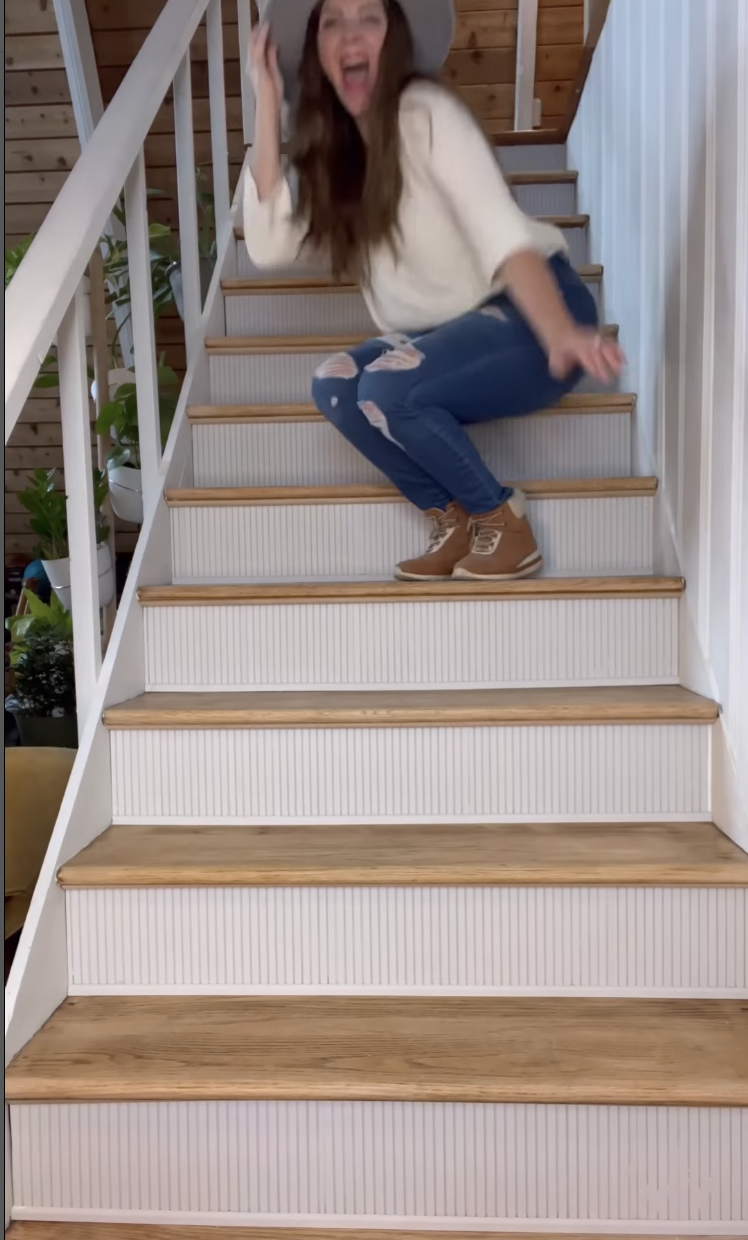
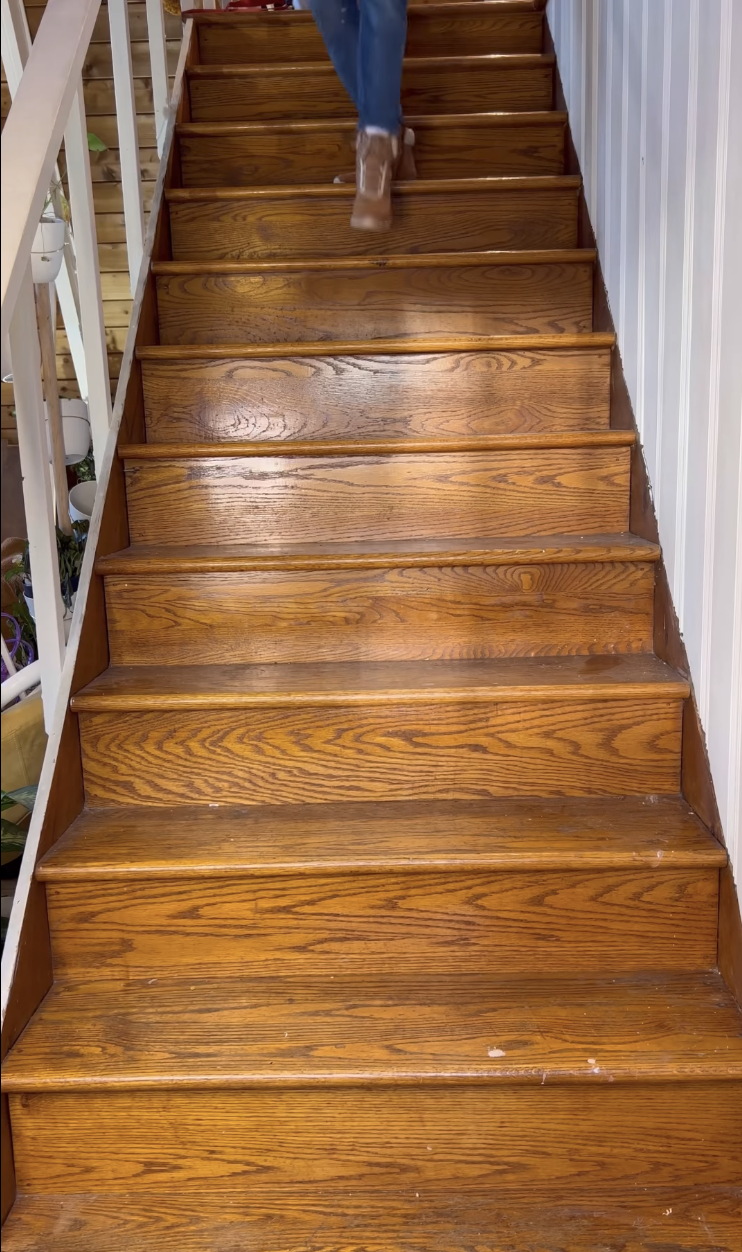
Emily sent this to me on IG because once I told her about pole wrap, she started seeing it everywhere too!! This stair transformation by Benson Dwelling is insanely genius and inexpensive.
So that’s it for my pole wrap post. Have you heard about this weird DIY hack before?? Would love to chat in the comments!!
Opening Image Credit: Design by Jennifer Maxcy | Photo by Petra Ford | via The Kitchn
THIS POST WAS ORIGINALLY PUBLISHED HERE.
