Last month we deep dove into the design of the kids’ rooms with them and it was so inspiring (I wrote about that process here). But at first, it was met with hesitation, skepticism, and dare I say even distrust. OF ME. They didn’t think I could really do their cool style. Birdie sweetly informed me that “my colors aren’t really your colors, mama” with the “evidence” being the neutral-ness of the mountain house (which I love, them not so much). I’m only 42, them 6 and 8, so if they already don’t think I’m “cool” or that I don’t “get it” then how bad will it be in 10 years?? I know that it’s inevitable but should it start so early? NO. Instead of trying to tell them how cool I am (which we all know is like telling them how privileged they are – it doesn’t exactly work) I woke up and was like, “WAIT… CHECK THIS OUT”. I proceeded to take them down memory lane, specifically 6-10 years ago when A. I had more time/bandwidth to be creative/ random ideas, B. Had some clients that really wanted bright everything, C. Bright colors were more “in” because D. Modern farmhouse hadn’t quite whitewashed the world (a style I both love but can also find redundant – I say this while designing a modern farmhouse). And also, the kids aren’t totally wrong, I wasn’t a mom of two yet, so there was a youthfulness that you have and lose during that kid-bearing and rearing process (at least I have). In the name of ease and practicality I did and do choose wood, neutrals, and simplicity now for us. Less neon. More “slate” and “denim” tones. So I get their hesitation. I was also more “time rich” and “money-poor,” which meant more DIYs and rehabbing of vintage pieces in order to make a space look awesome. But I’m hoping this year will be different. I’ve written about how I’ve scaled back my life to be much simpler with the intention of having more time and space for creativity, working with my hands more, and spending time with my kids before they are grown. So today I’m going to show you (and my kids) how I can do “color and fun” as well as what affordable DIYs I want to employ that are easy and high impact for kids’ rooms. I’ve done it before. I can DO IT AGAIN 🙂 (I’m pretty sure there is an SNL skit in here somewhere).
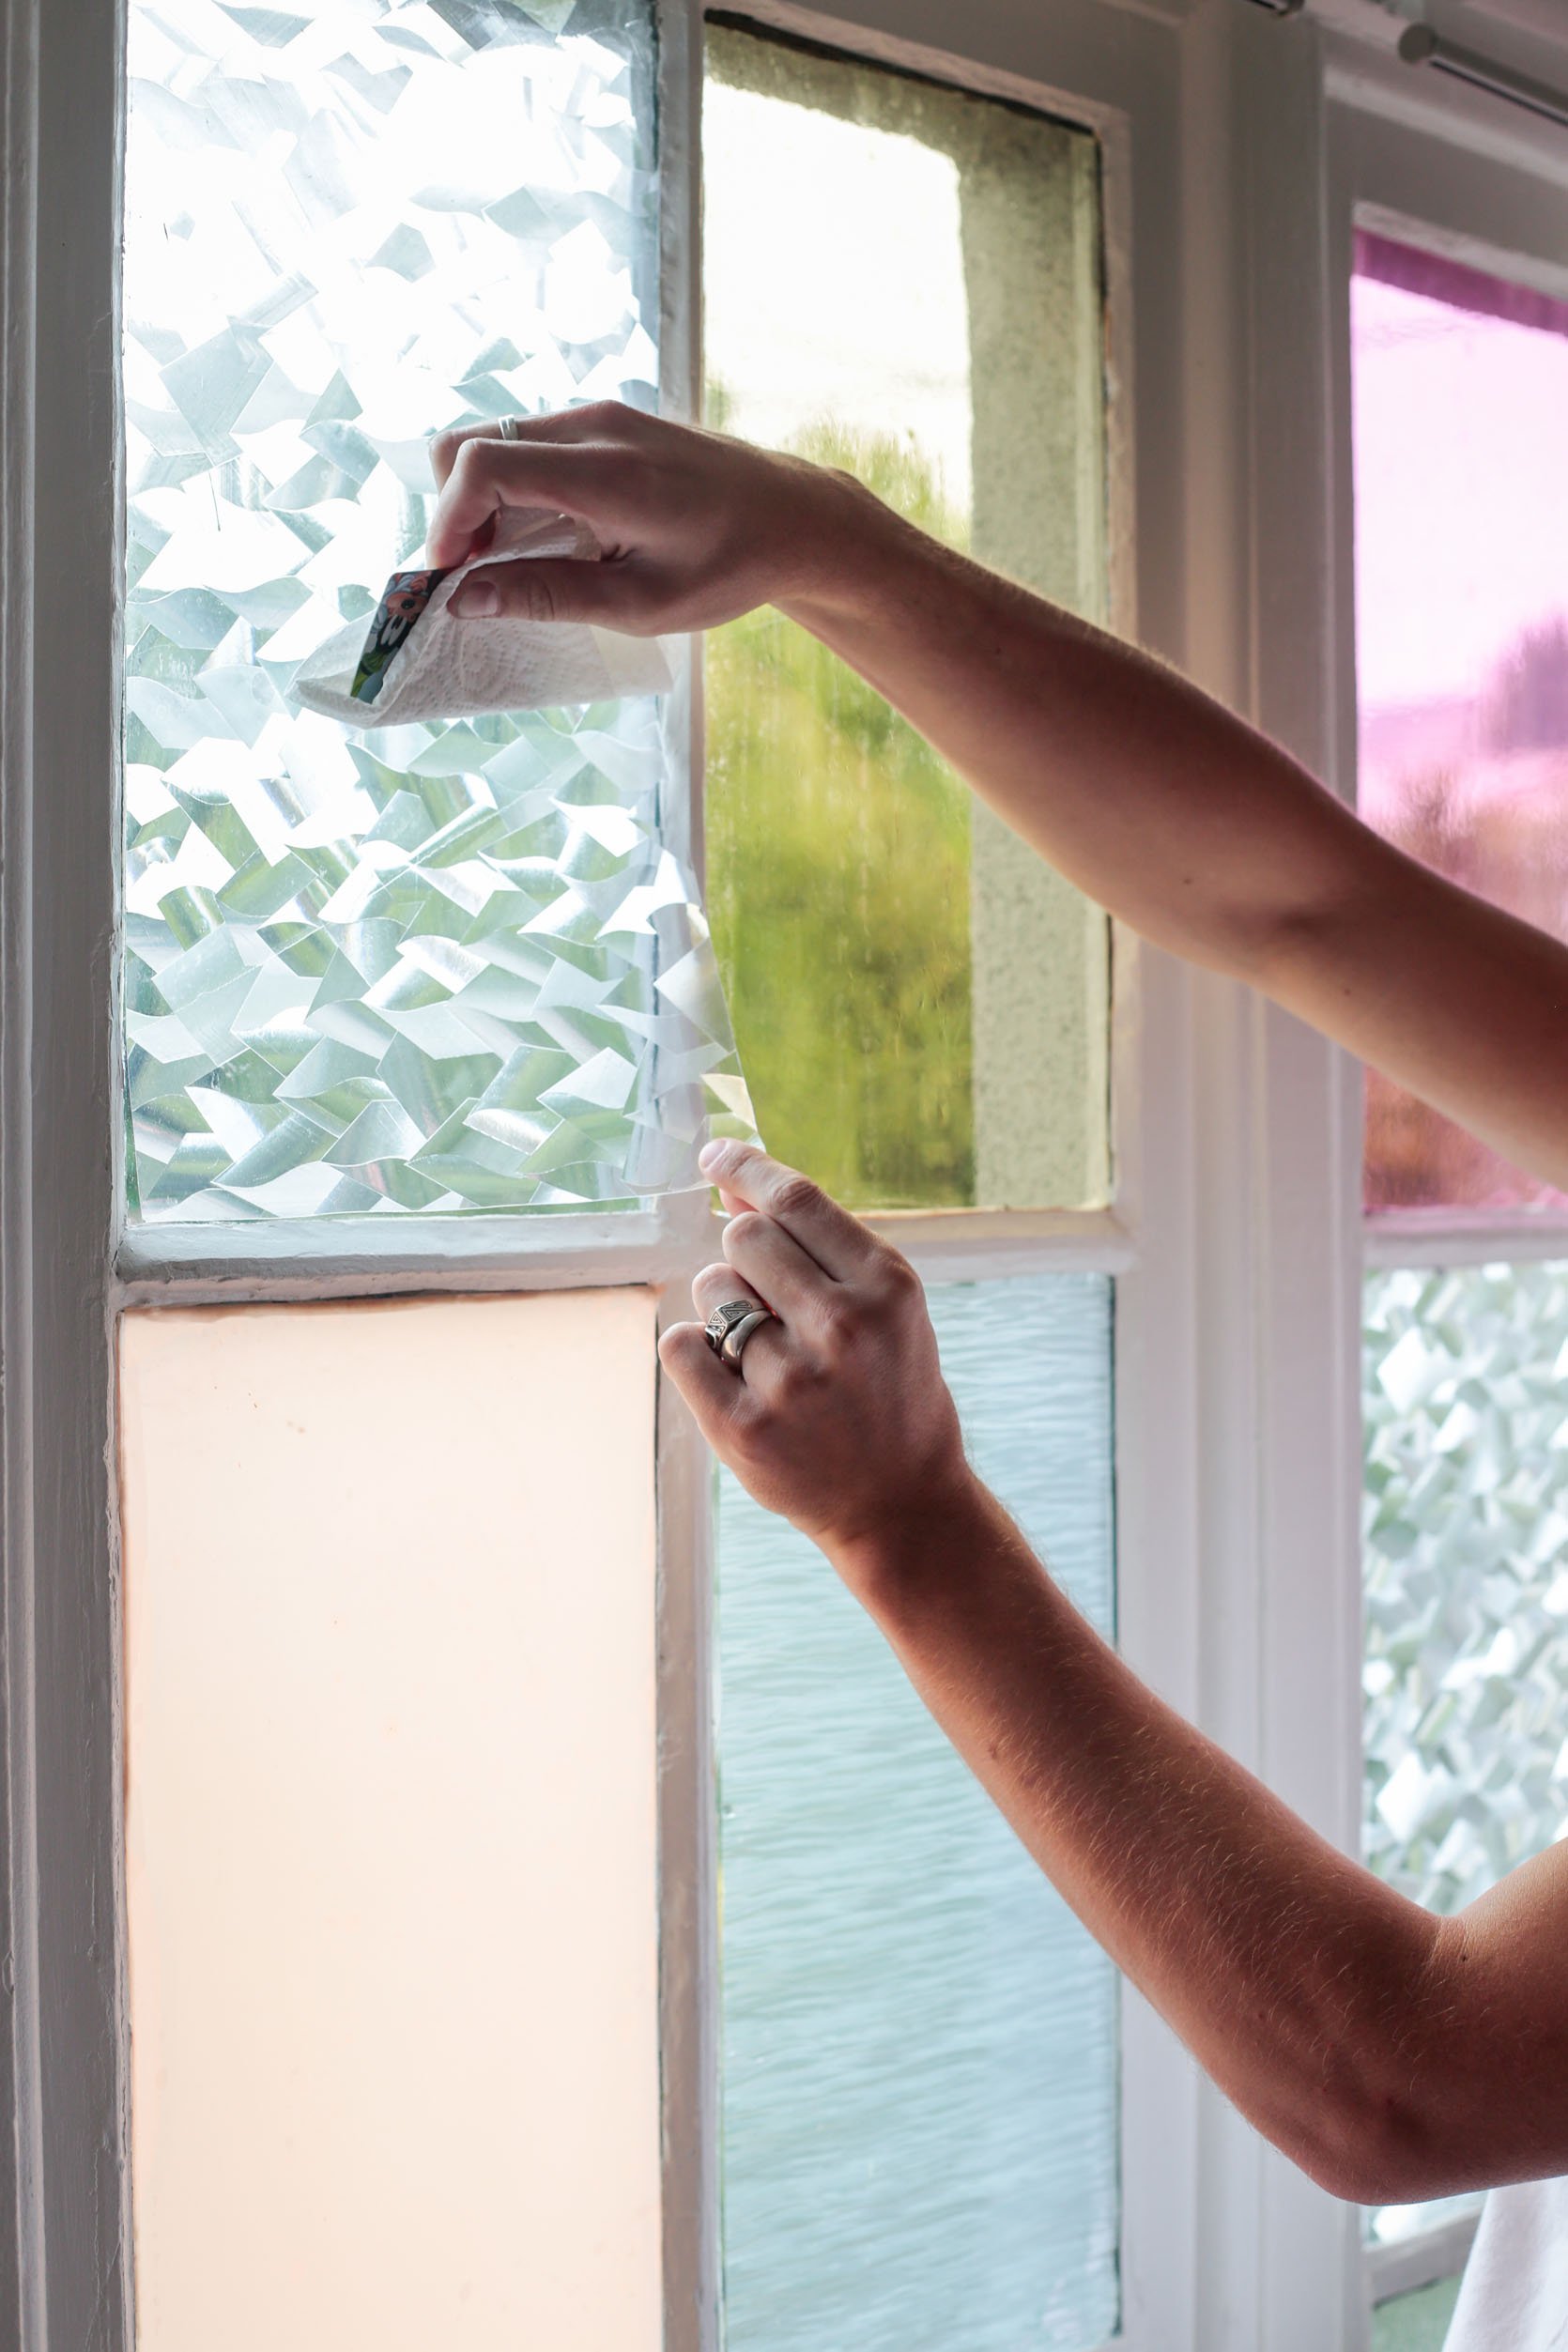
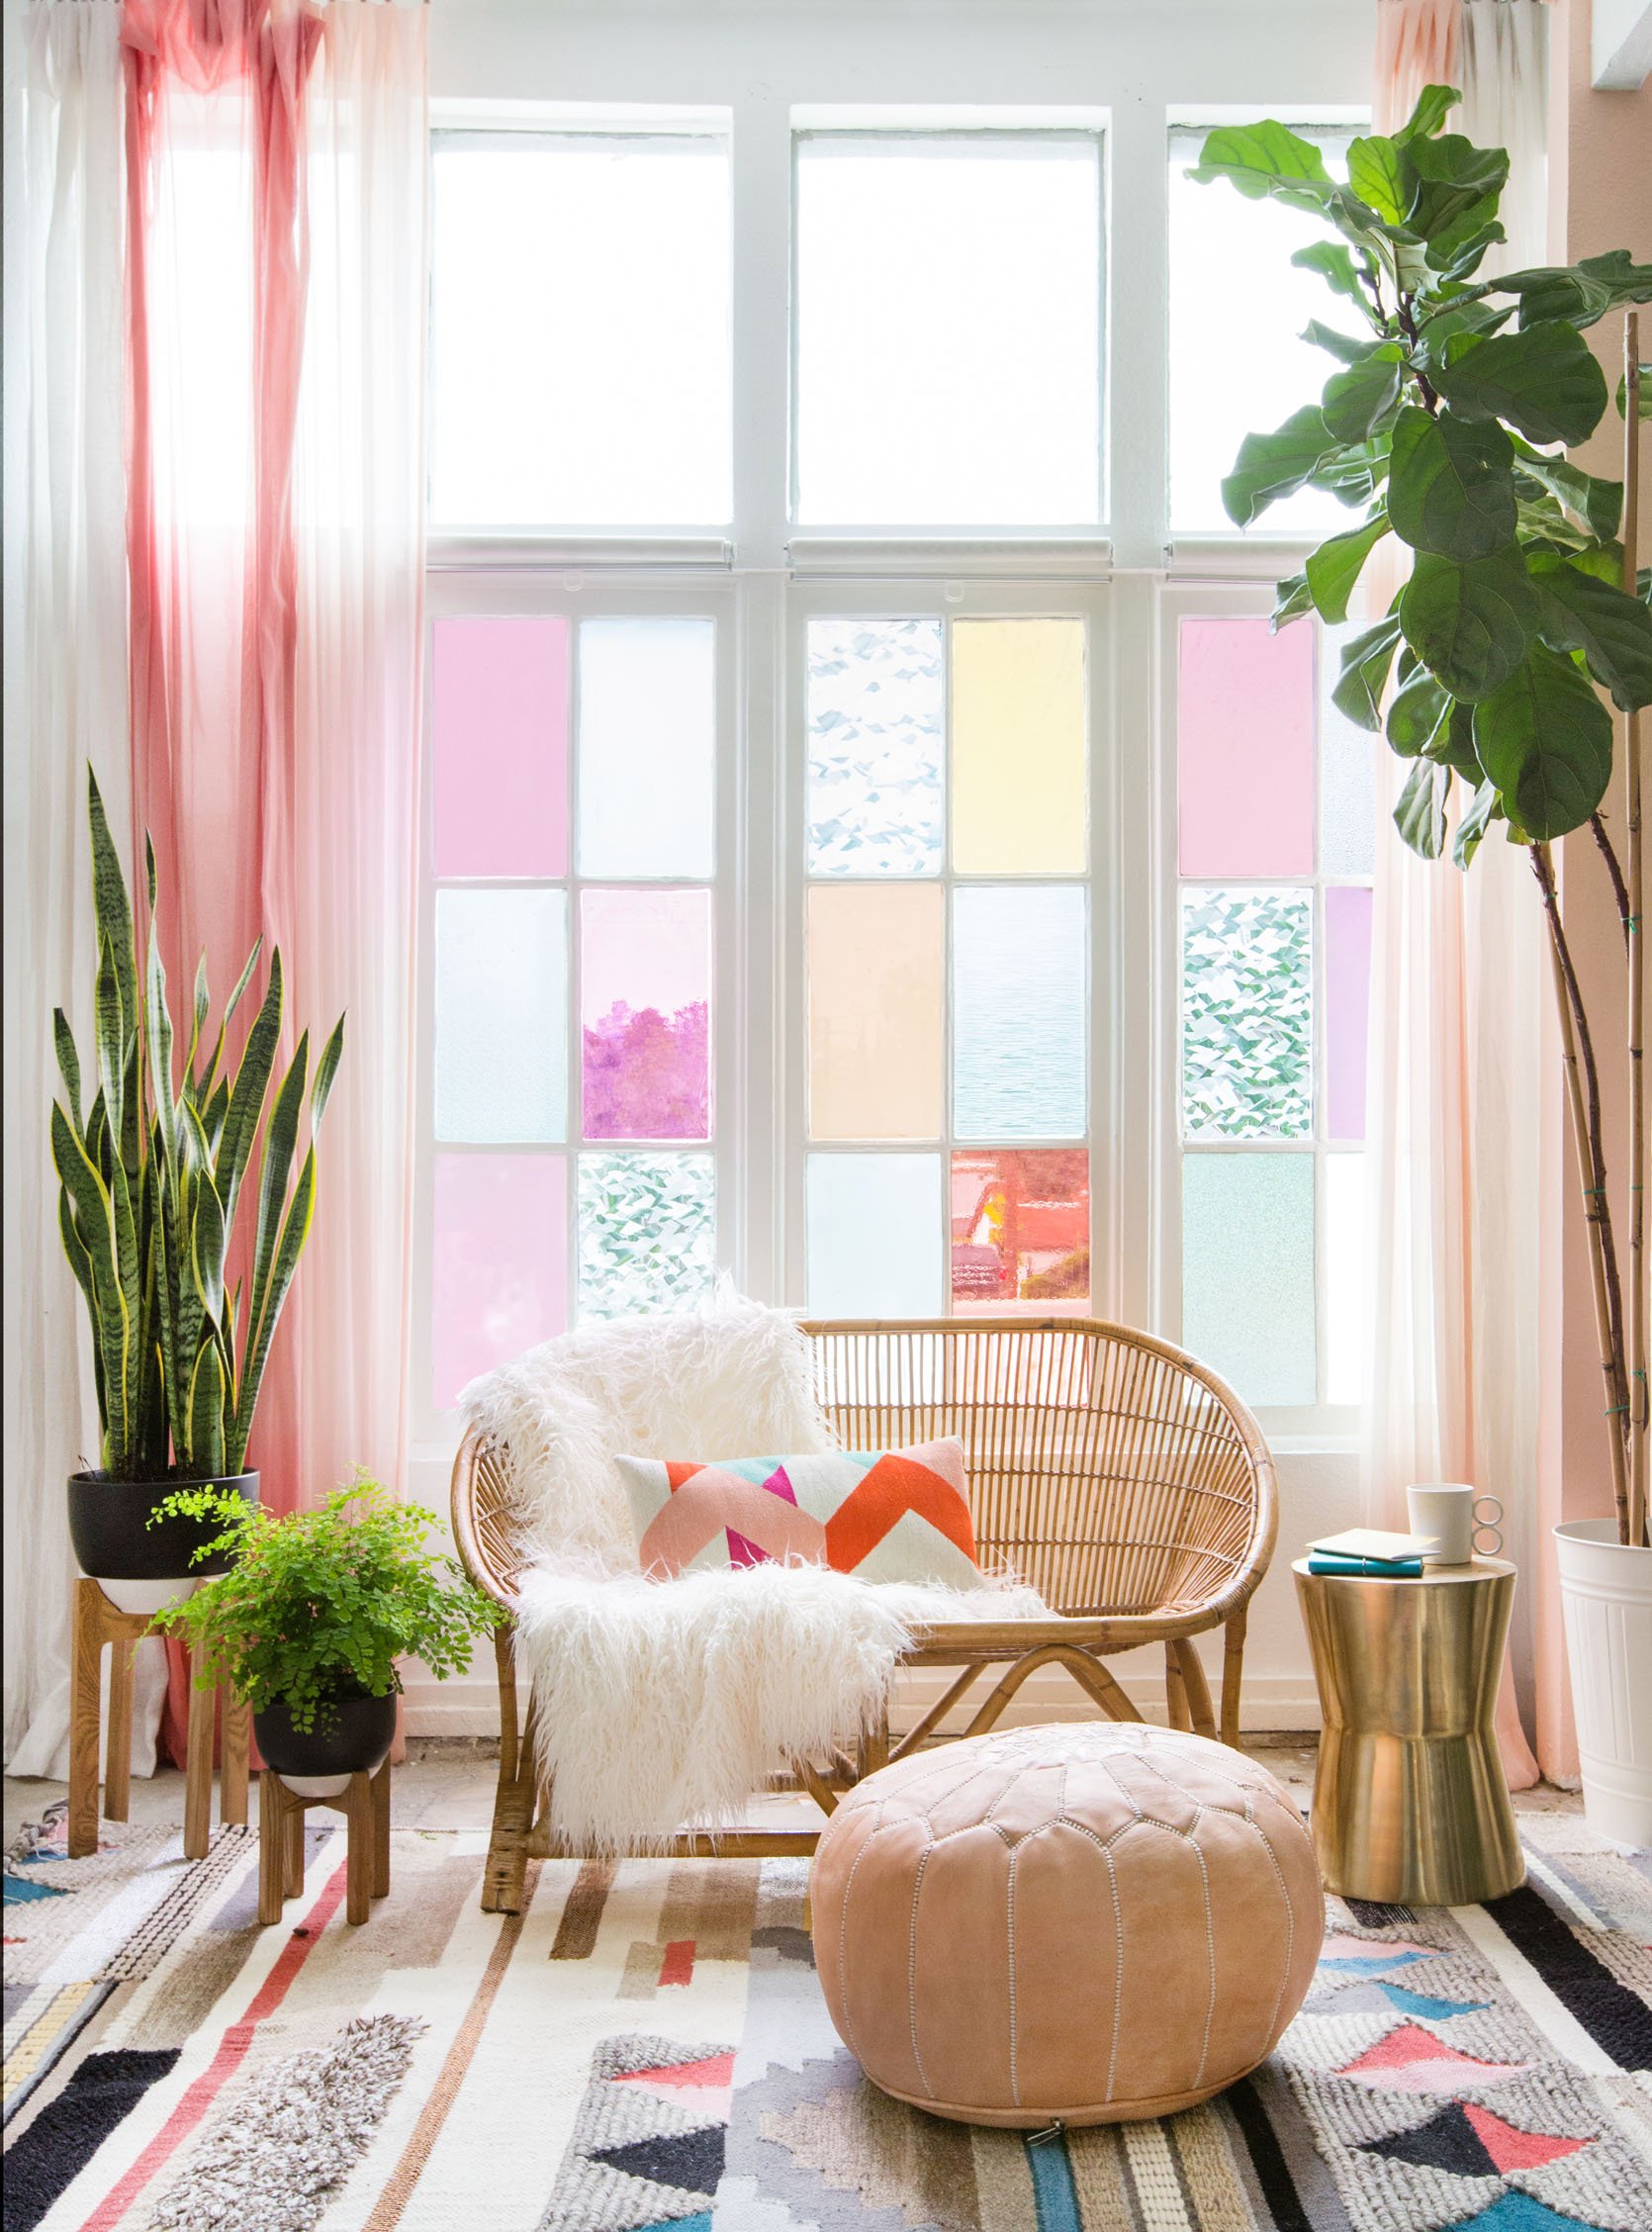
DIY Colorblock “Stained Glass” Window Film
Quite possibly the easiest and most affordable way to decorate a room without doing anything to your walls. We bought these at a photo supply store in LA, but there is also this source online. It’s definitely not as cheap as I remember ($22 per running foot, 48″ wide), but it’s super easy to apply, especially cute on divided lites (picture our diamond windows!) and if you just stick to three colors you could keep it under $100 if you don’t do all the panes.
We also put them in our old first studio (remember that?). They were SO FUN and created privacy which we needed in that office. Also, look at those different colored sheers! Birdie also loved those.
Malcolm actually just added a clear, reeded version to one of his glass doors in his dining room. It’s for everyone:)
Easy Ways To Add Sparkle And Sequins
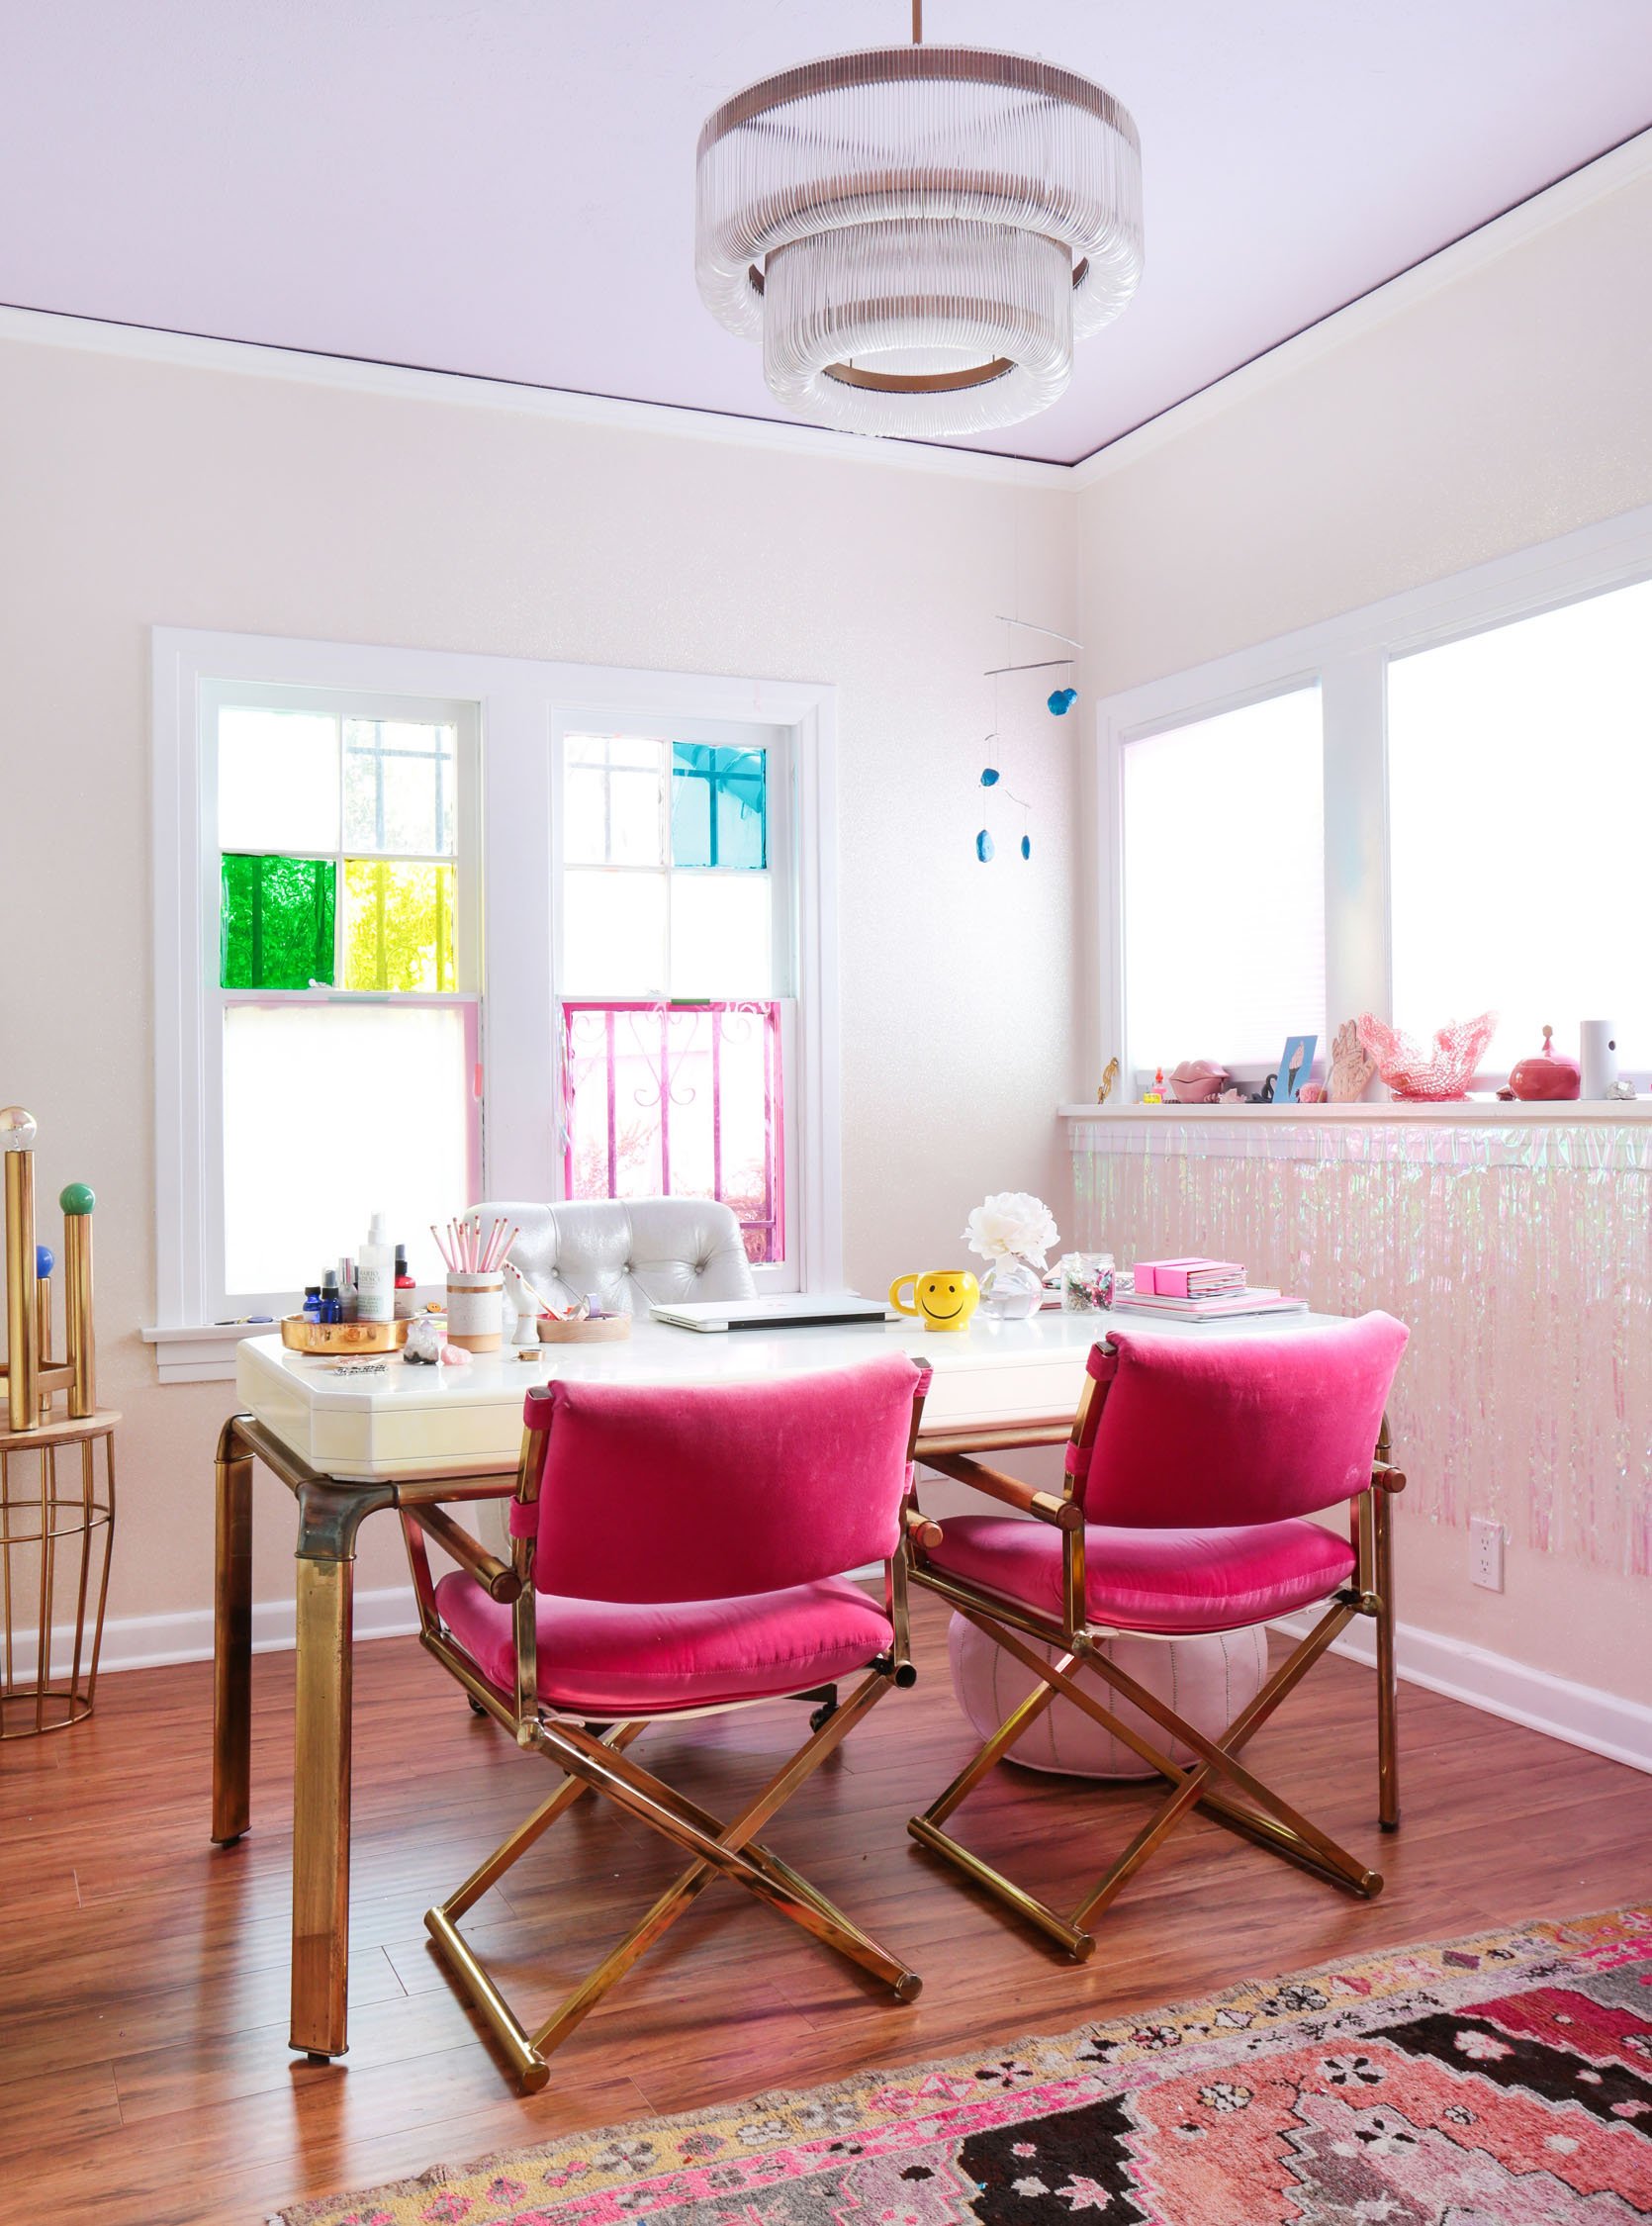
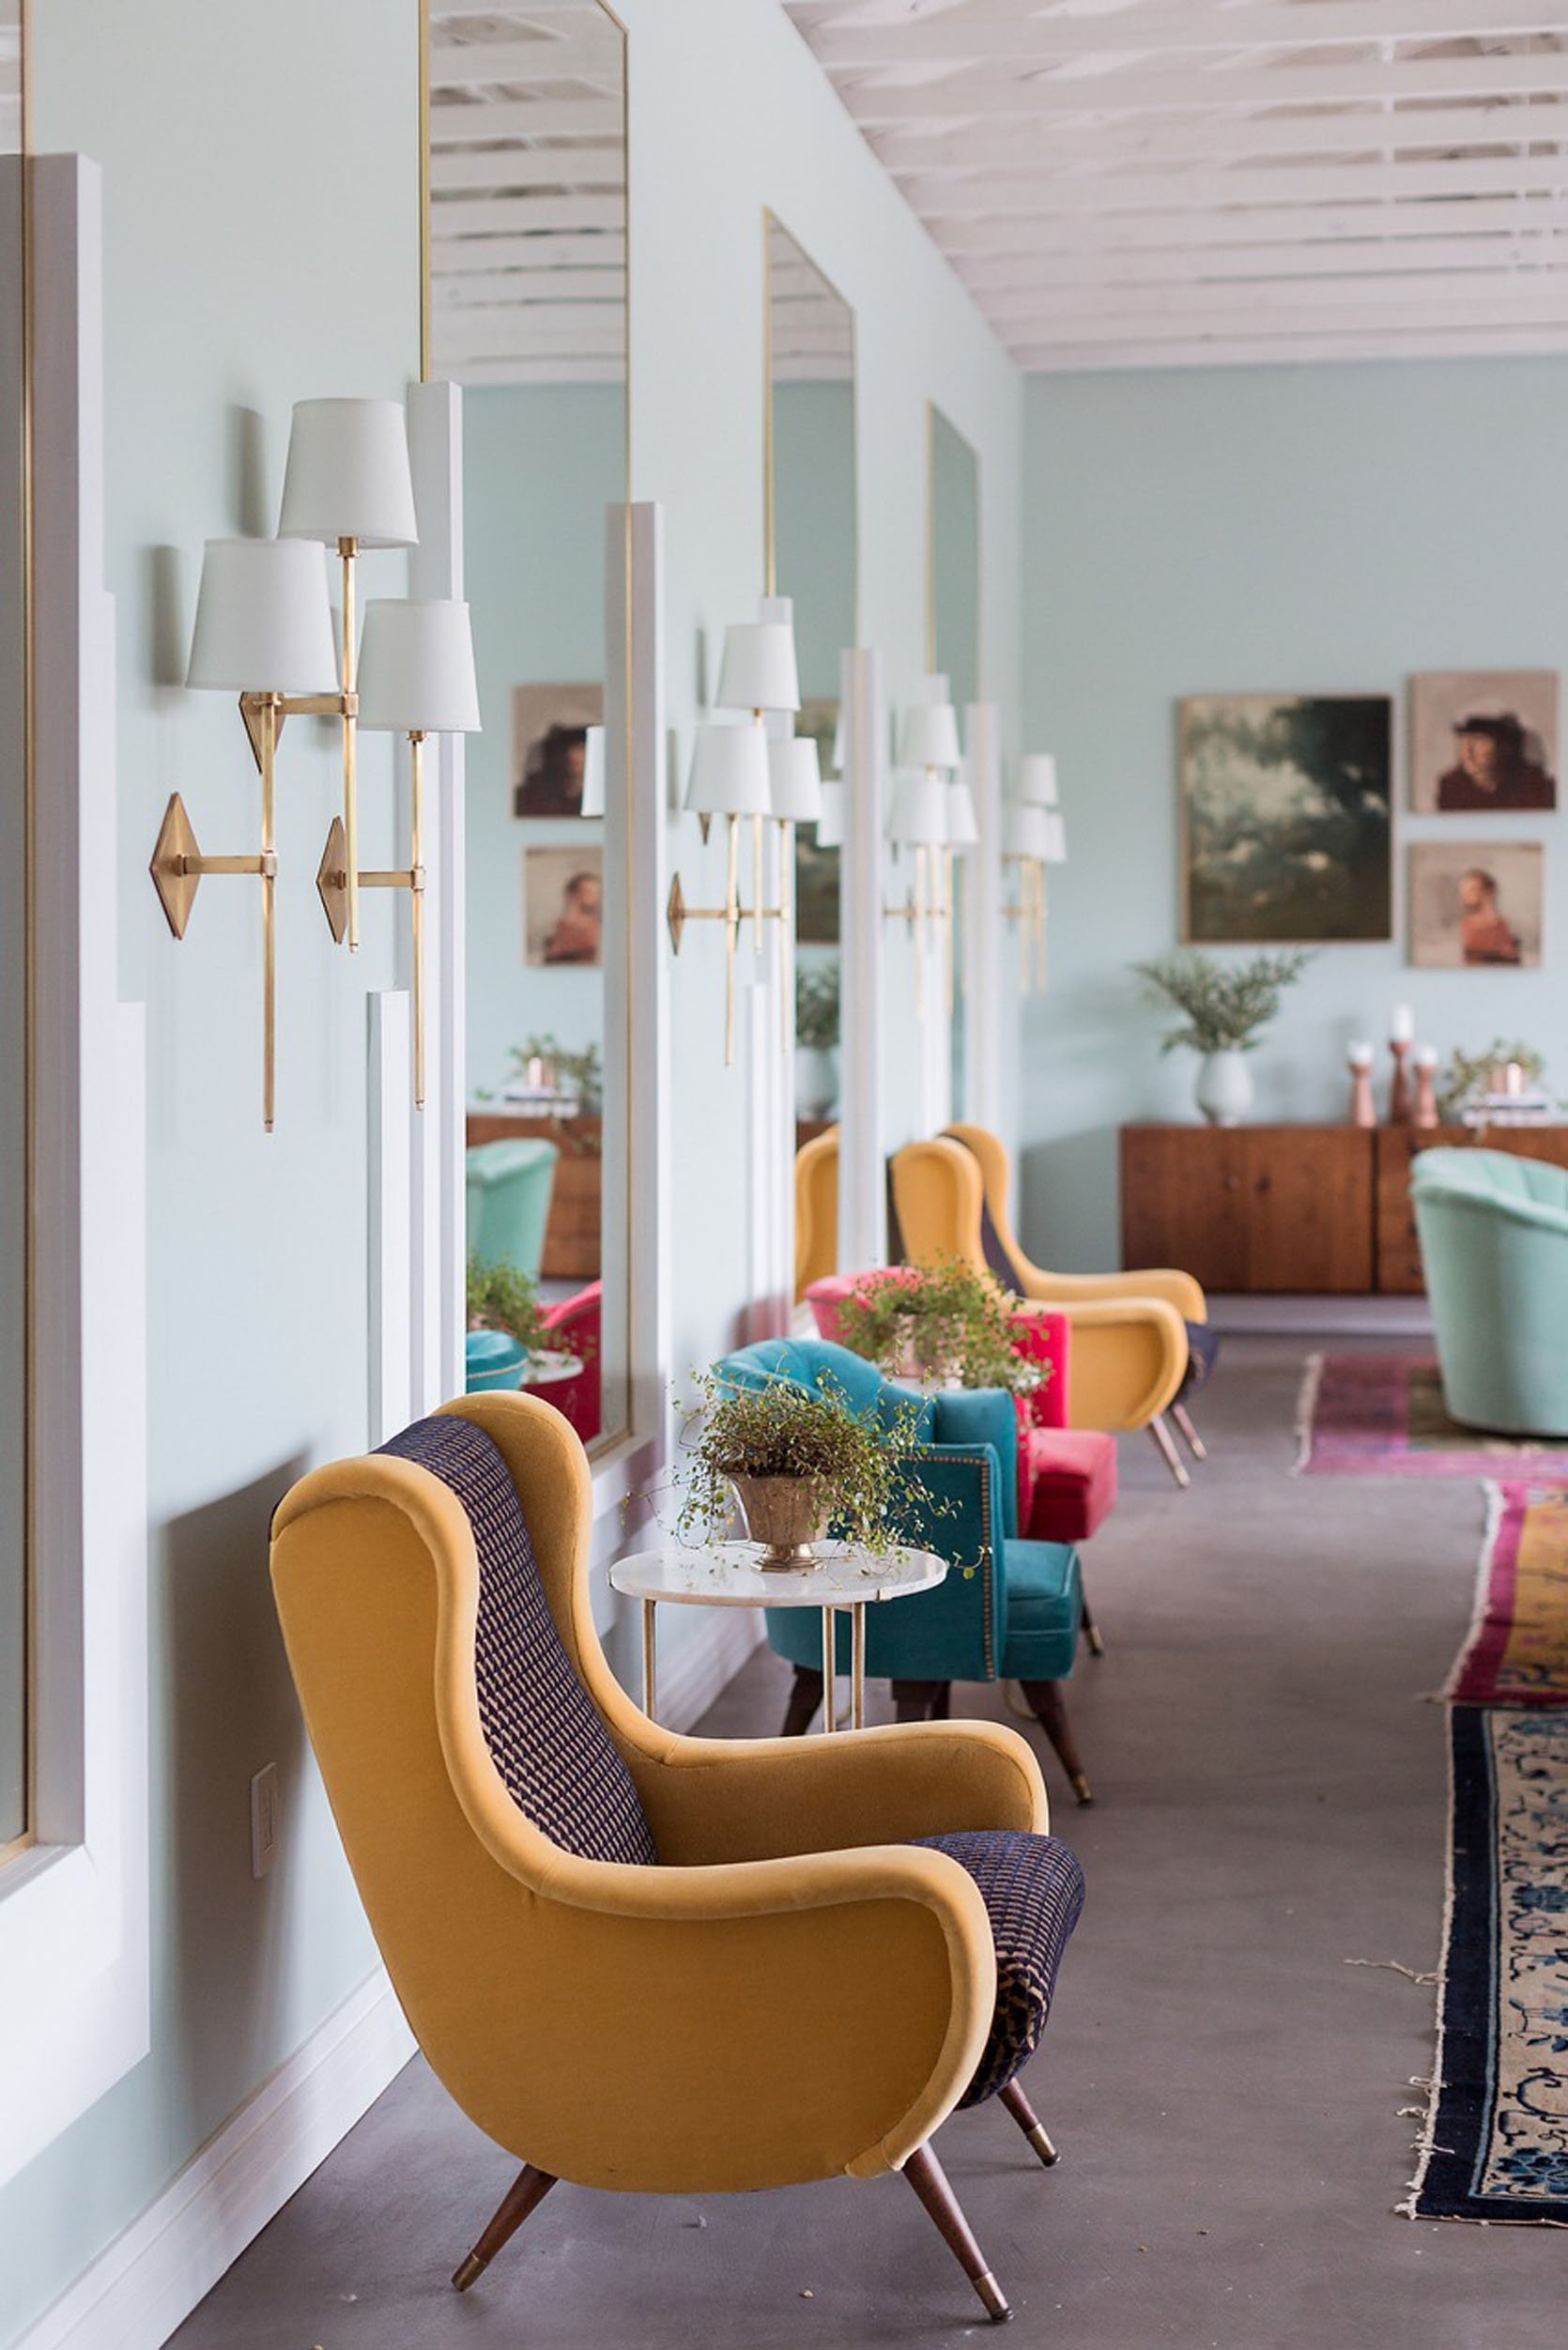
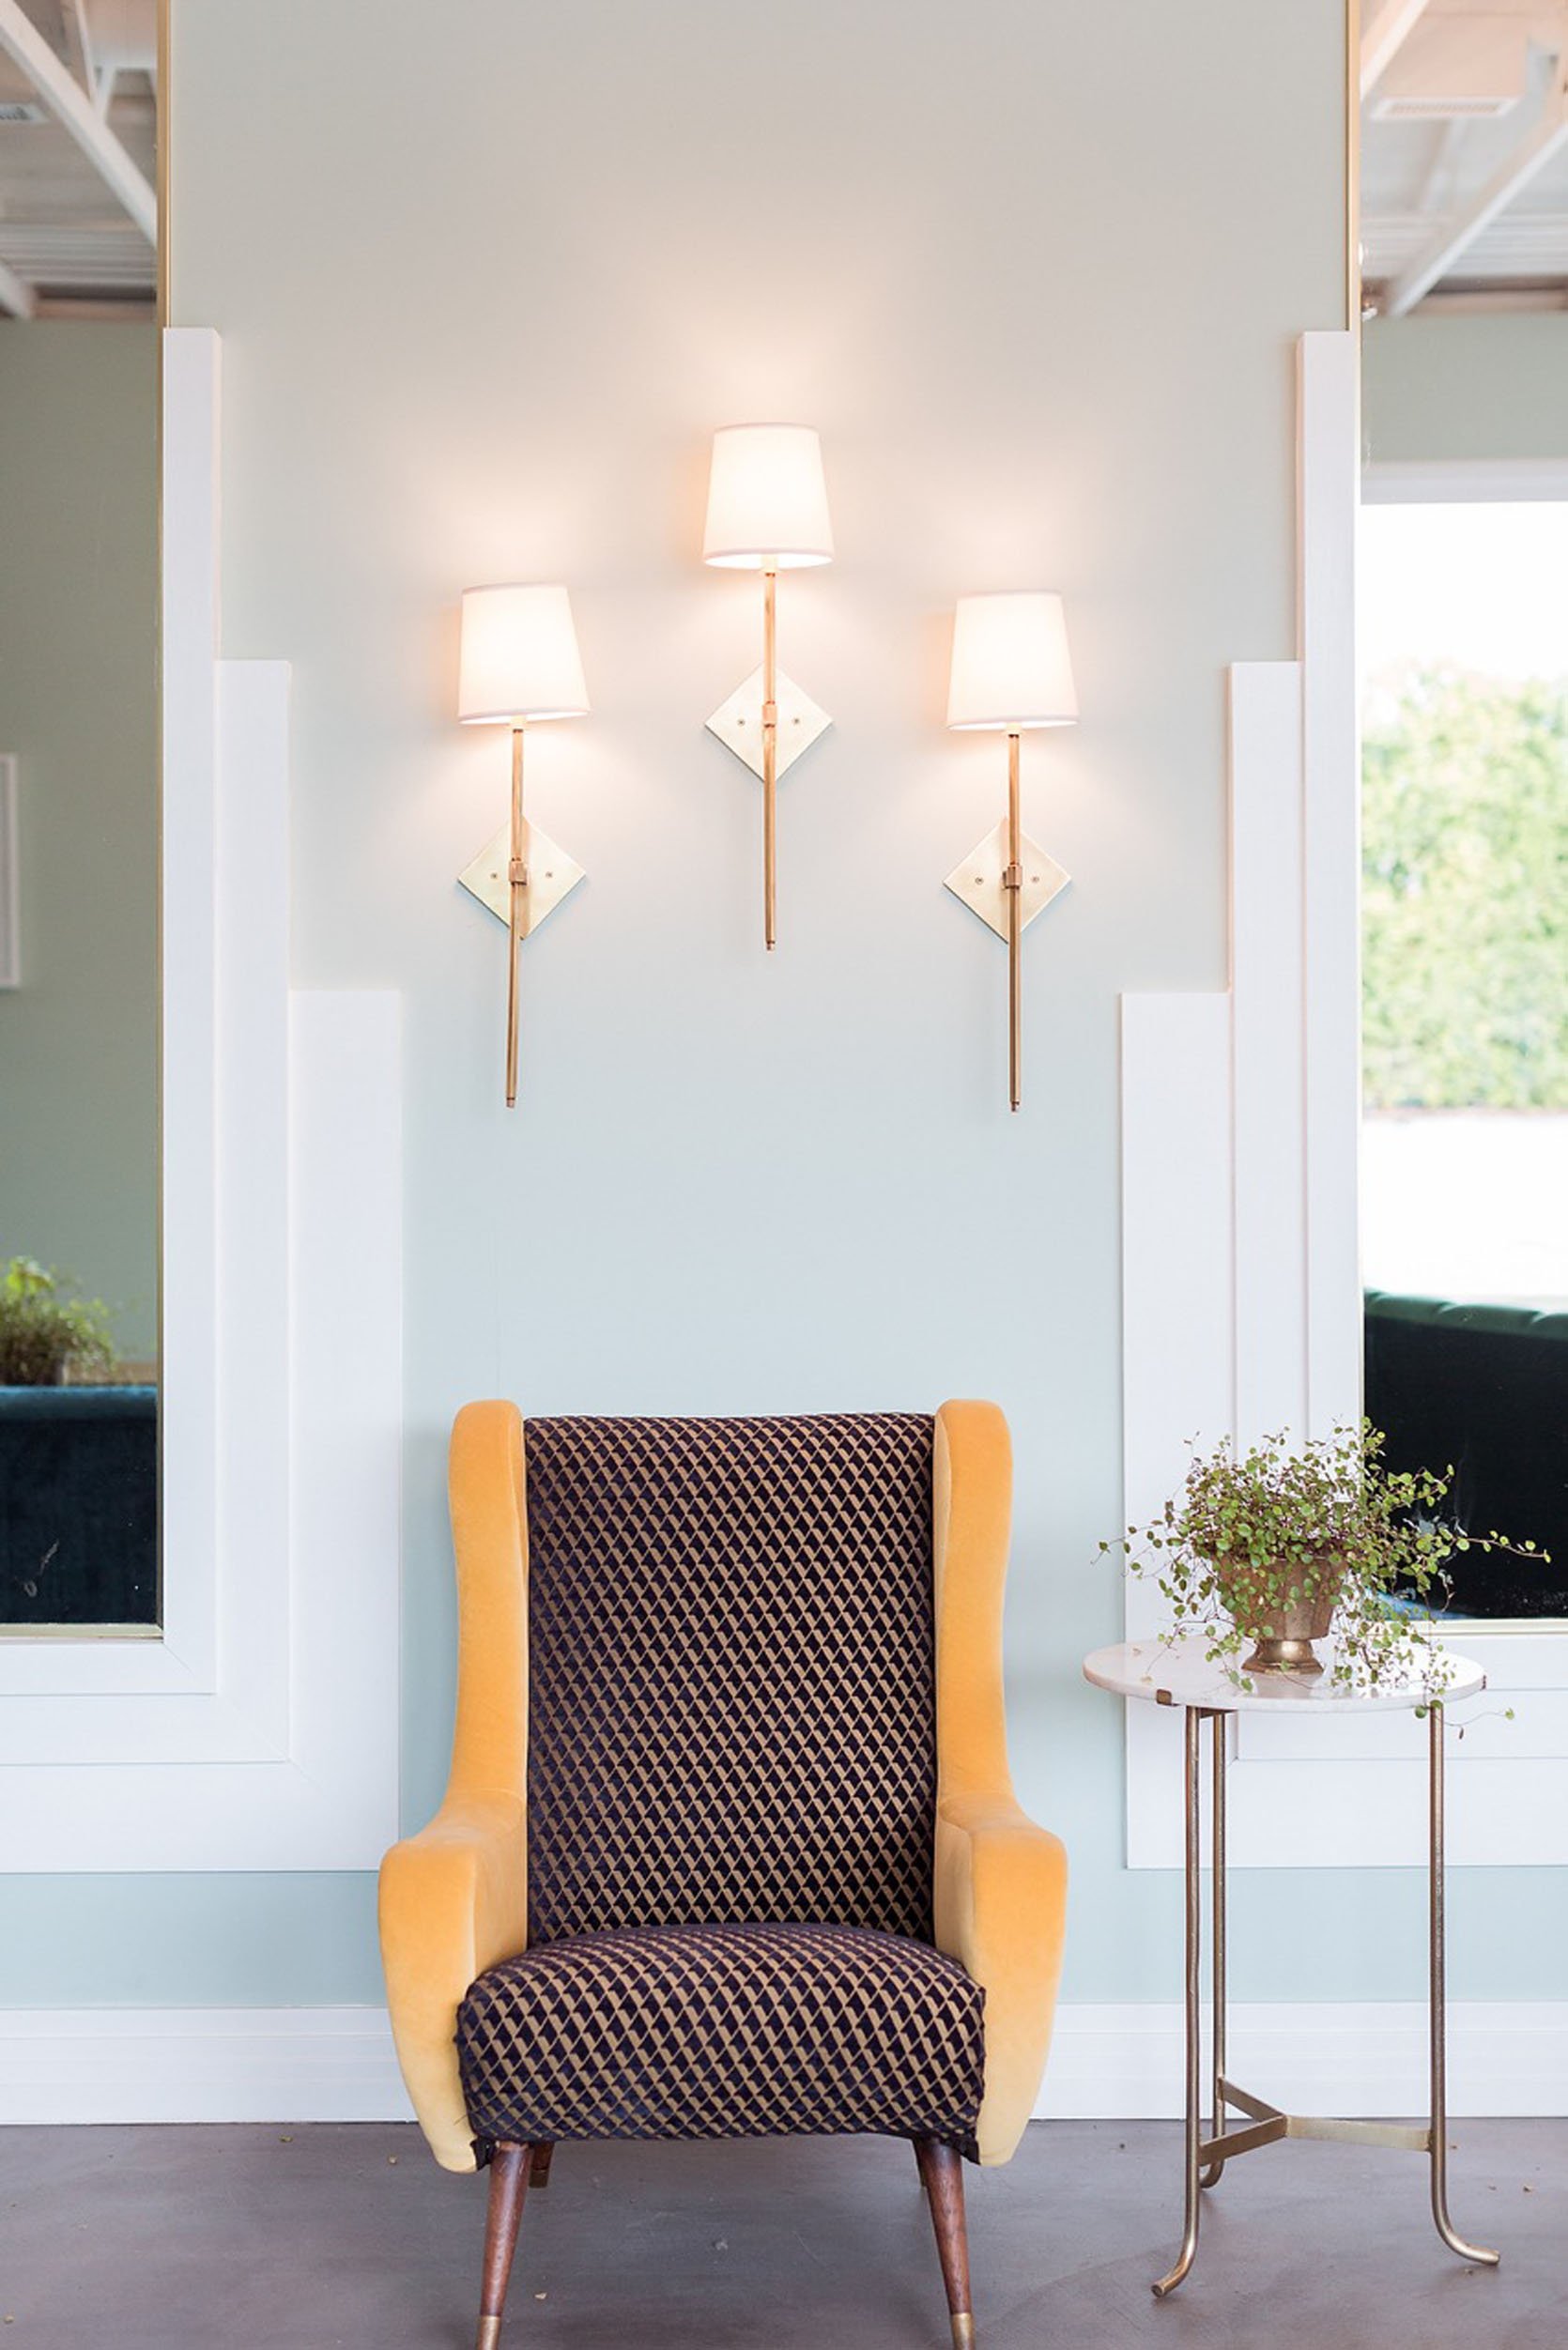
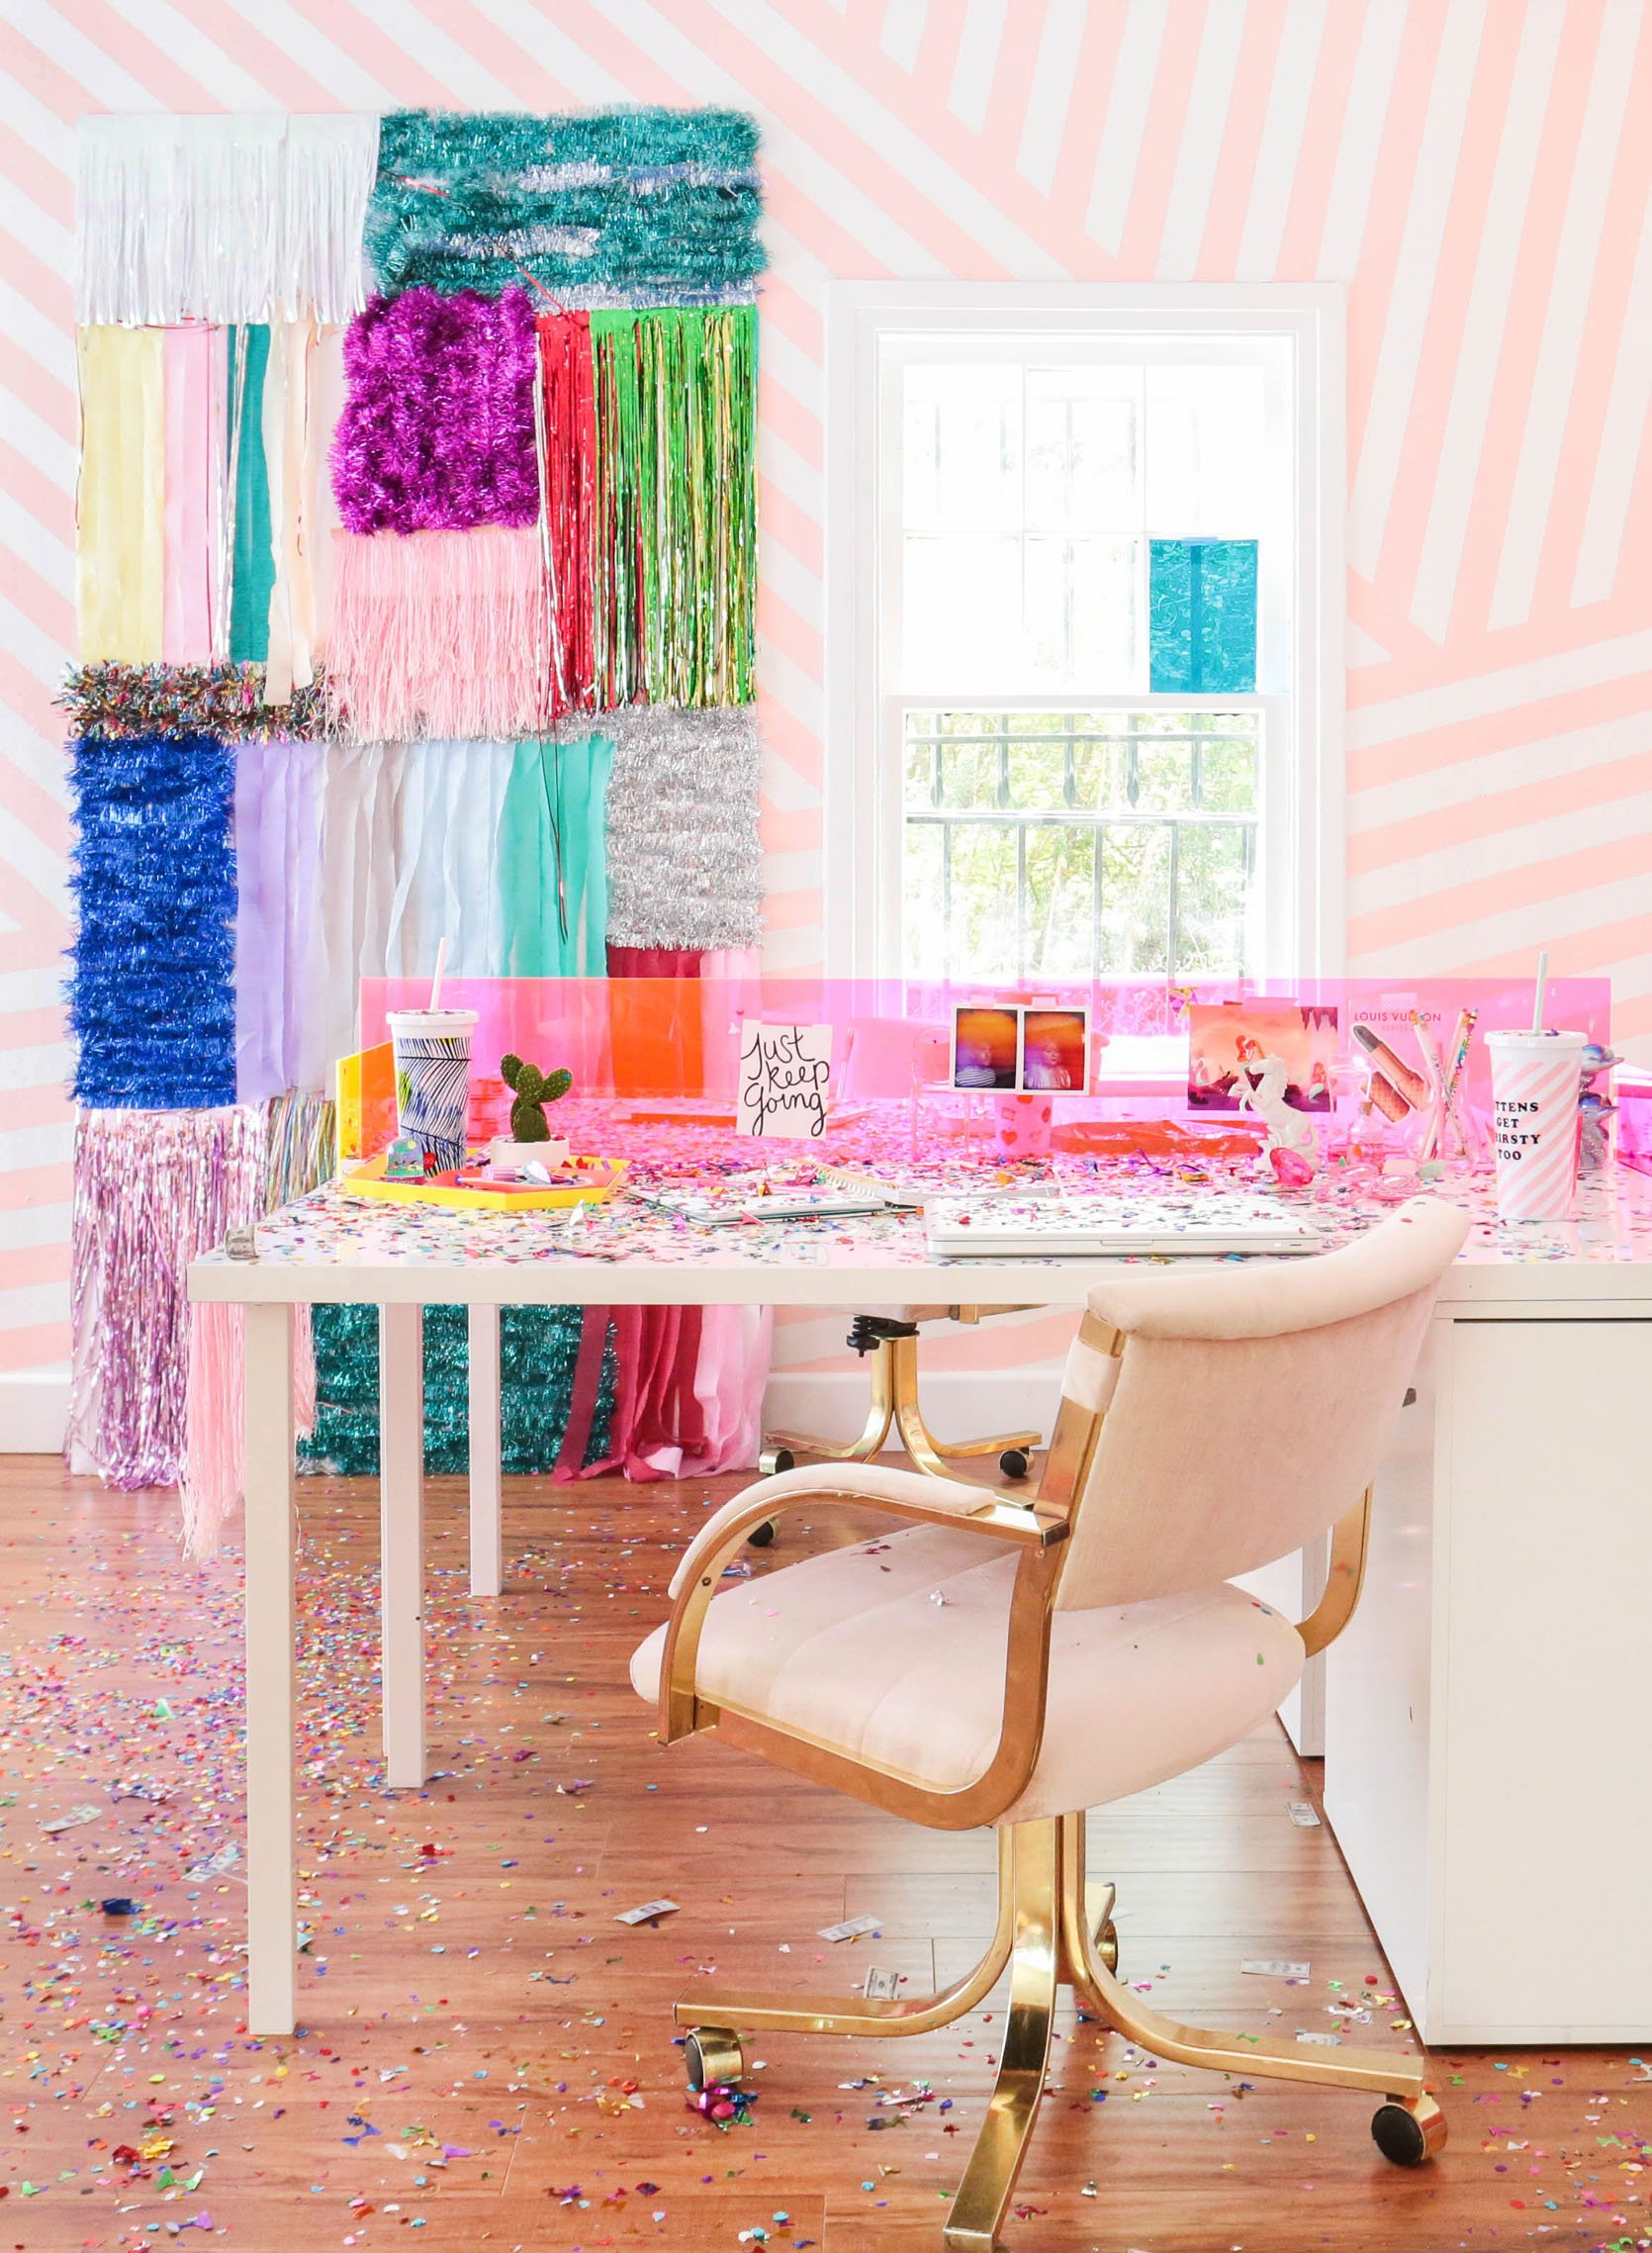
I totally forgot how we literally went to a party decor store and bought that iridescent fringe – what a fun easy thing to do. I’m thinking we might make something instead (preferably not out of cheap non-compostable plastic) but the idea is there. What you can’t tell in that photo is that the ceiling is a shimmery lavender wallpaper. It was SO PRETTY in person. Now that’s quite the commitment and our home is a farmhouse for Pete’s sake, but my goodness how fun would that be?? Birdie agrees. The last thing to point out is that all three chairs (the hot pink velvet and the tufted sparkly linen office chair) were vintage that we upholstered. It takes far more time than buying new (sourcing awesome vintage chairs in Portland will be harder than LA) but, y’all, I’ll just have to prioritize vintage shopping more into my days 🙂
Upholstering Vintage Furniture With Multiple Fabrics
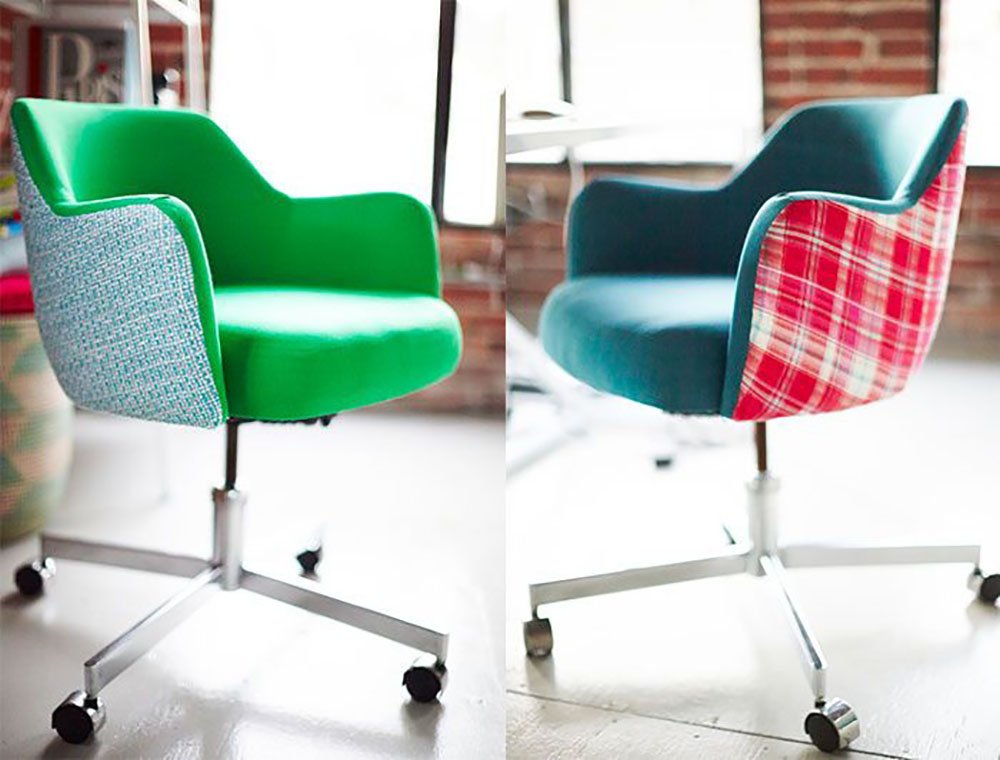
For Joy’s studio, we found these 8 vintage office chairs and chose 16 different fabrics to have them reupholstered in. They were SO FUN and quite the commitment but curious if we could do a version of this ourselves. I’m not sure what piece this would even be besides some mushroom stools I have my eye on (where the tops would be different than the bottoms). Birdie is DESPERATE to have a canopy, so I’m wondering if we do that here – mix different sheer fabrics with ribbons into a version that she loves (tbh there are so many good readymade options out there). But point being – this is something that would scare me to do for a living space until I was reminded of this…
….I did it again for the Fig House! Those vintage lounge chairs were reupholstered in two different colors and I still love them. I long to be risky again so this is getting my juices flowing for sure.
Playing With Window Treatments – String, Beads, And Pom Poms
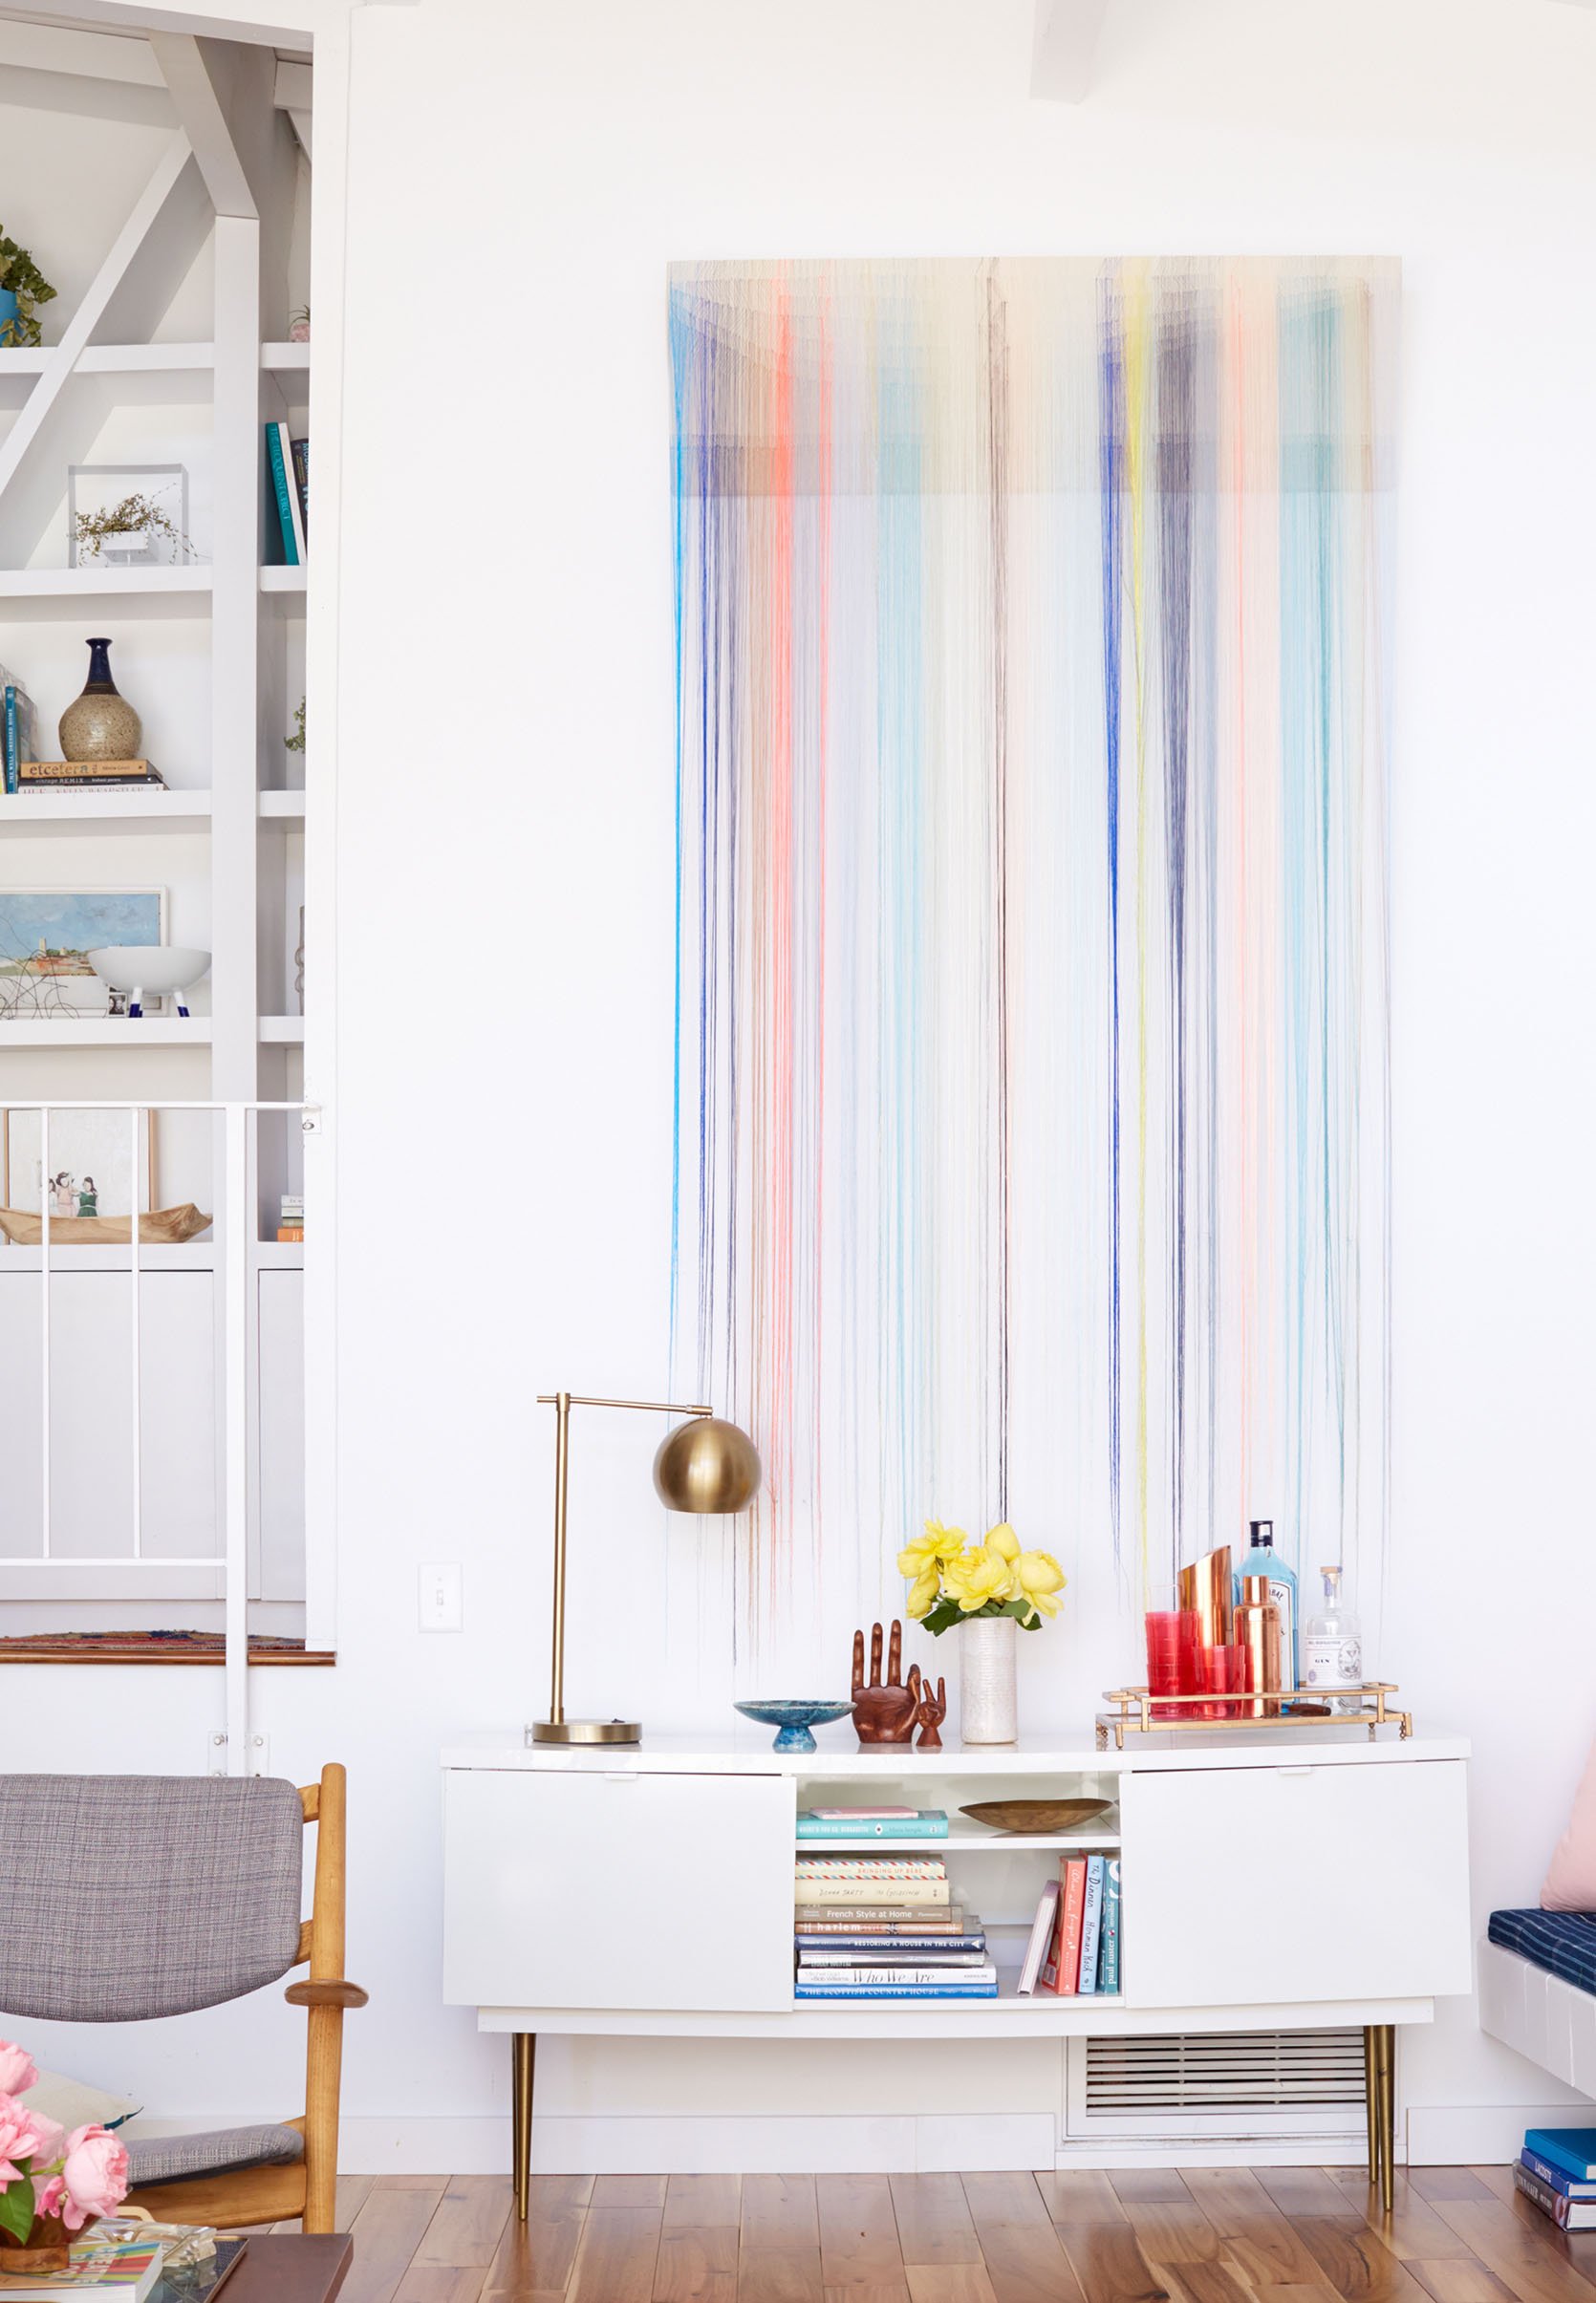
I showed the kids this Nike Schroeder piece that I commissioned to go into our first home’s living room and they both loved it. Of course, they did – it’s so tactile, fun, visually stimulating, and wreaks of creativity. Sadly, I sold that piece to the family who bought the house because at the time I had literally nowhere to put it in our next house (it’s 8′ long) and didn’t want it to be stored for a decade, but sure wish I had it now. I’m curious what version of this I could do on our own…it’s just so fun. Maybe some sort of beaded curtain?
I just found this gif in my photos from 2013 and was so nostalgic. This is when I was a DIY contributor for Redbook (that sounds hilarious now) and we did a story about how to upgrade basic white curtains. For their rooms we already have simple blackout shades being installed (by Decorview, we loved what we had at mountain house so we are doing similar ones for room darkening purposes). I’m not sure if we will add curtains or not. They would be more decorative since we already have the shades, but these sweet little DIY ideas are making a case for curtains…
DIY Painted Patterned Walls And Ceiling
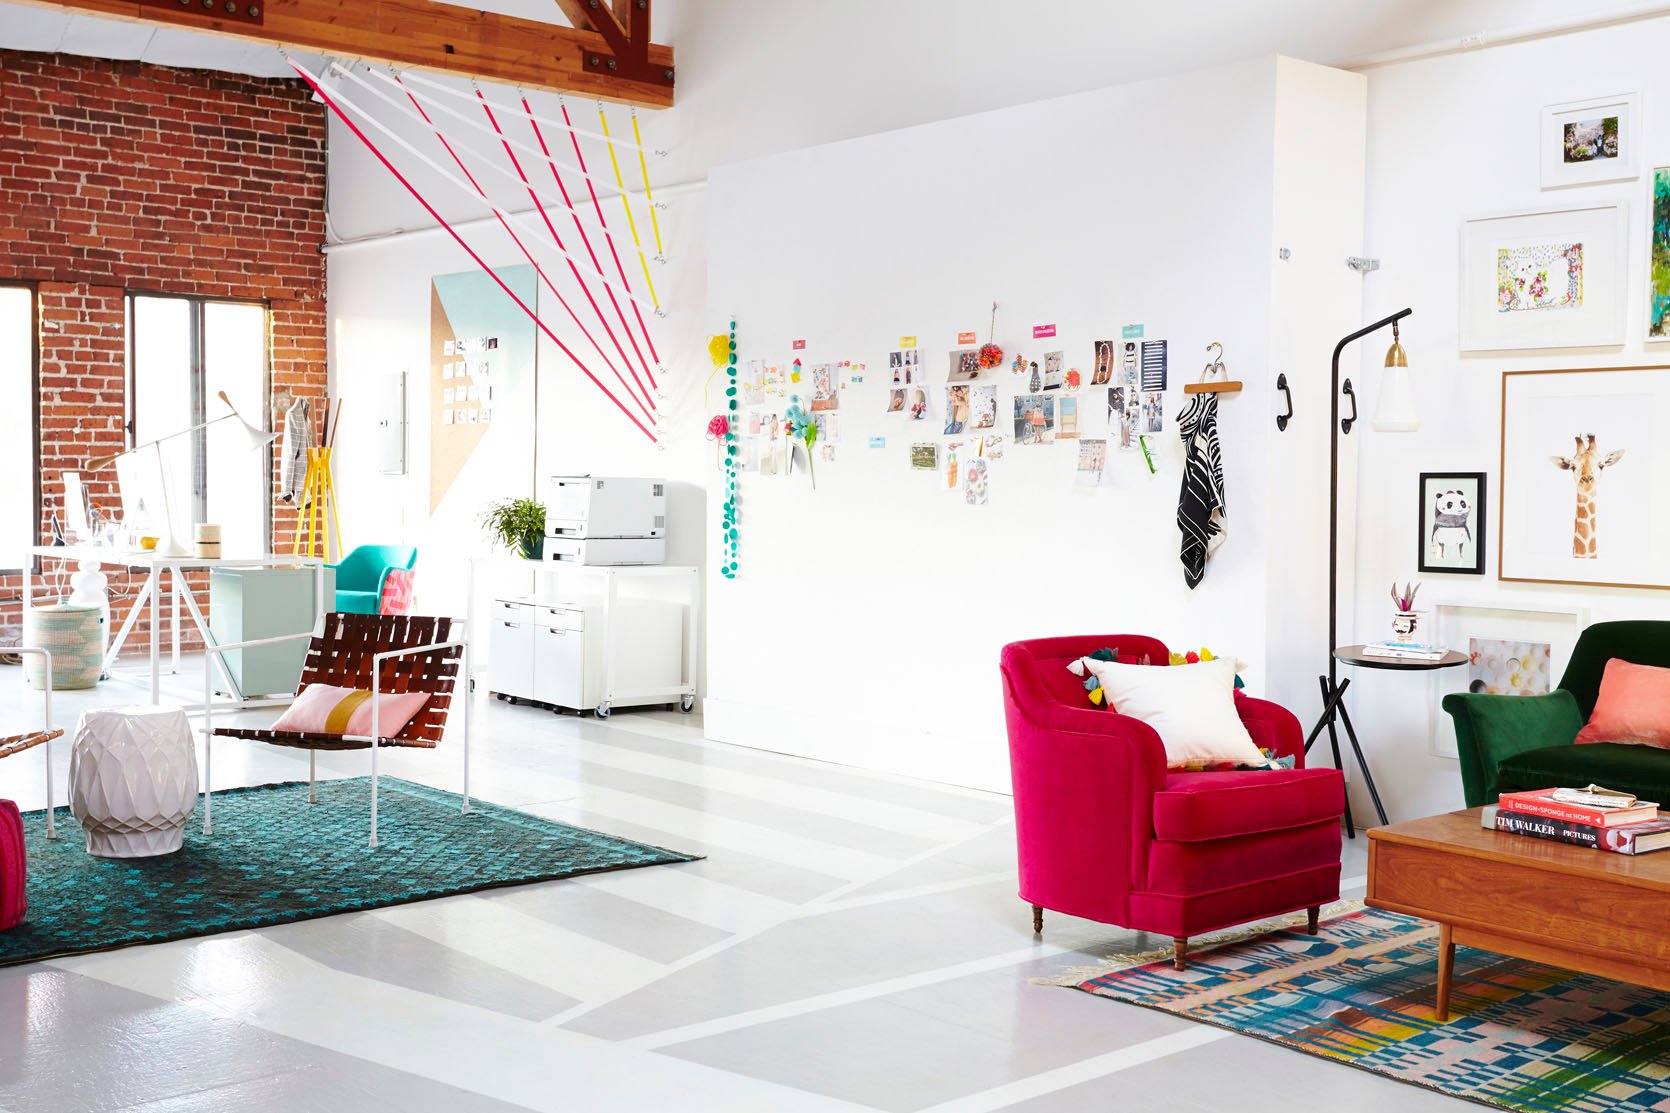
The kids pointed this out without me even “seeing” this – but for both Joy’s and Ban.do’s projects we painted patterns with tape on the floors and walls. Now, this is super laborious but incredibly impactful (and not hard, just time-consuming).
Would this be super fun on the ceiling? YES! But my goodness so much work. I have some other ideas that might be easier, but still super impactful. I love this due to its temporary and low-cost nature – in 10 years they might not want such playfulness but the risk is just a gallon of paint, some tape, and I’m sure a lot of frustration 🙂 Maybe stencils? Inside the closets? Closet doors?
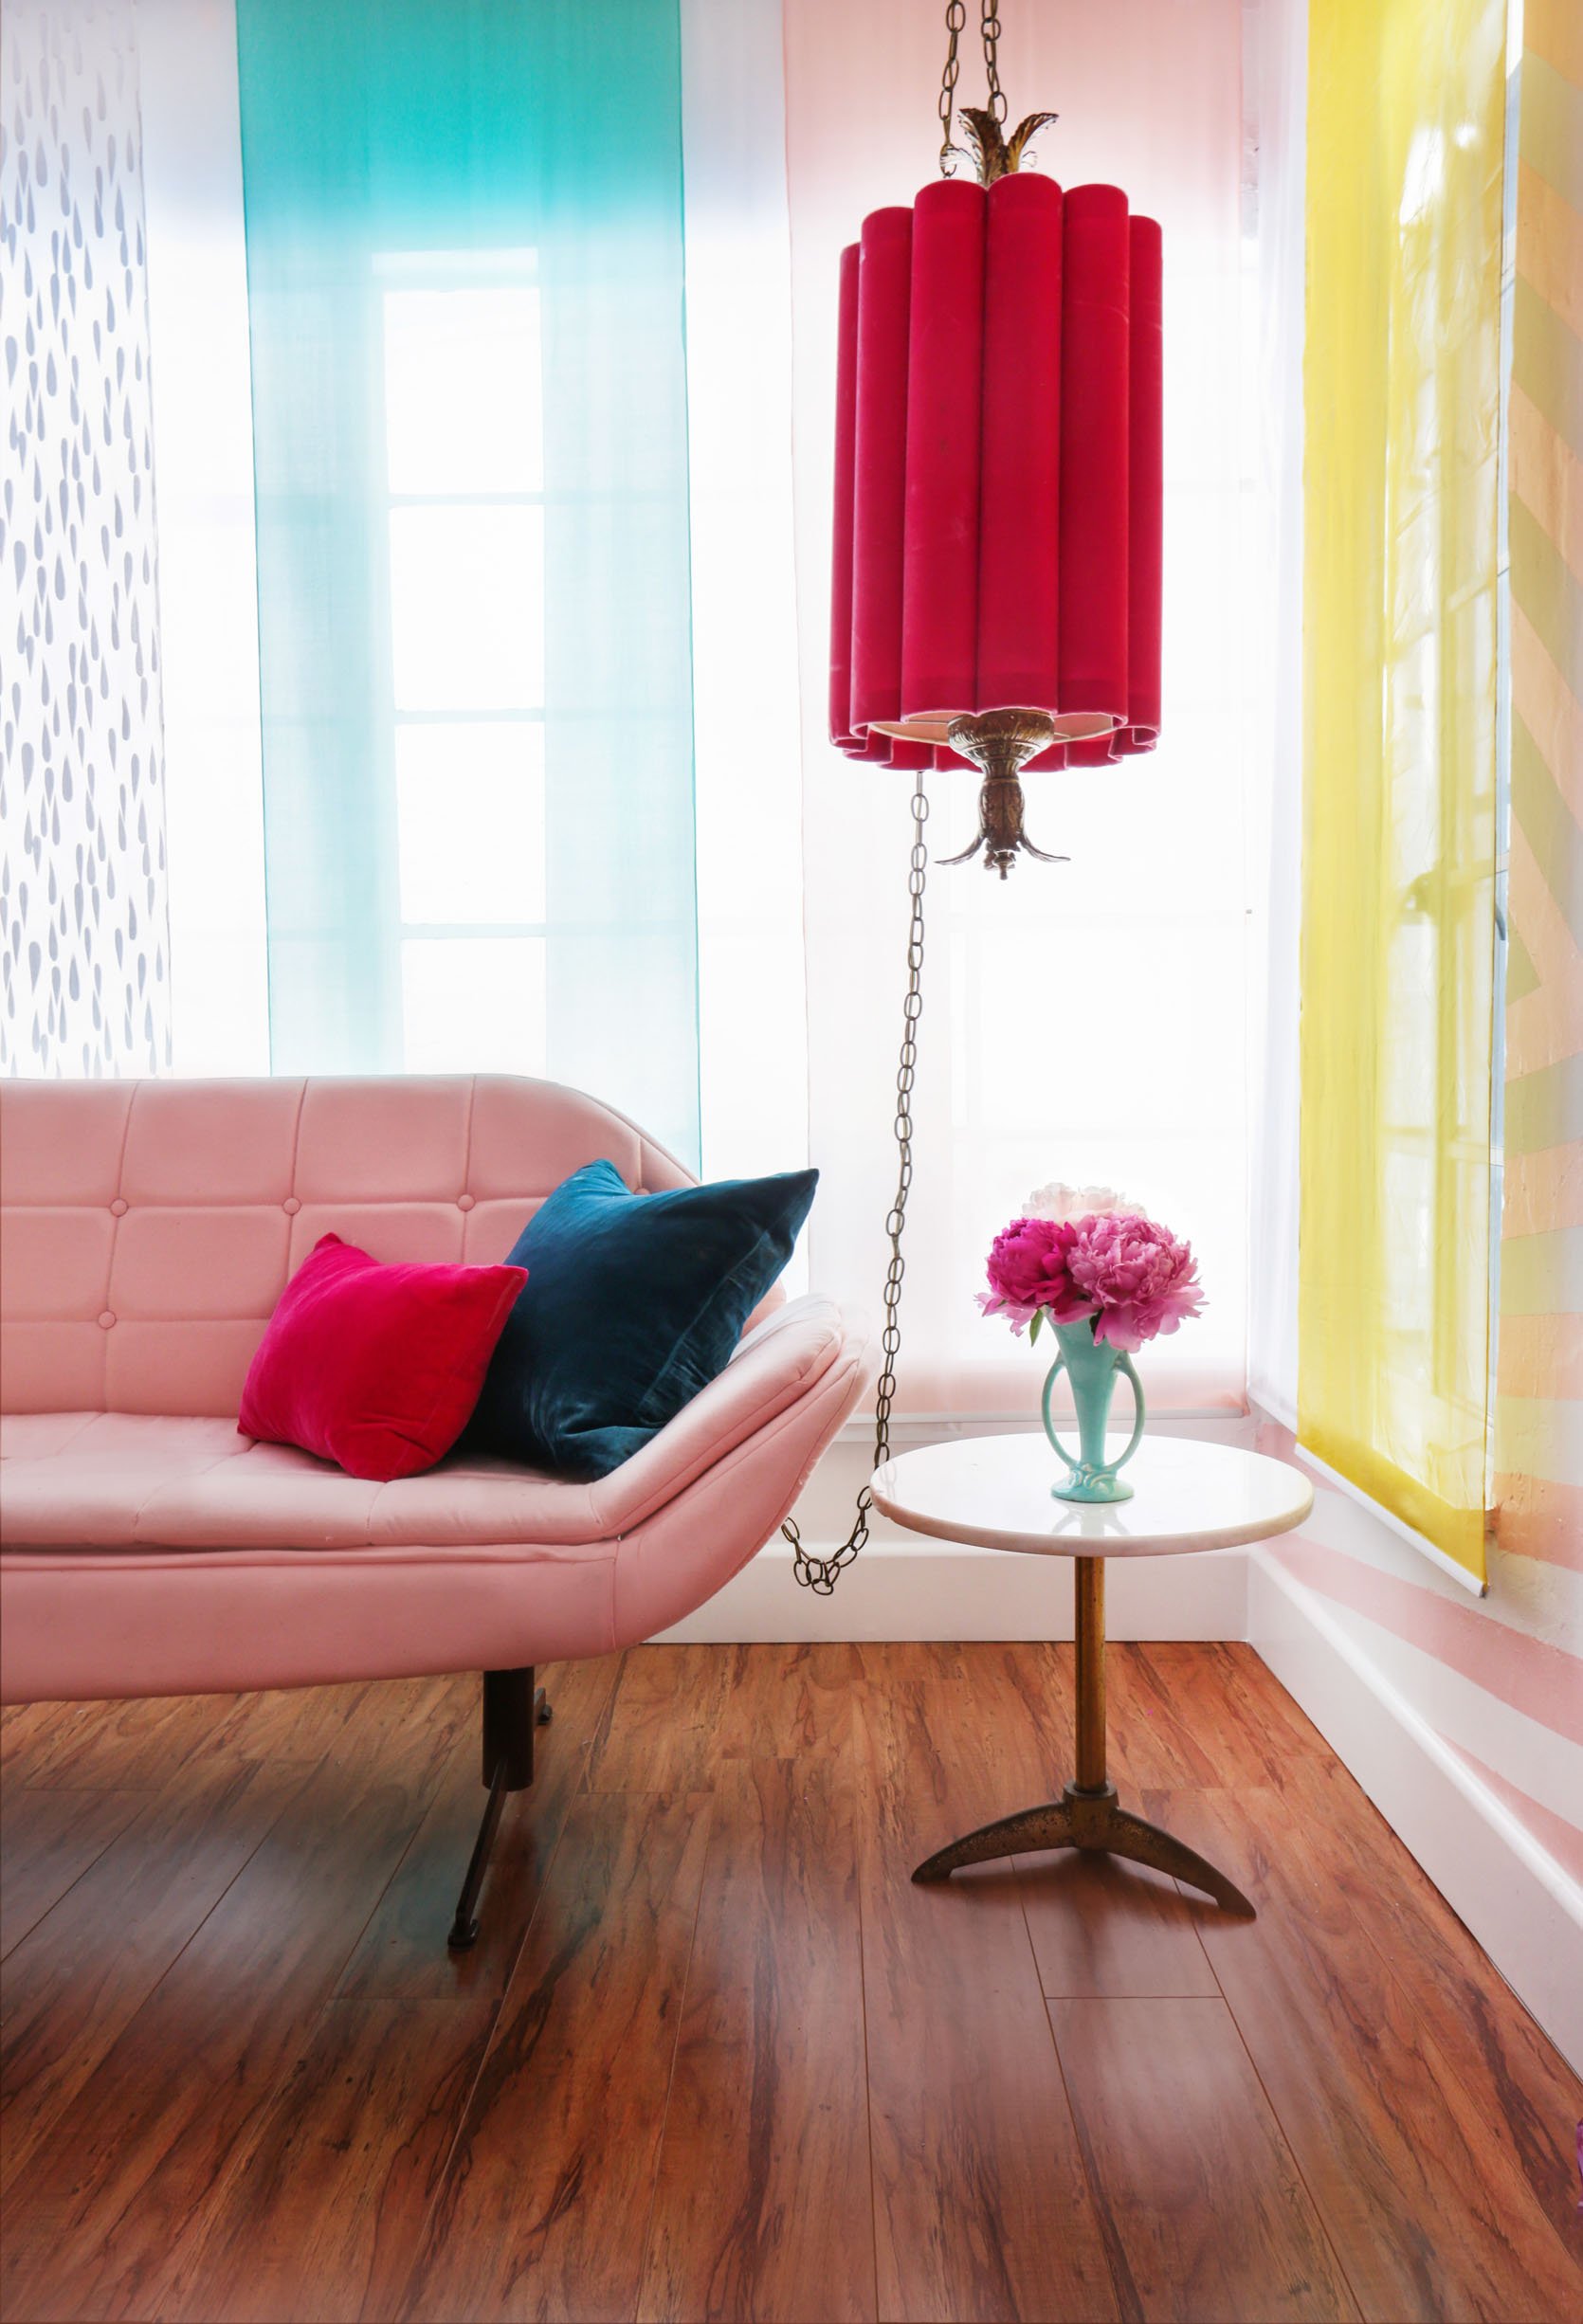
In Search Of Hot Pink Hanging Lamps!!!
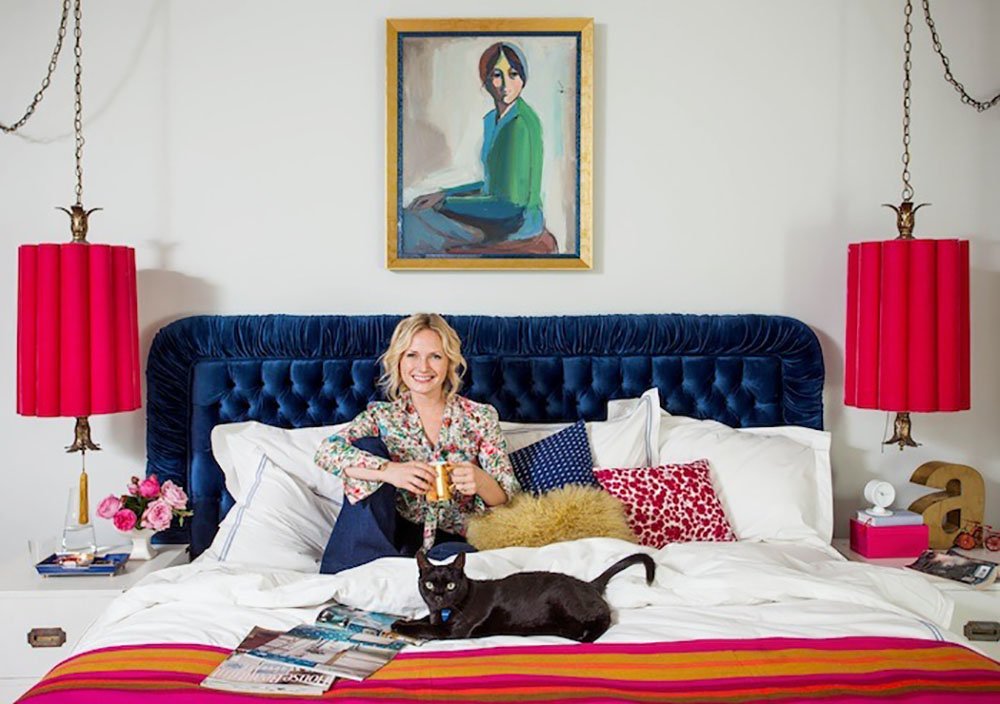
Ugh. I showed this to Birdie and she screamed – both by seeing Bearcat again (they still cry about her) and those hot pink hanging lamps. We would both DESPERATELY love these for her room. If anyone knows where I can track some down let me know – I’ll pay handsomely. I know that I gave one to this studio’s project – I think the other one was in bad shape. If anyone knows of two of these in good condition let me know. Otherwise, we are going to attempt to cover some victorian wire shades with fabric (I did this in 4-H as a child and it’s hard but so fun).
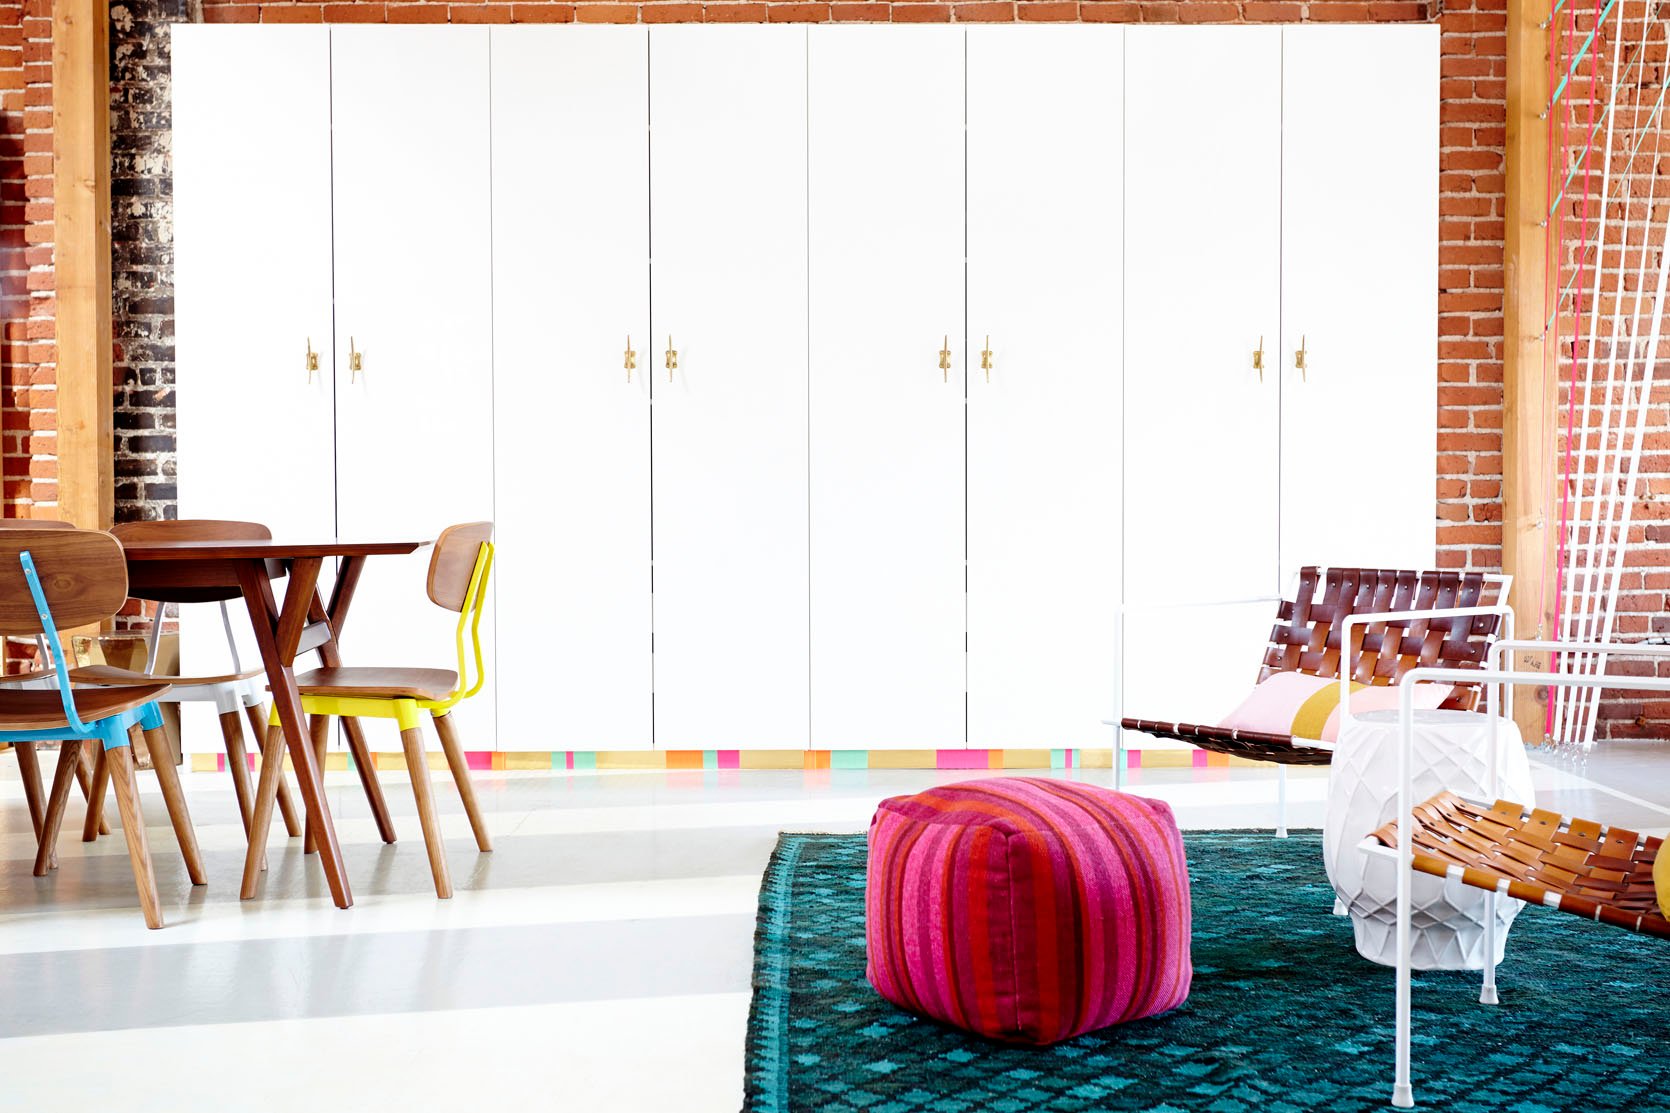
DIY Washi Tape Patterns
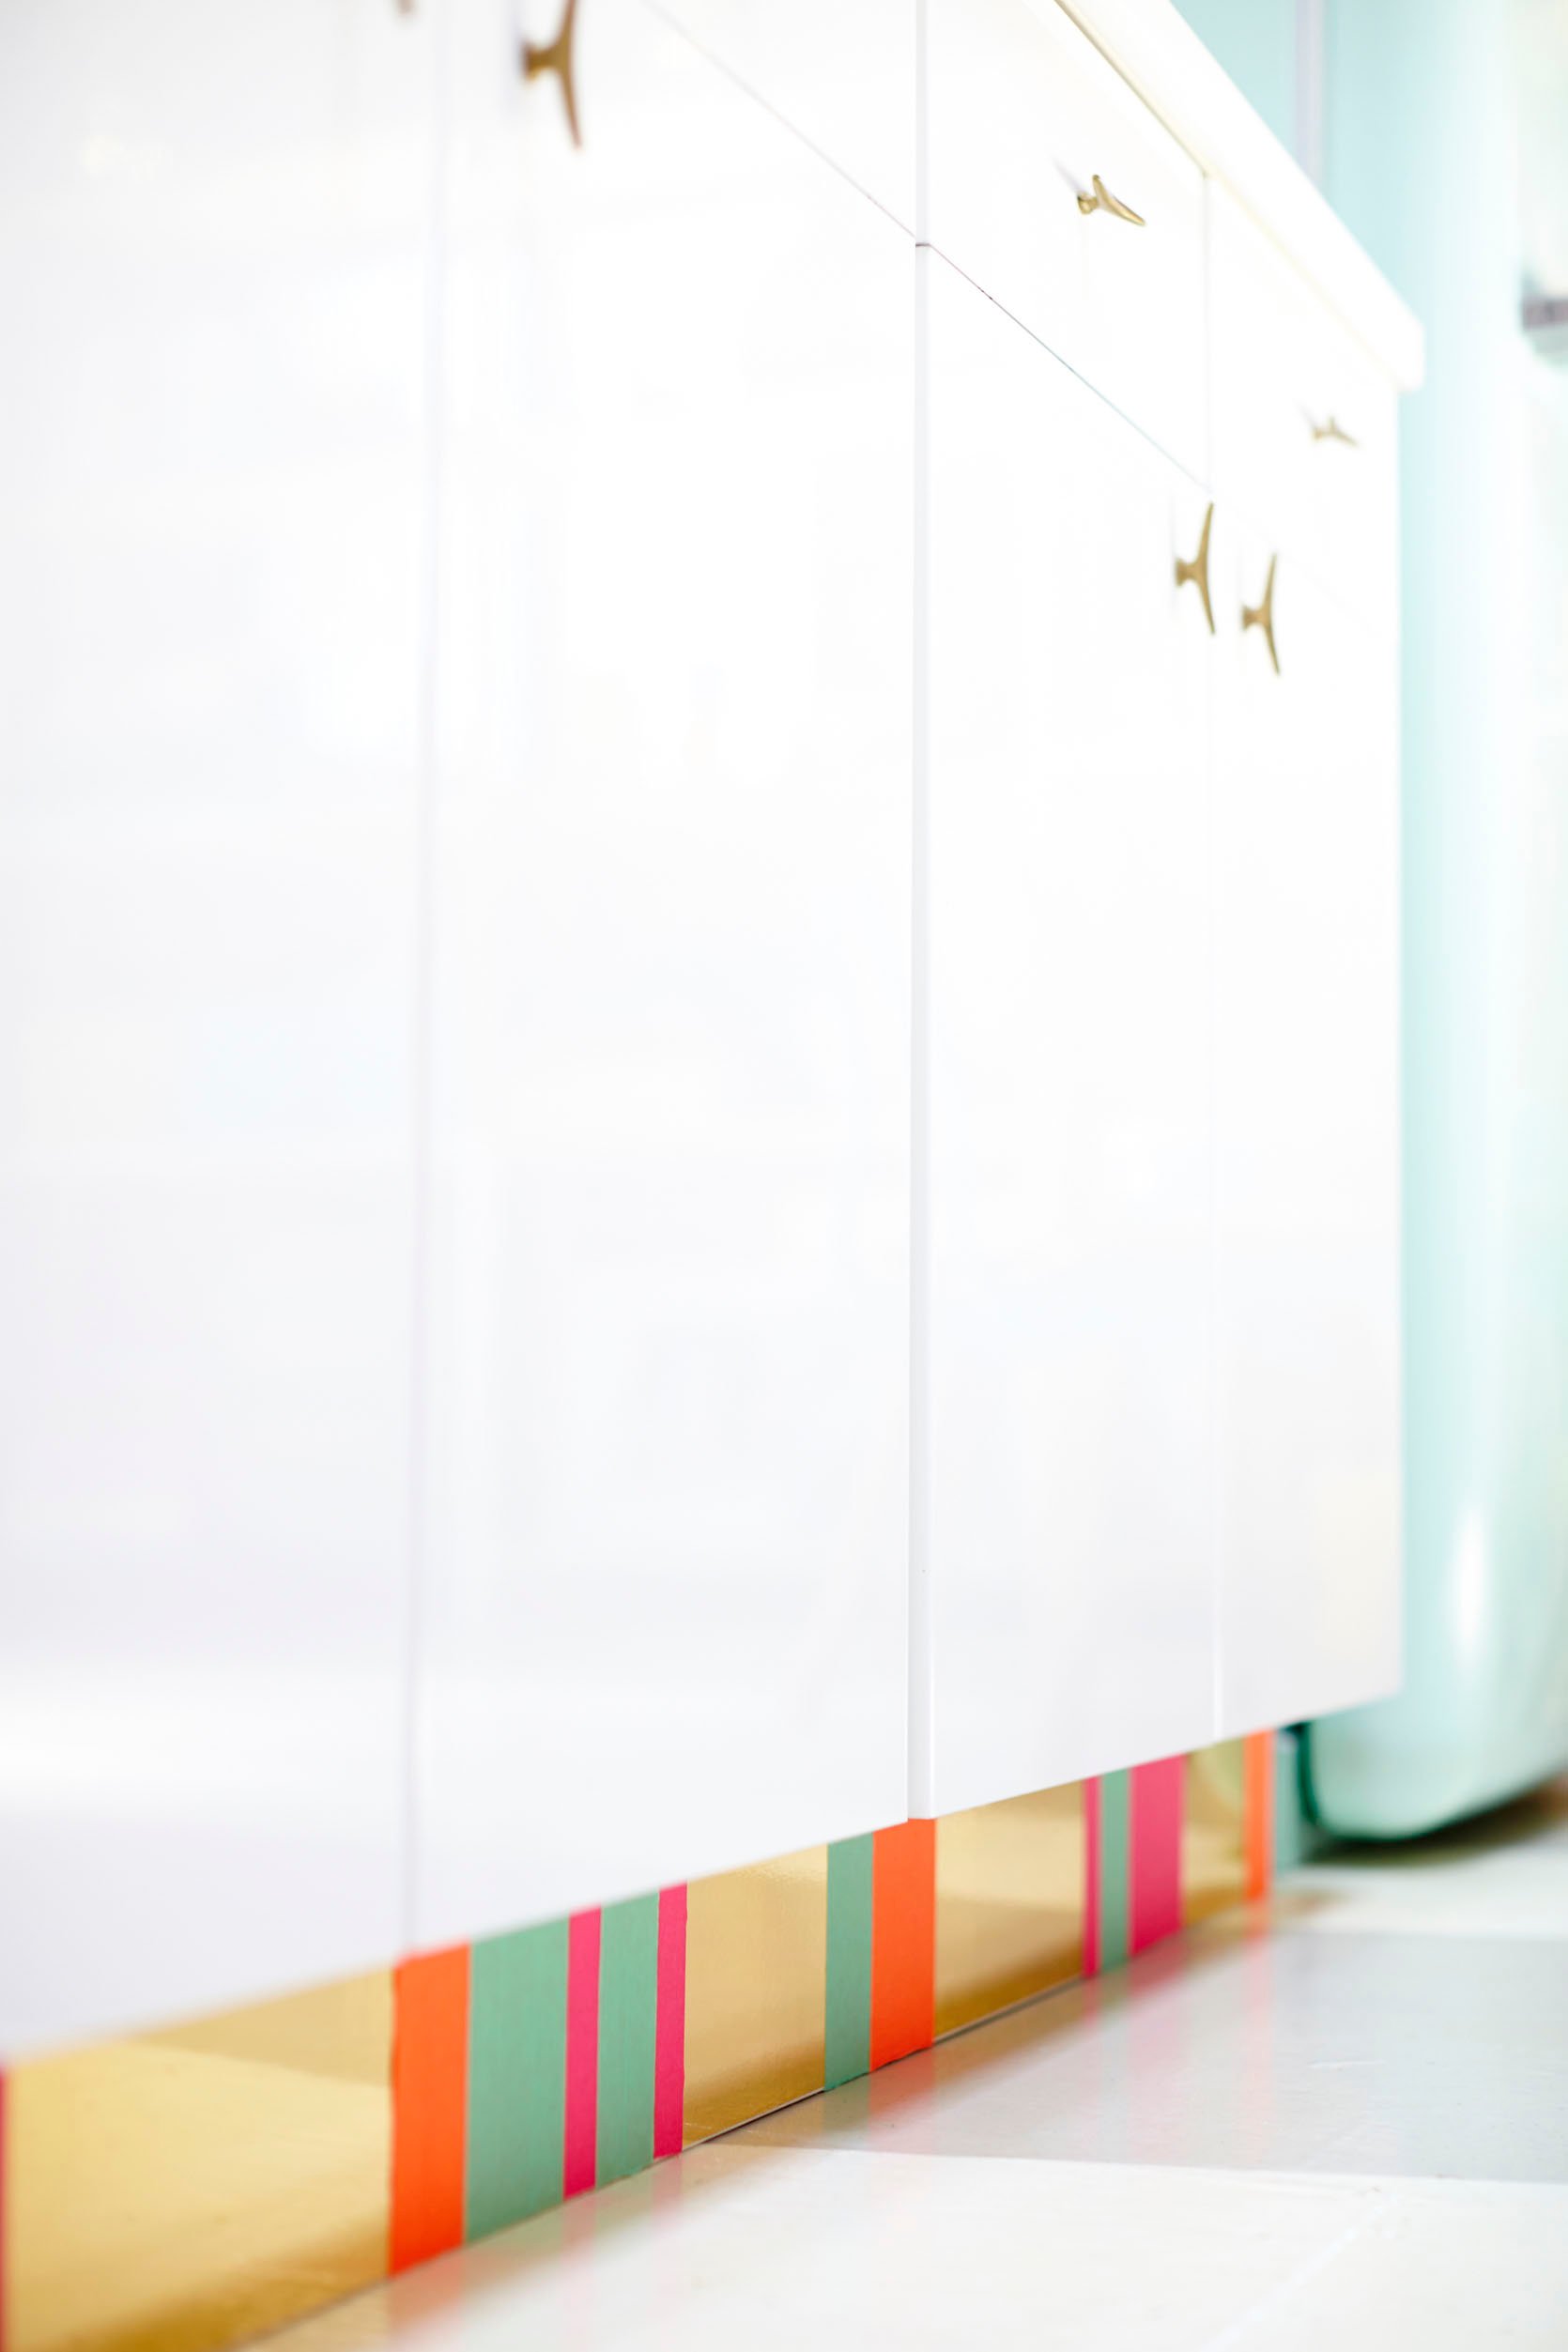
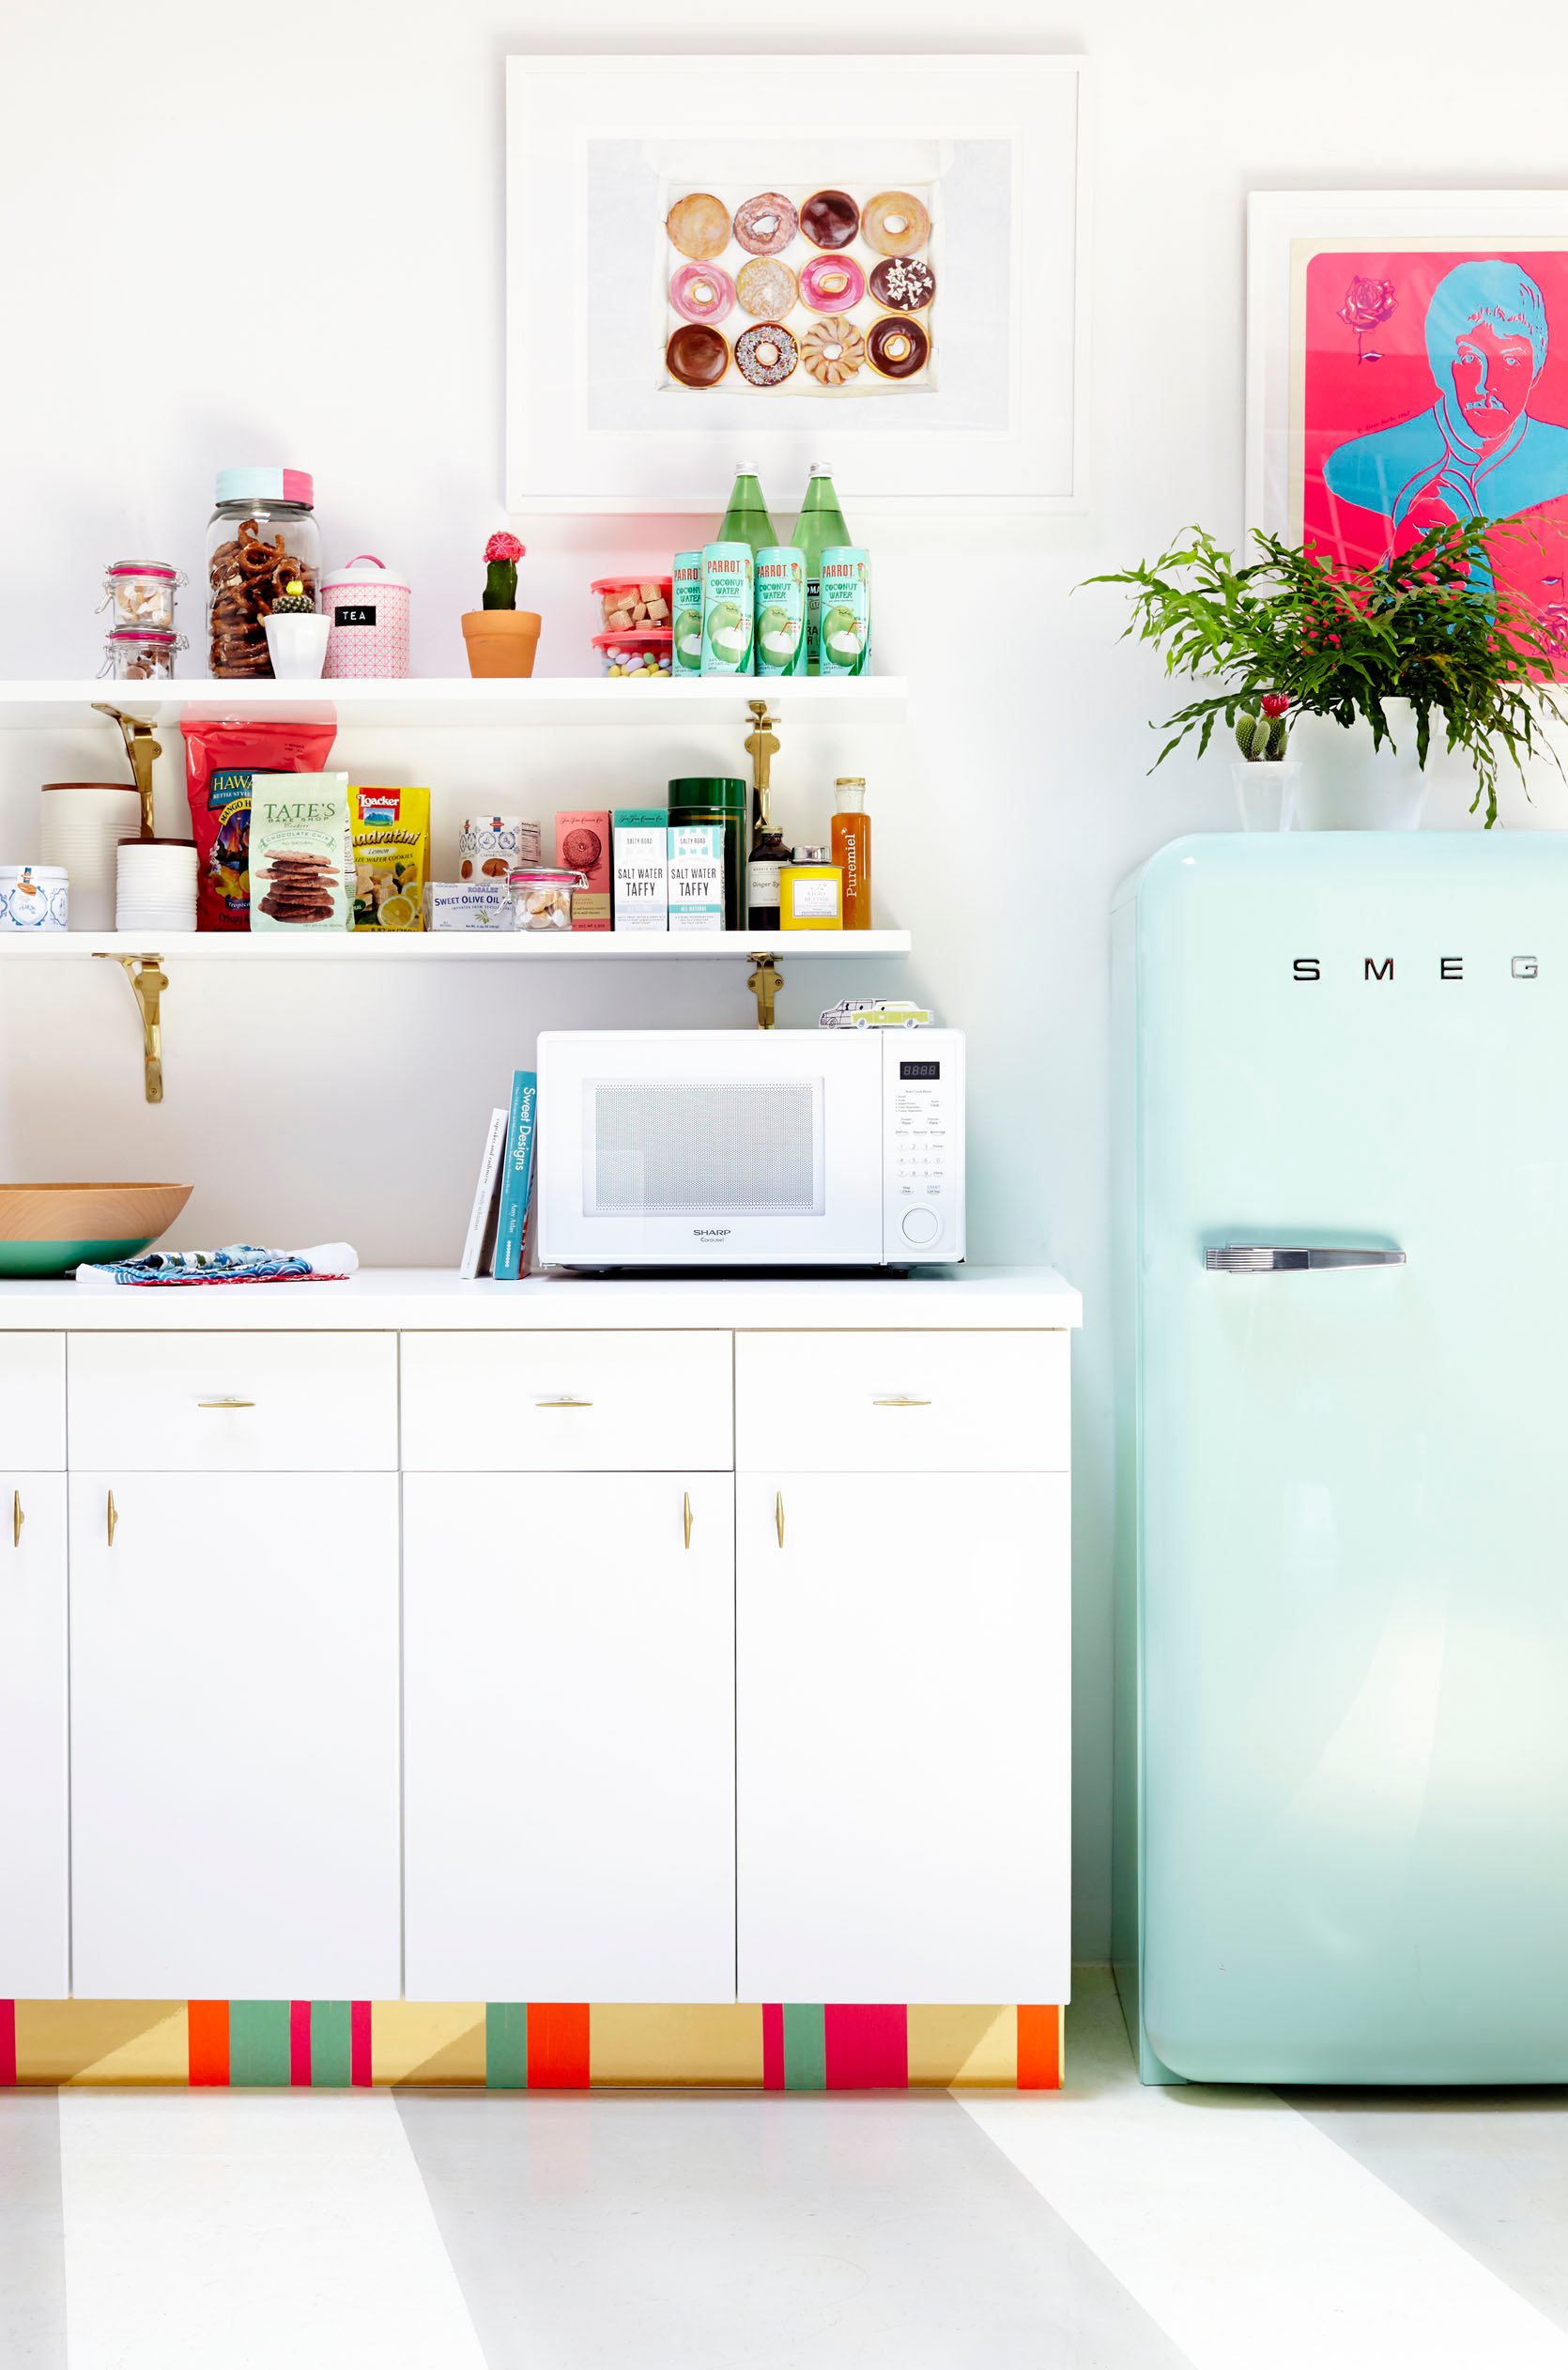
For Joy’s office, we put gold contact paper and washi tape at the bottoms of the kitchen cabinets and the IKEA storage cabinets. SO easy. SO fun. So impactful. Very curious where we could add these in their rooms assuming they are easy to take off.
I love that this is absolutely something they can help with and have a lot of control over the colors since it’s not a long-term risk.
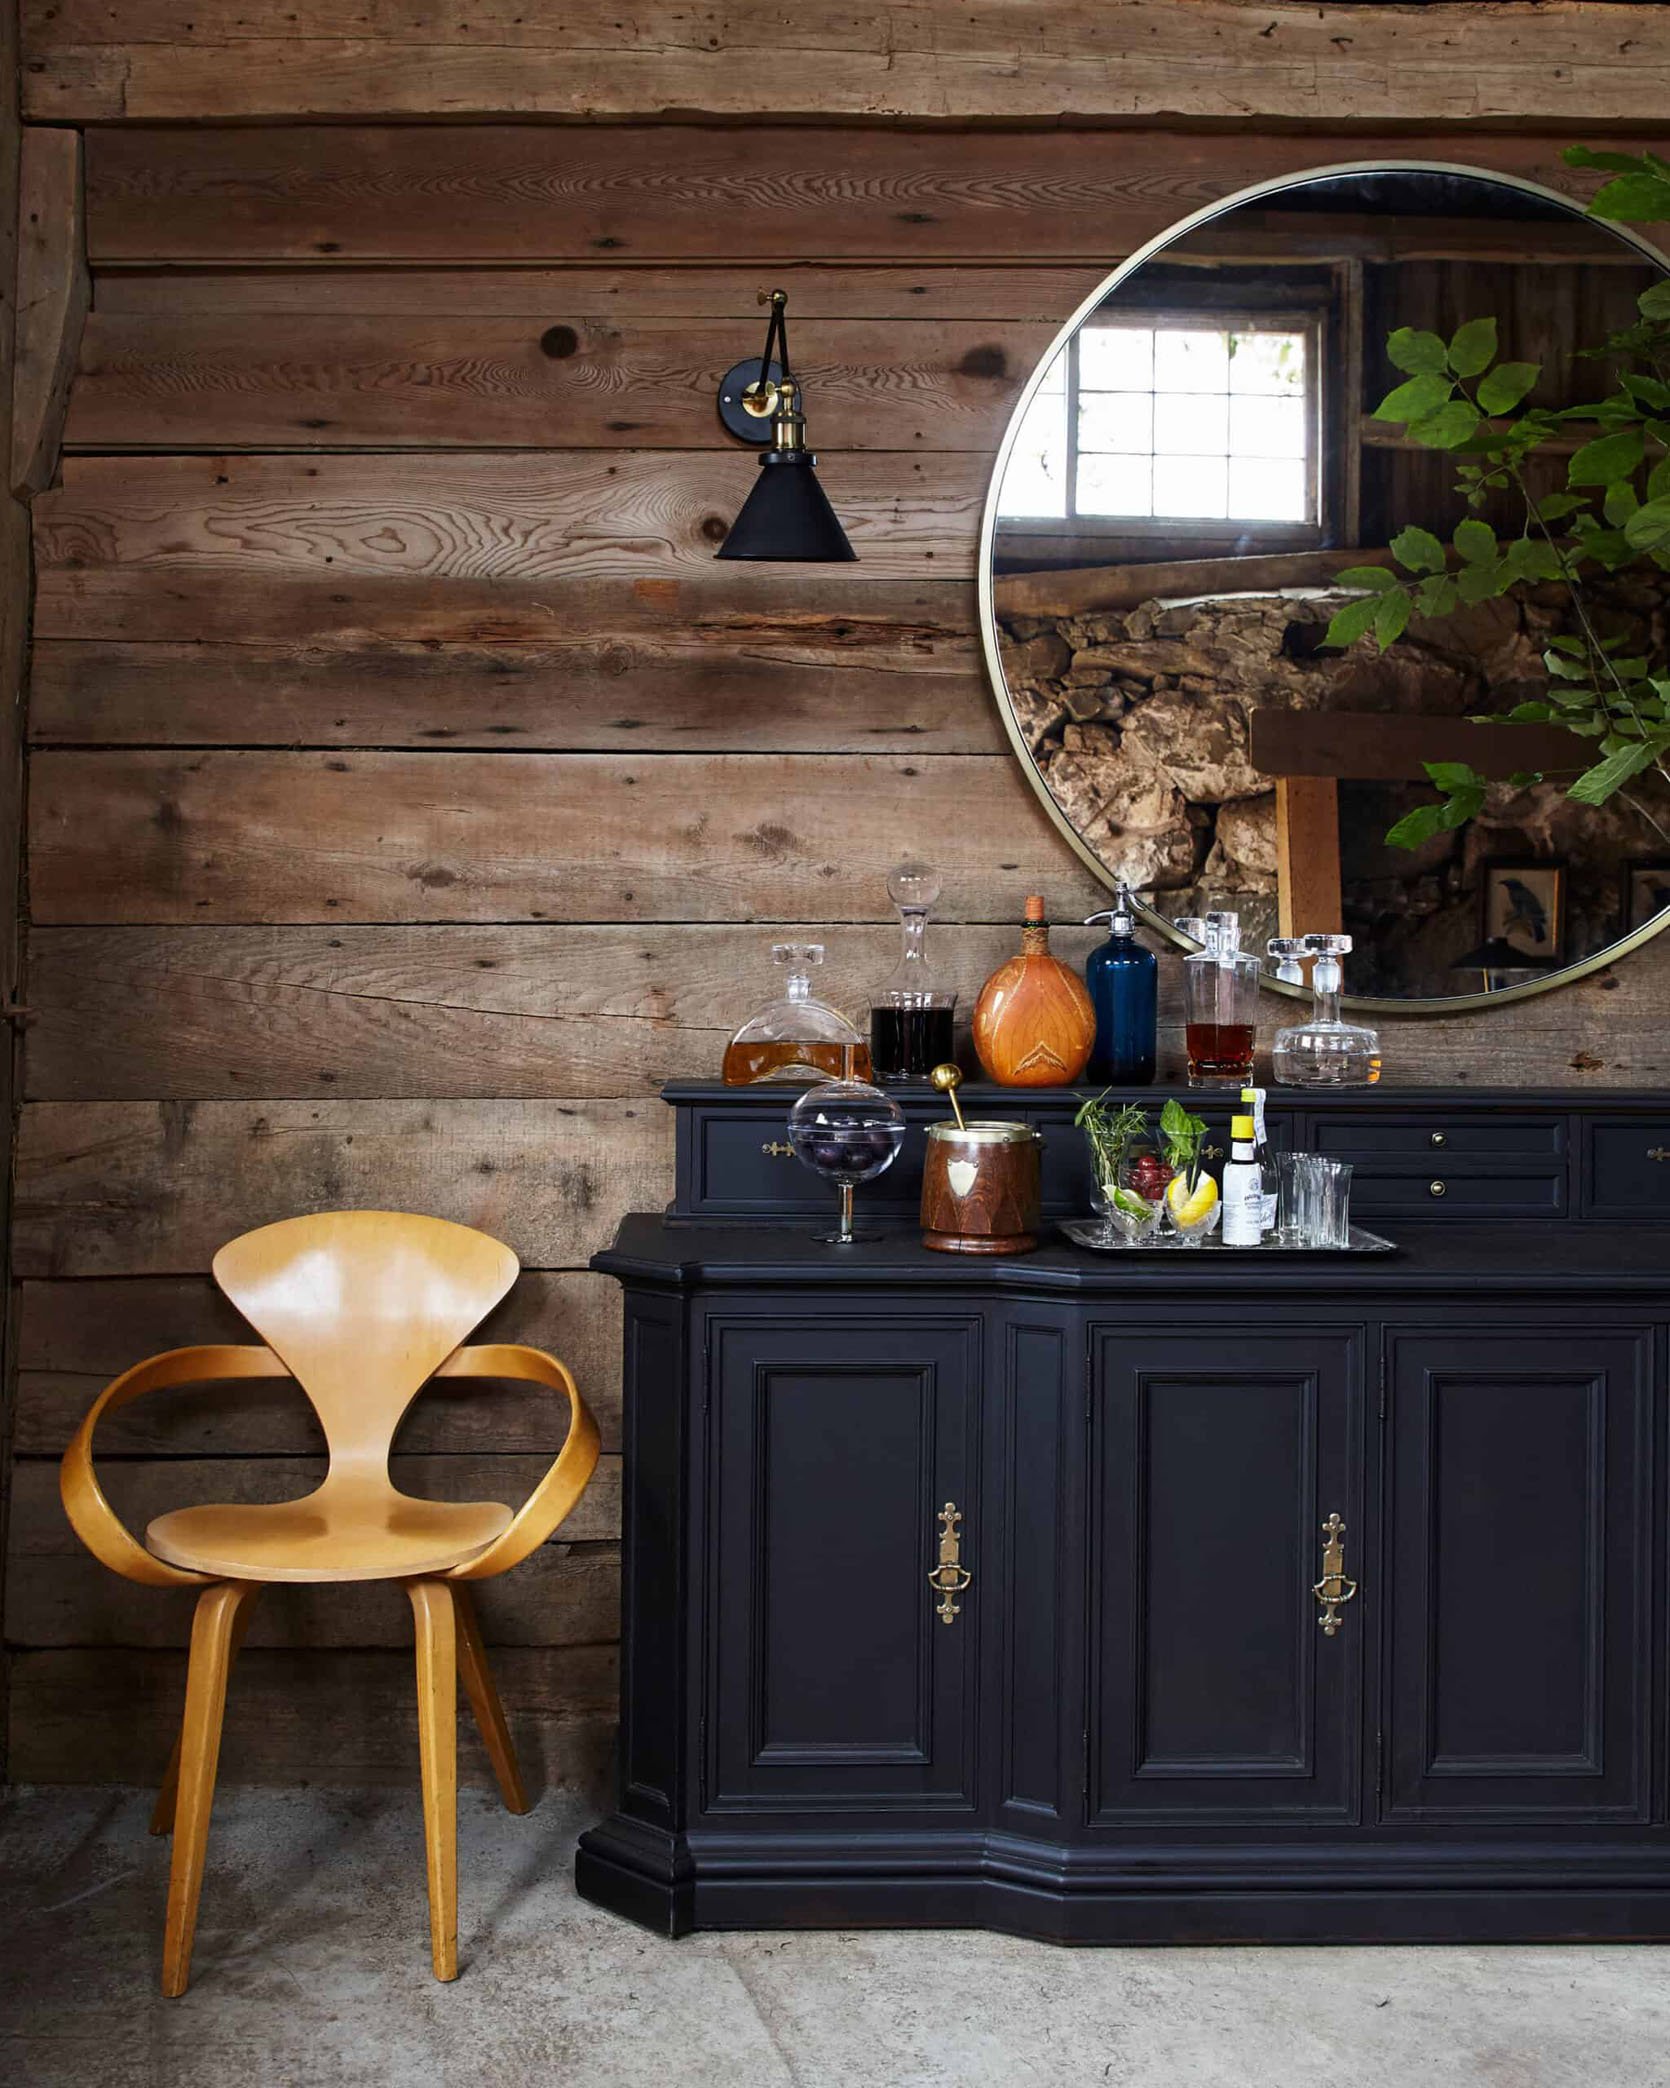
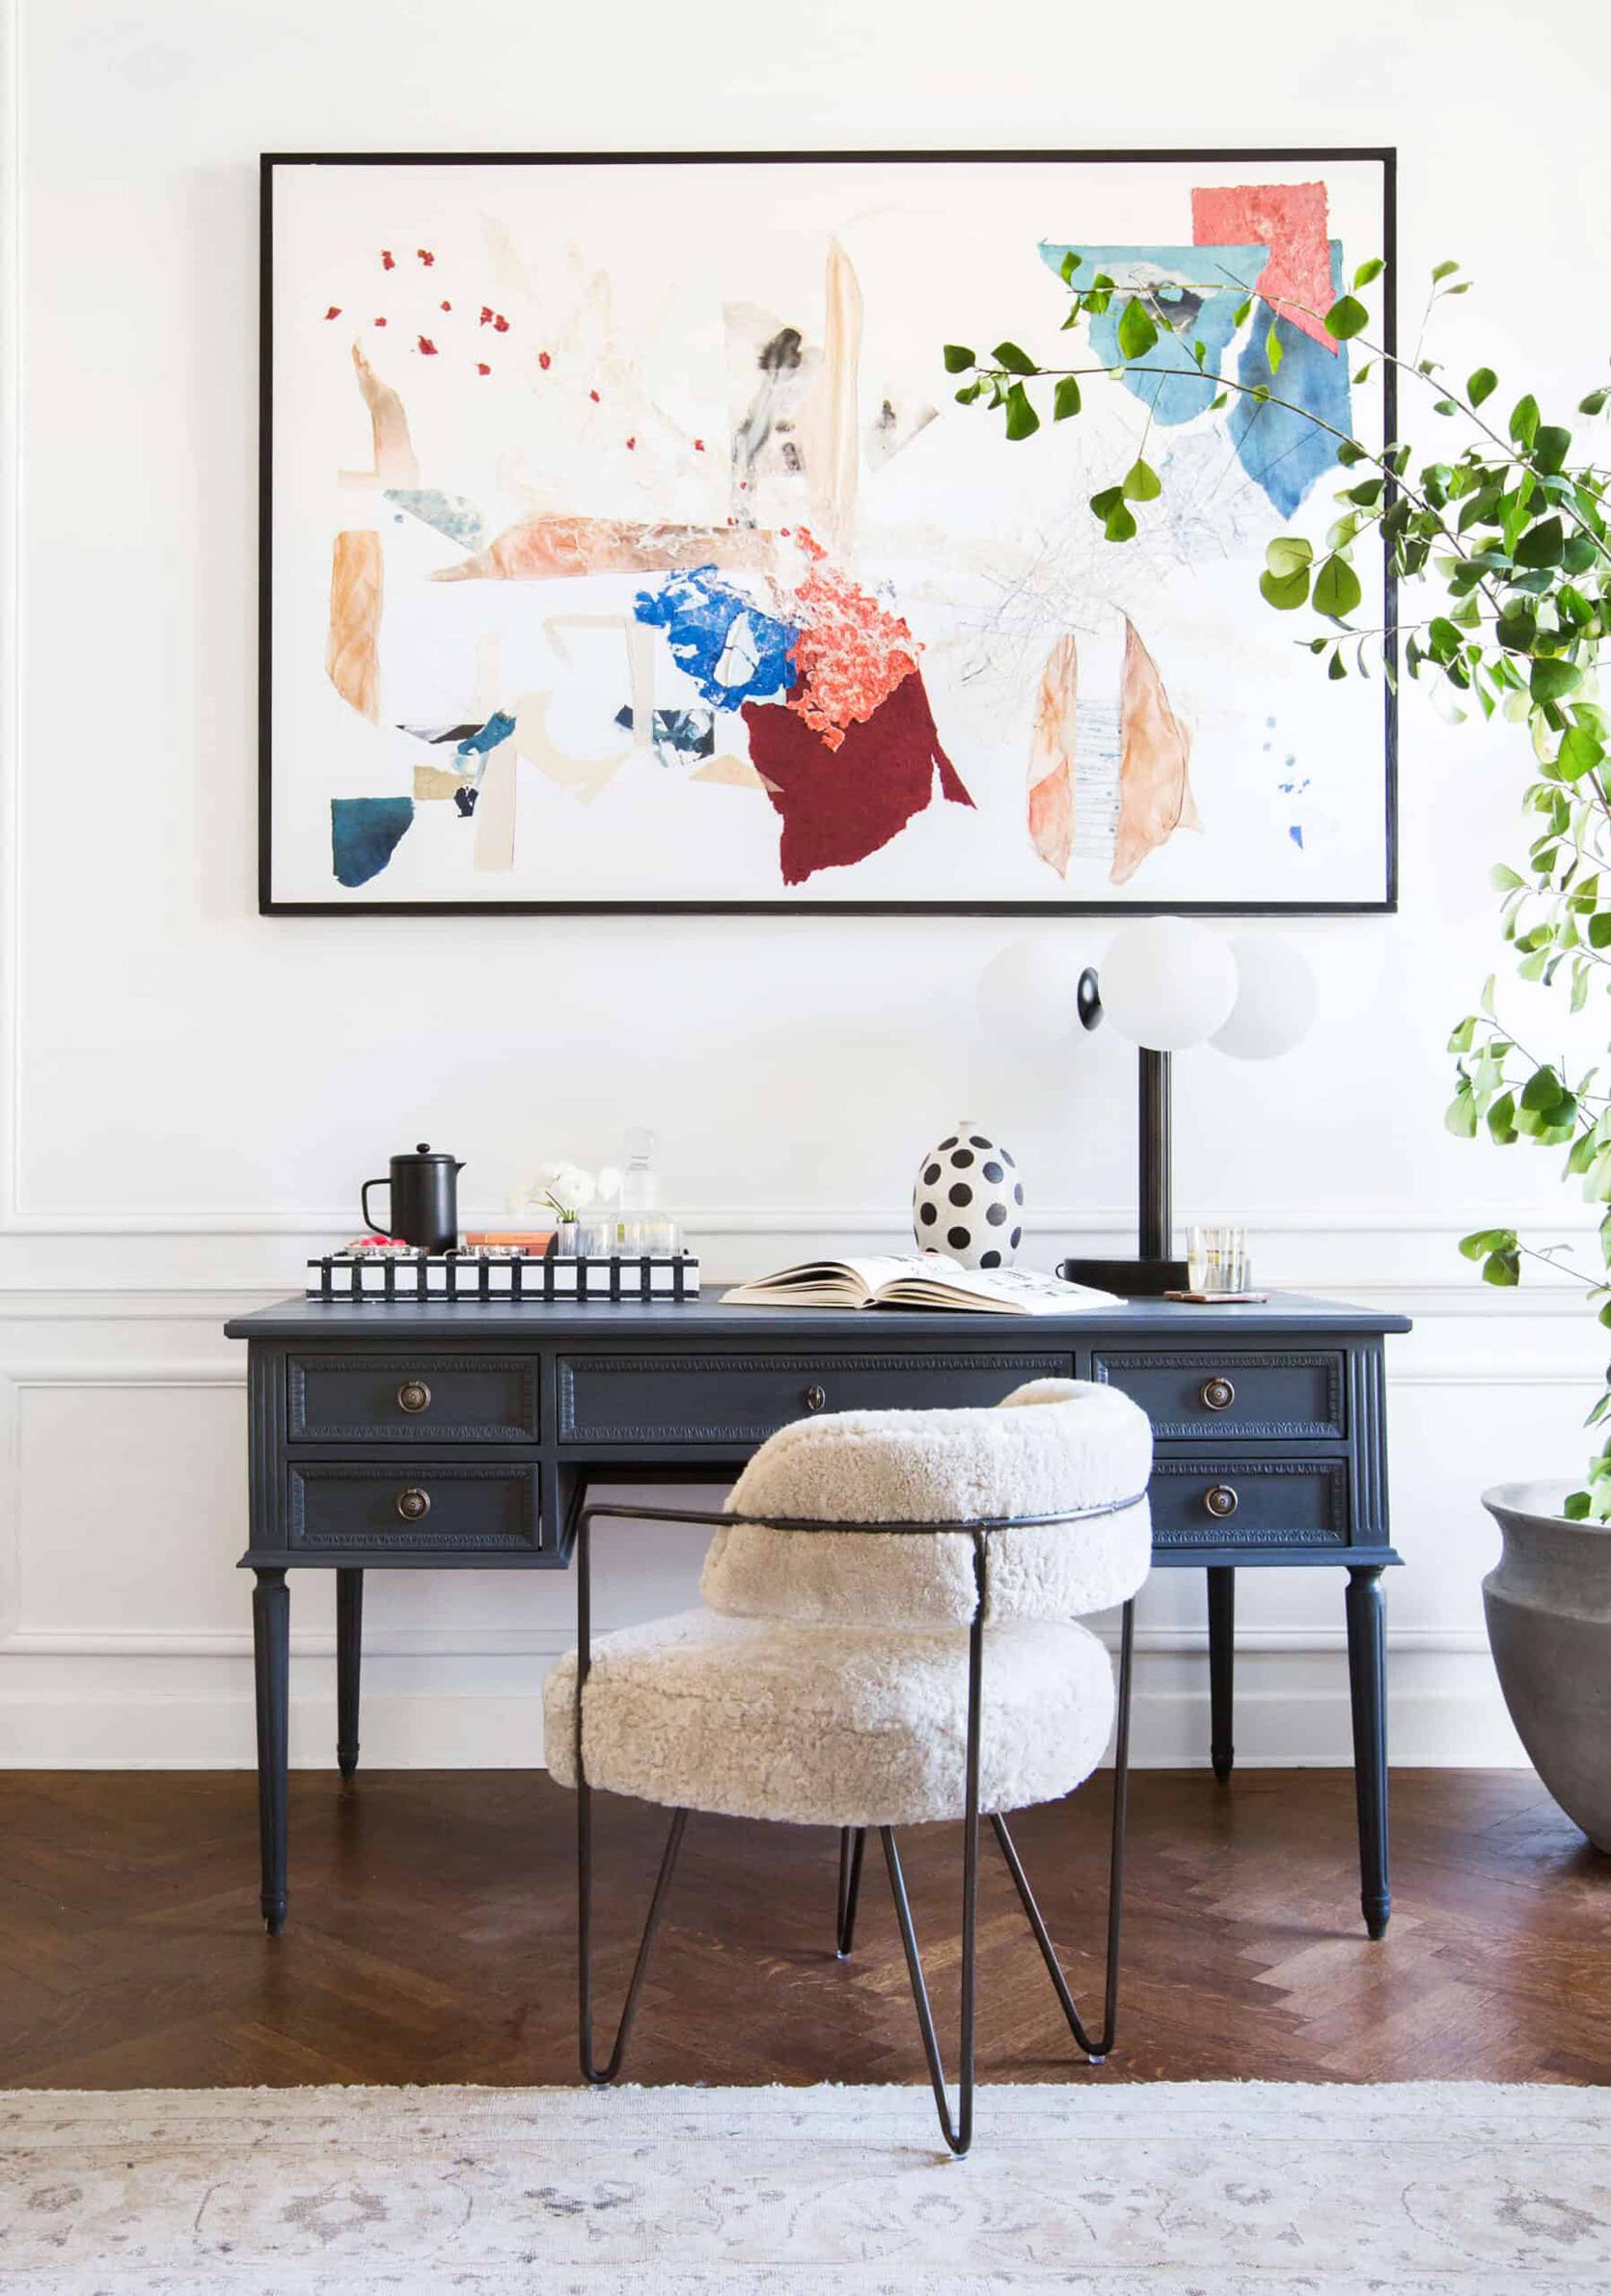
Painting Dressers/Nightstands Fun Colors
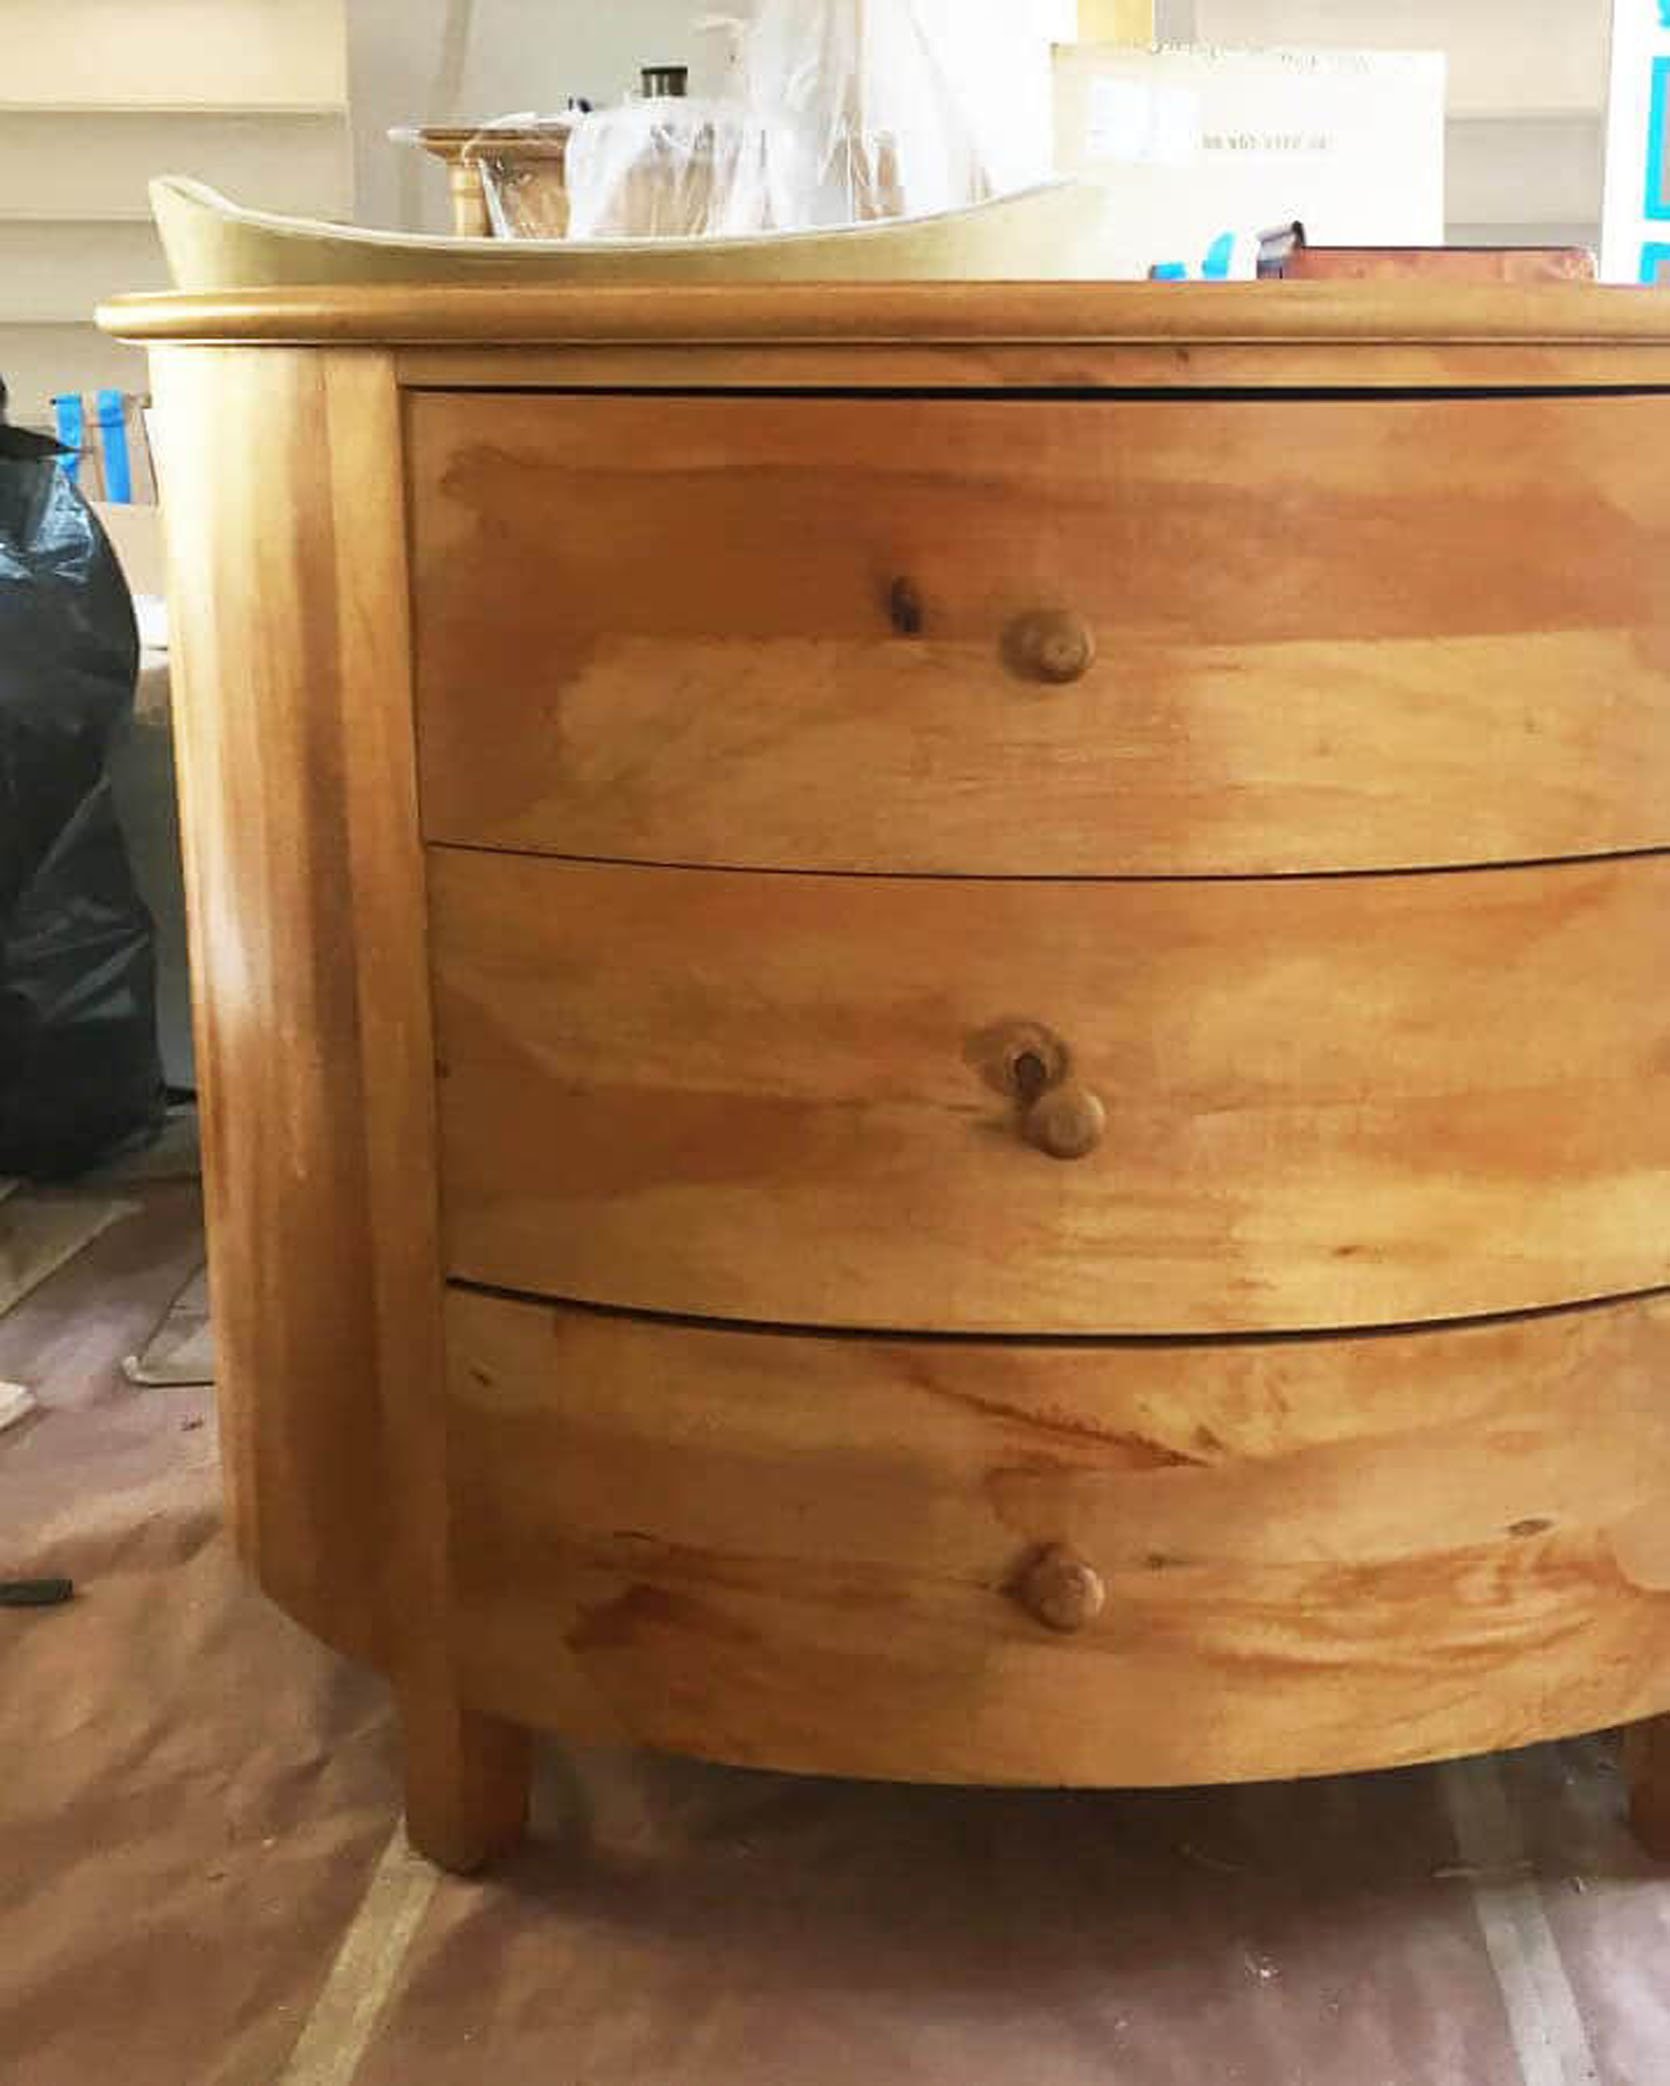
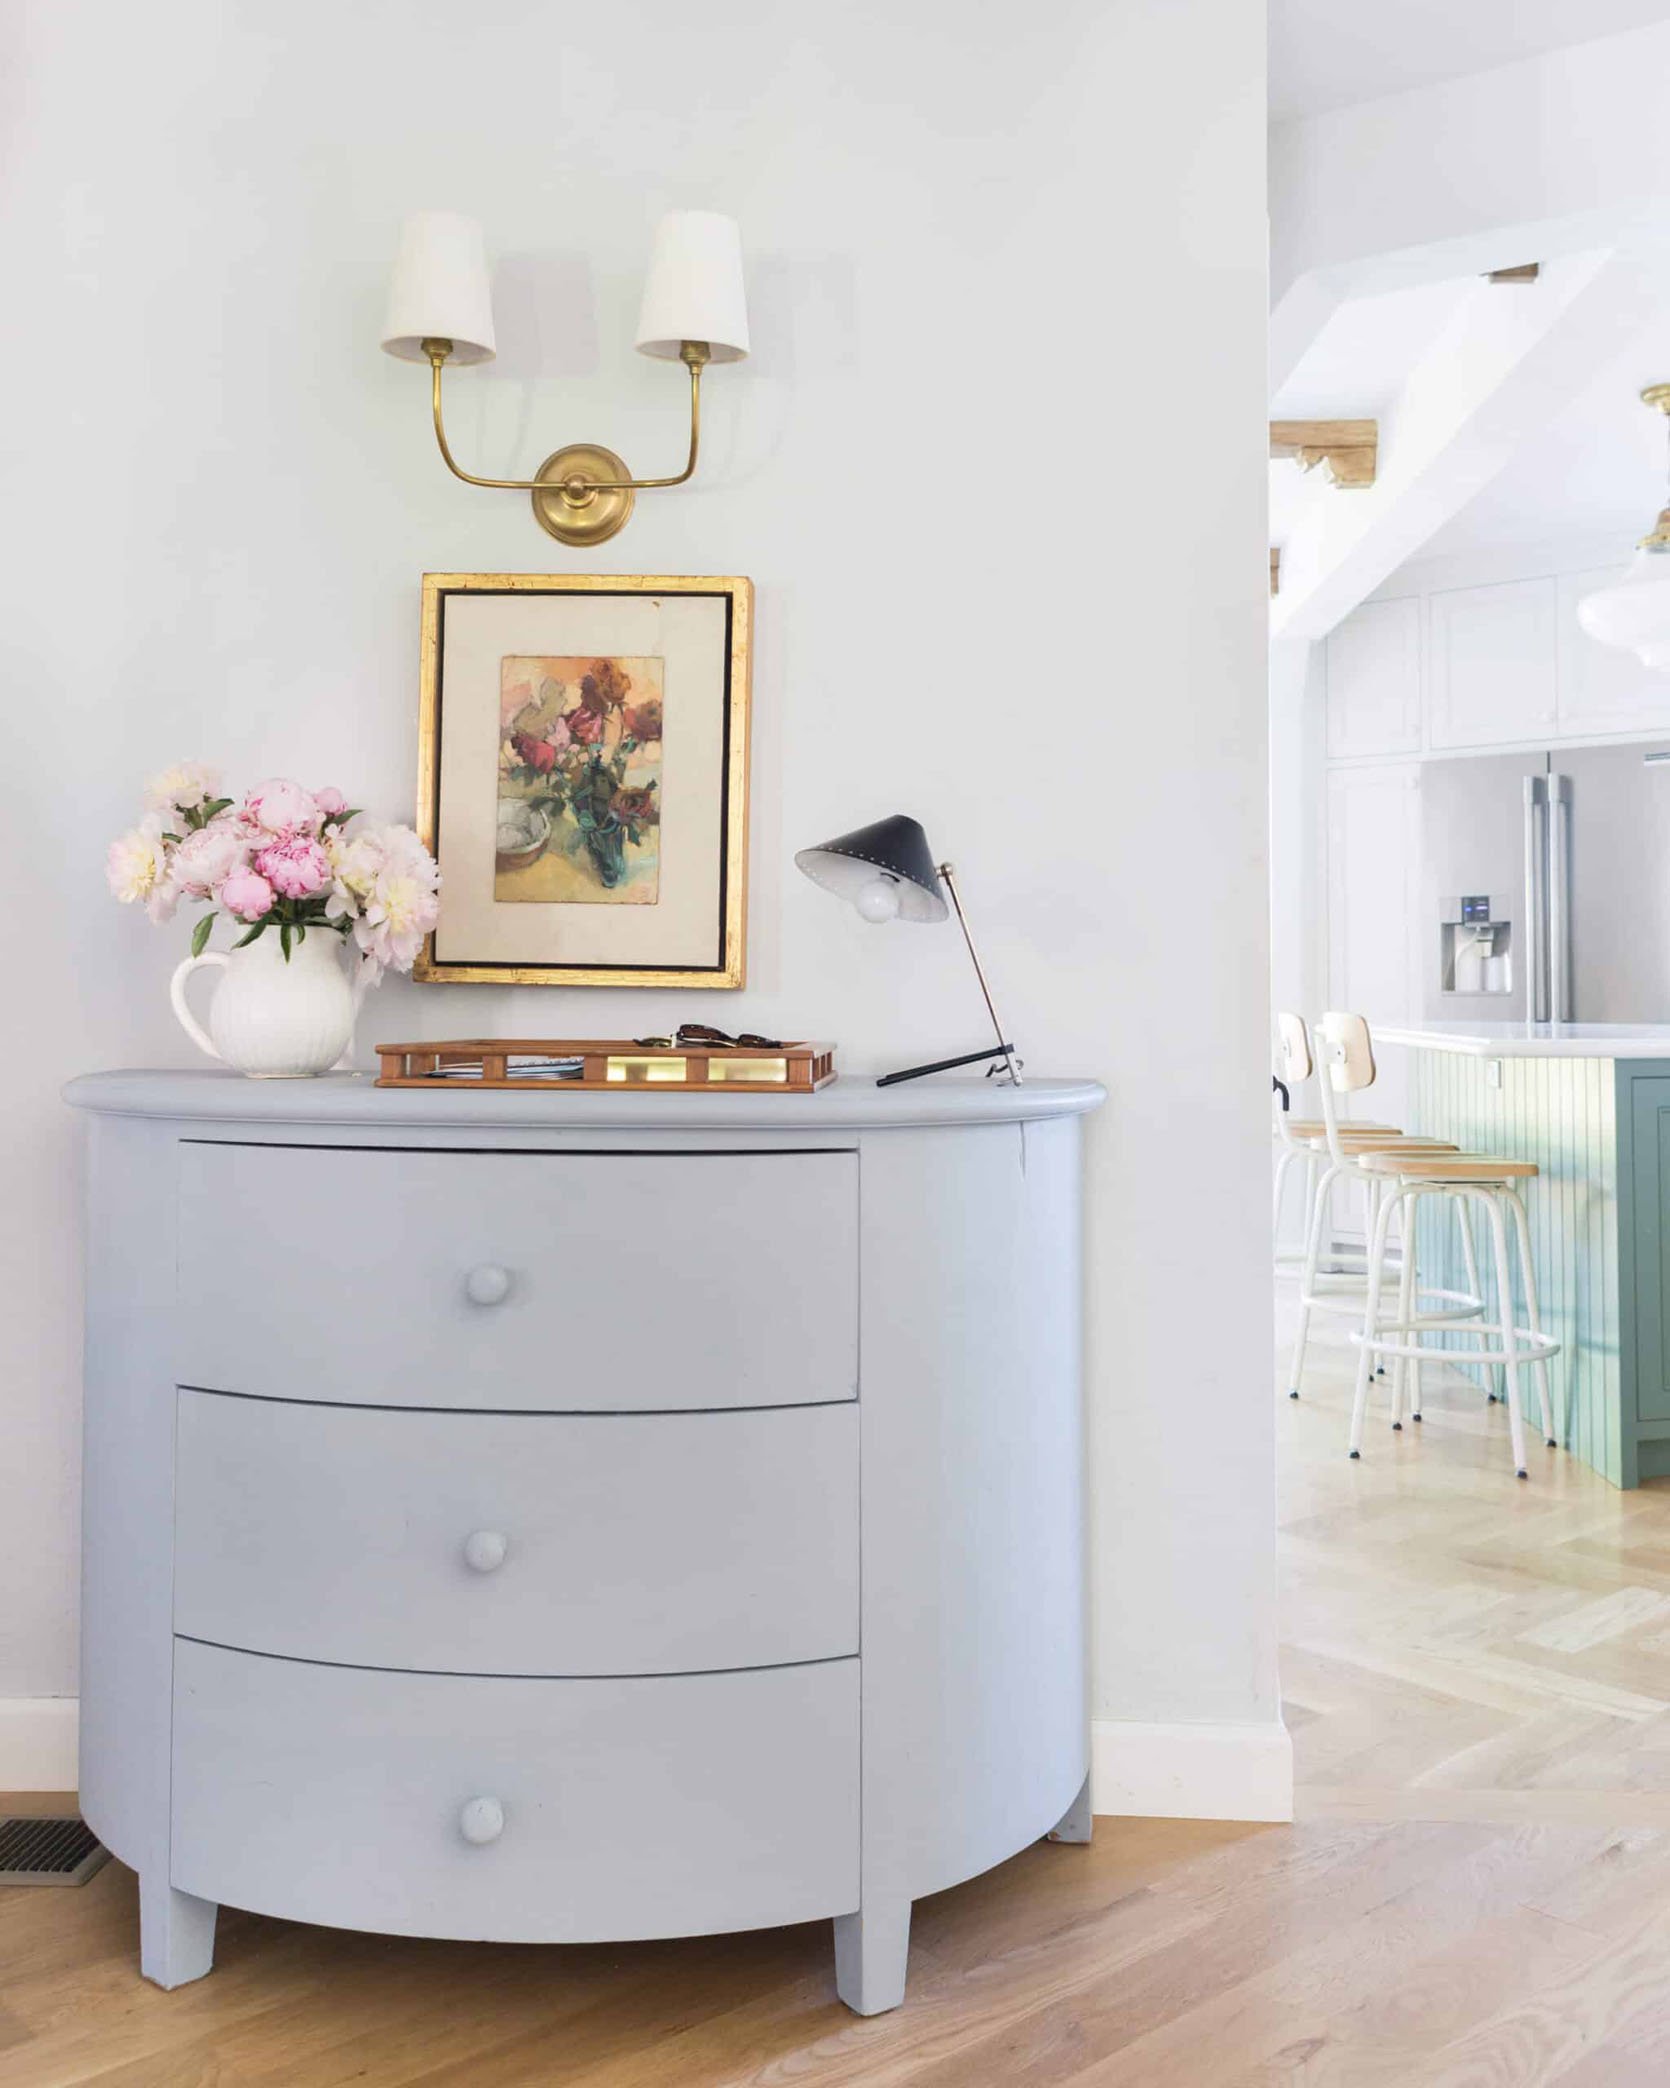
I wrote about this a couple of weeks ago but I’m excited to get back to refinishing furniture and have been collecting thrift store pieces to let the kids help me paint.
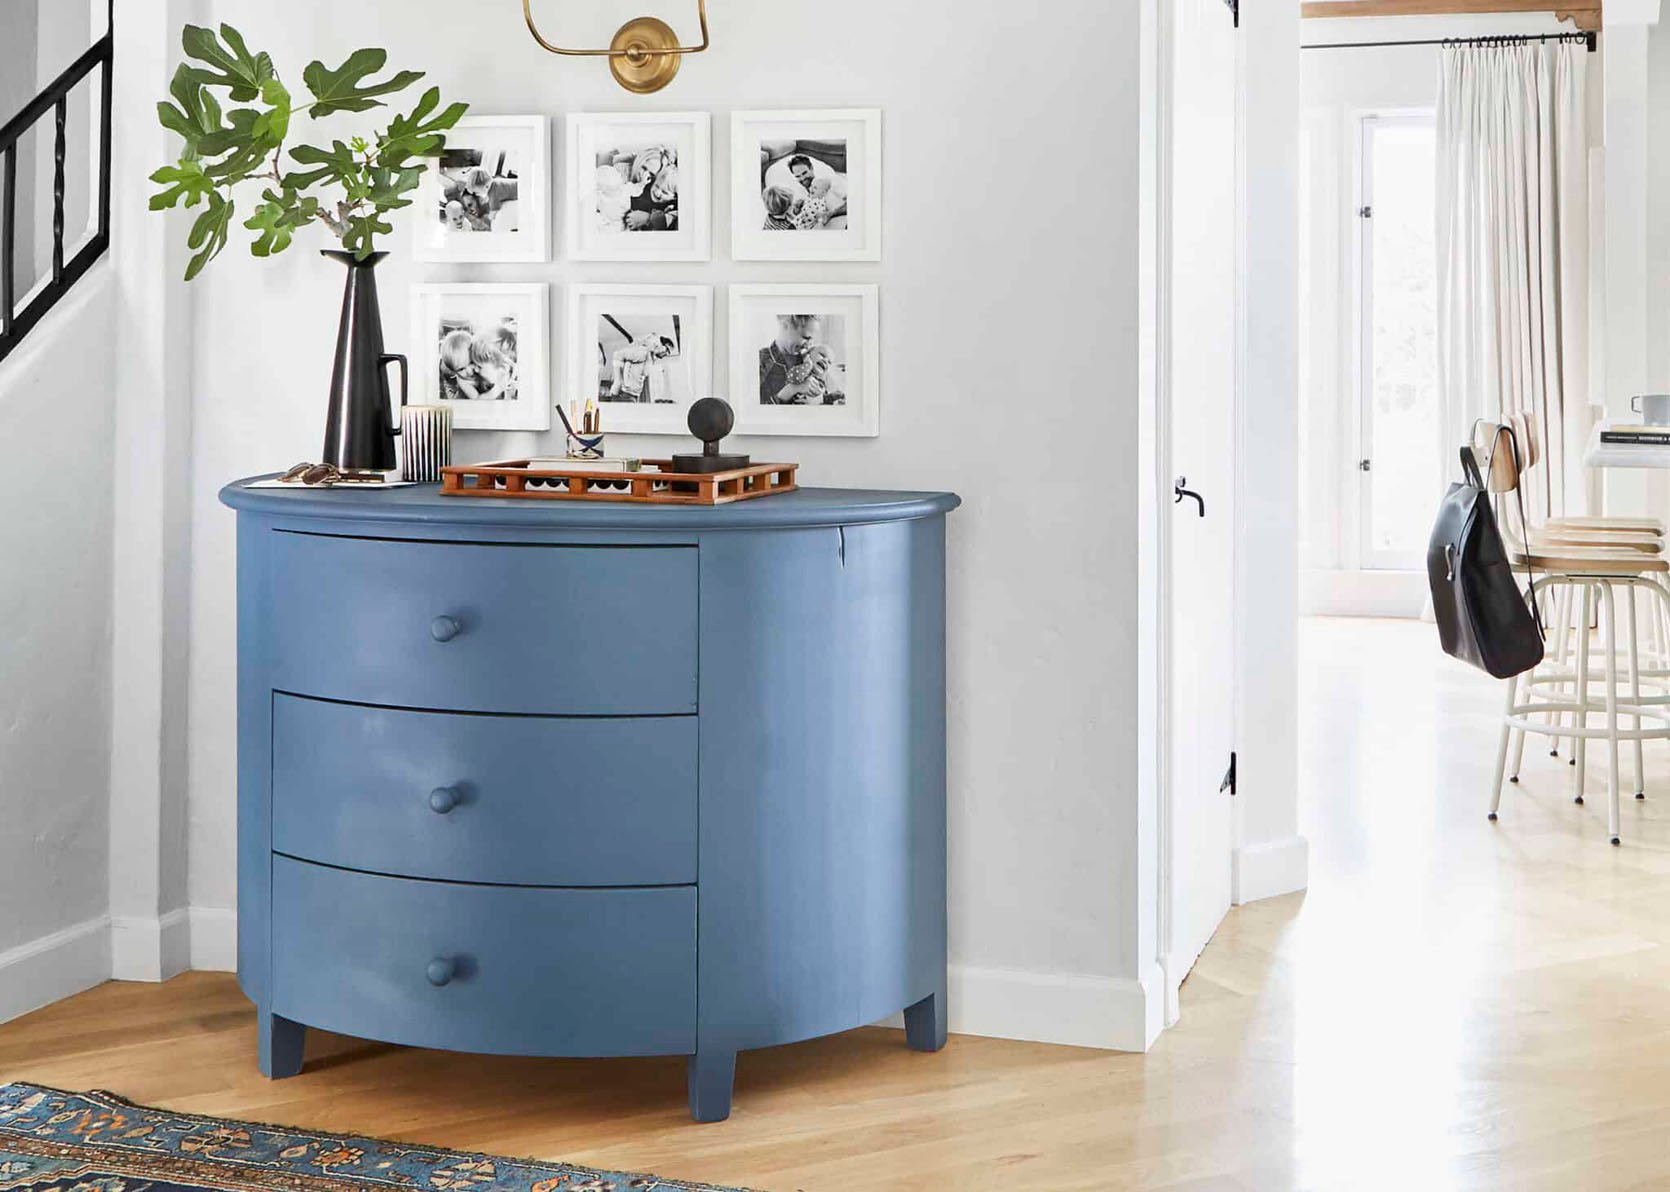
Yes, I do still wish that I had that piece (however I love that it went towards a Pen and Napkin Makeover here) but the idea is pretty simple – I help choose a good shape and they get to weigh in on color if they help execute. I did this one years ago…
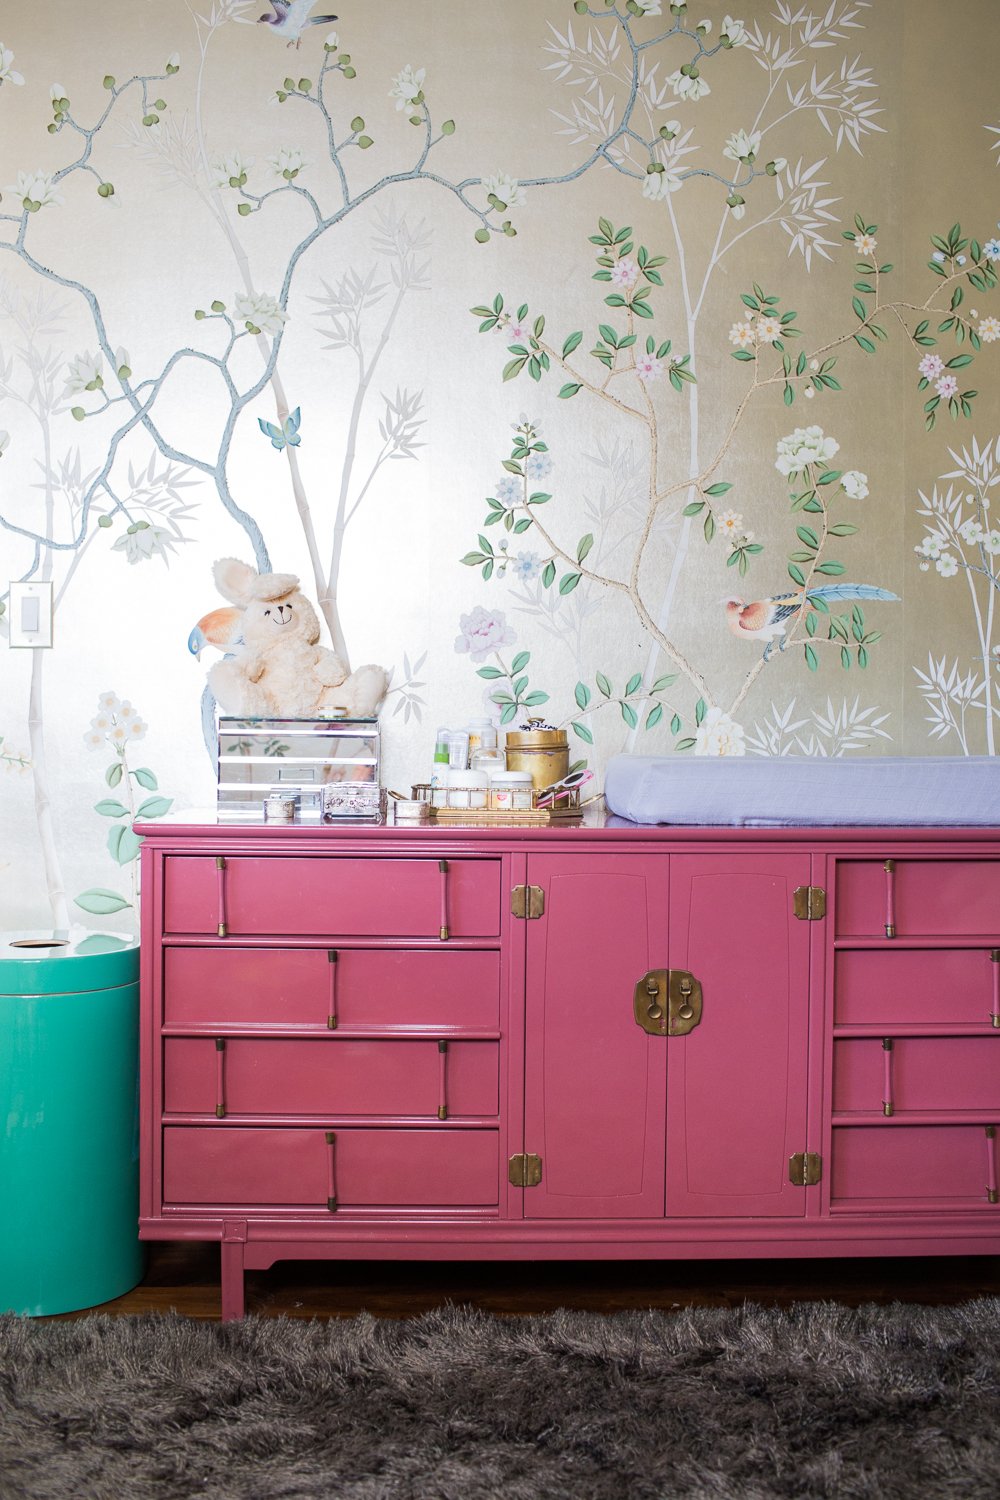
Now I didn’t actually paint that one, I had it lacquered but that got Birdie very excited. I showed her these two below that I did myself (with a team for shoots) and she was less impressed due to the lack of color.
Disco Balls. They Mostly Want Disco Balls and Neon Lights
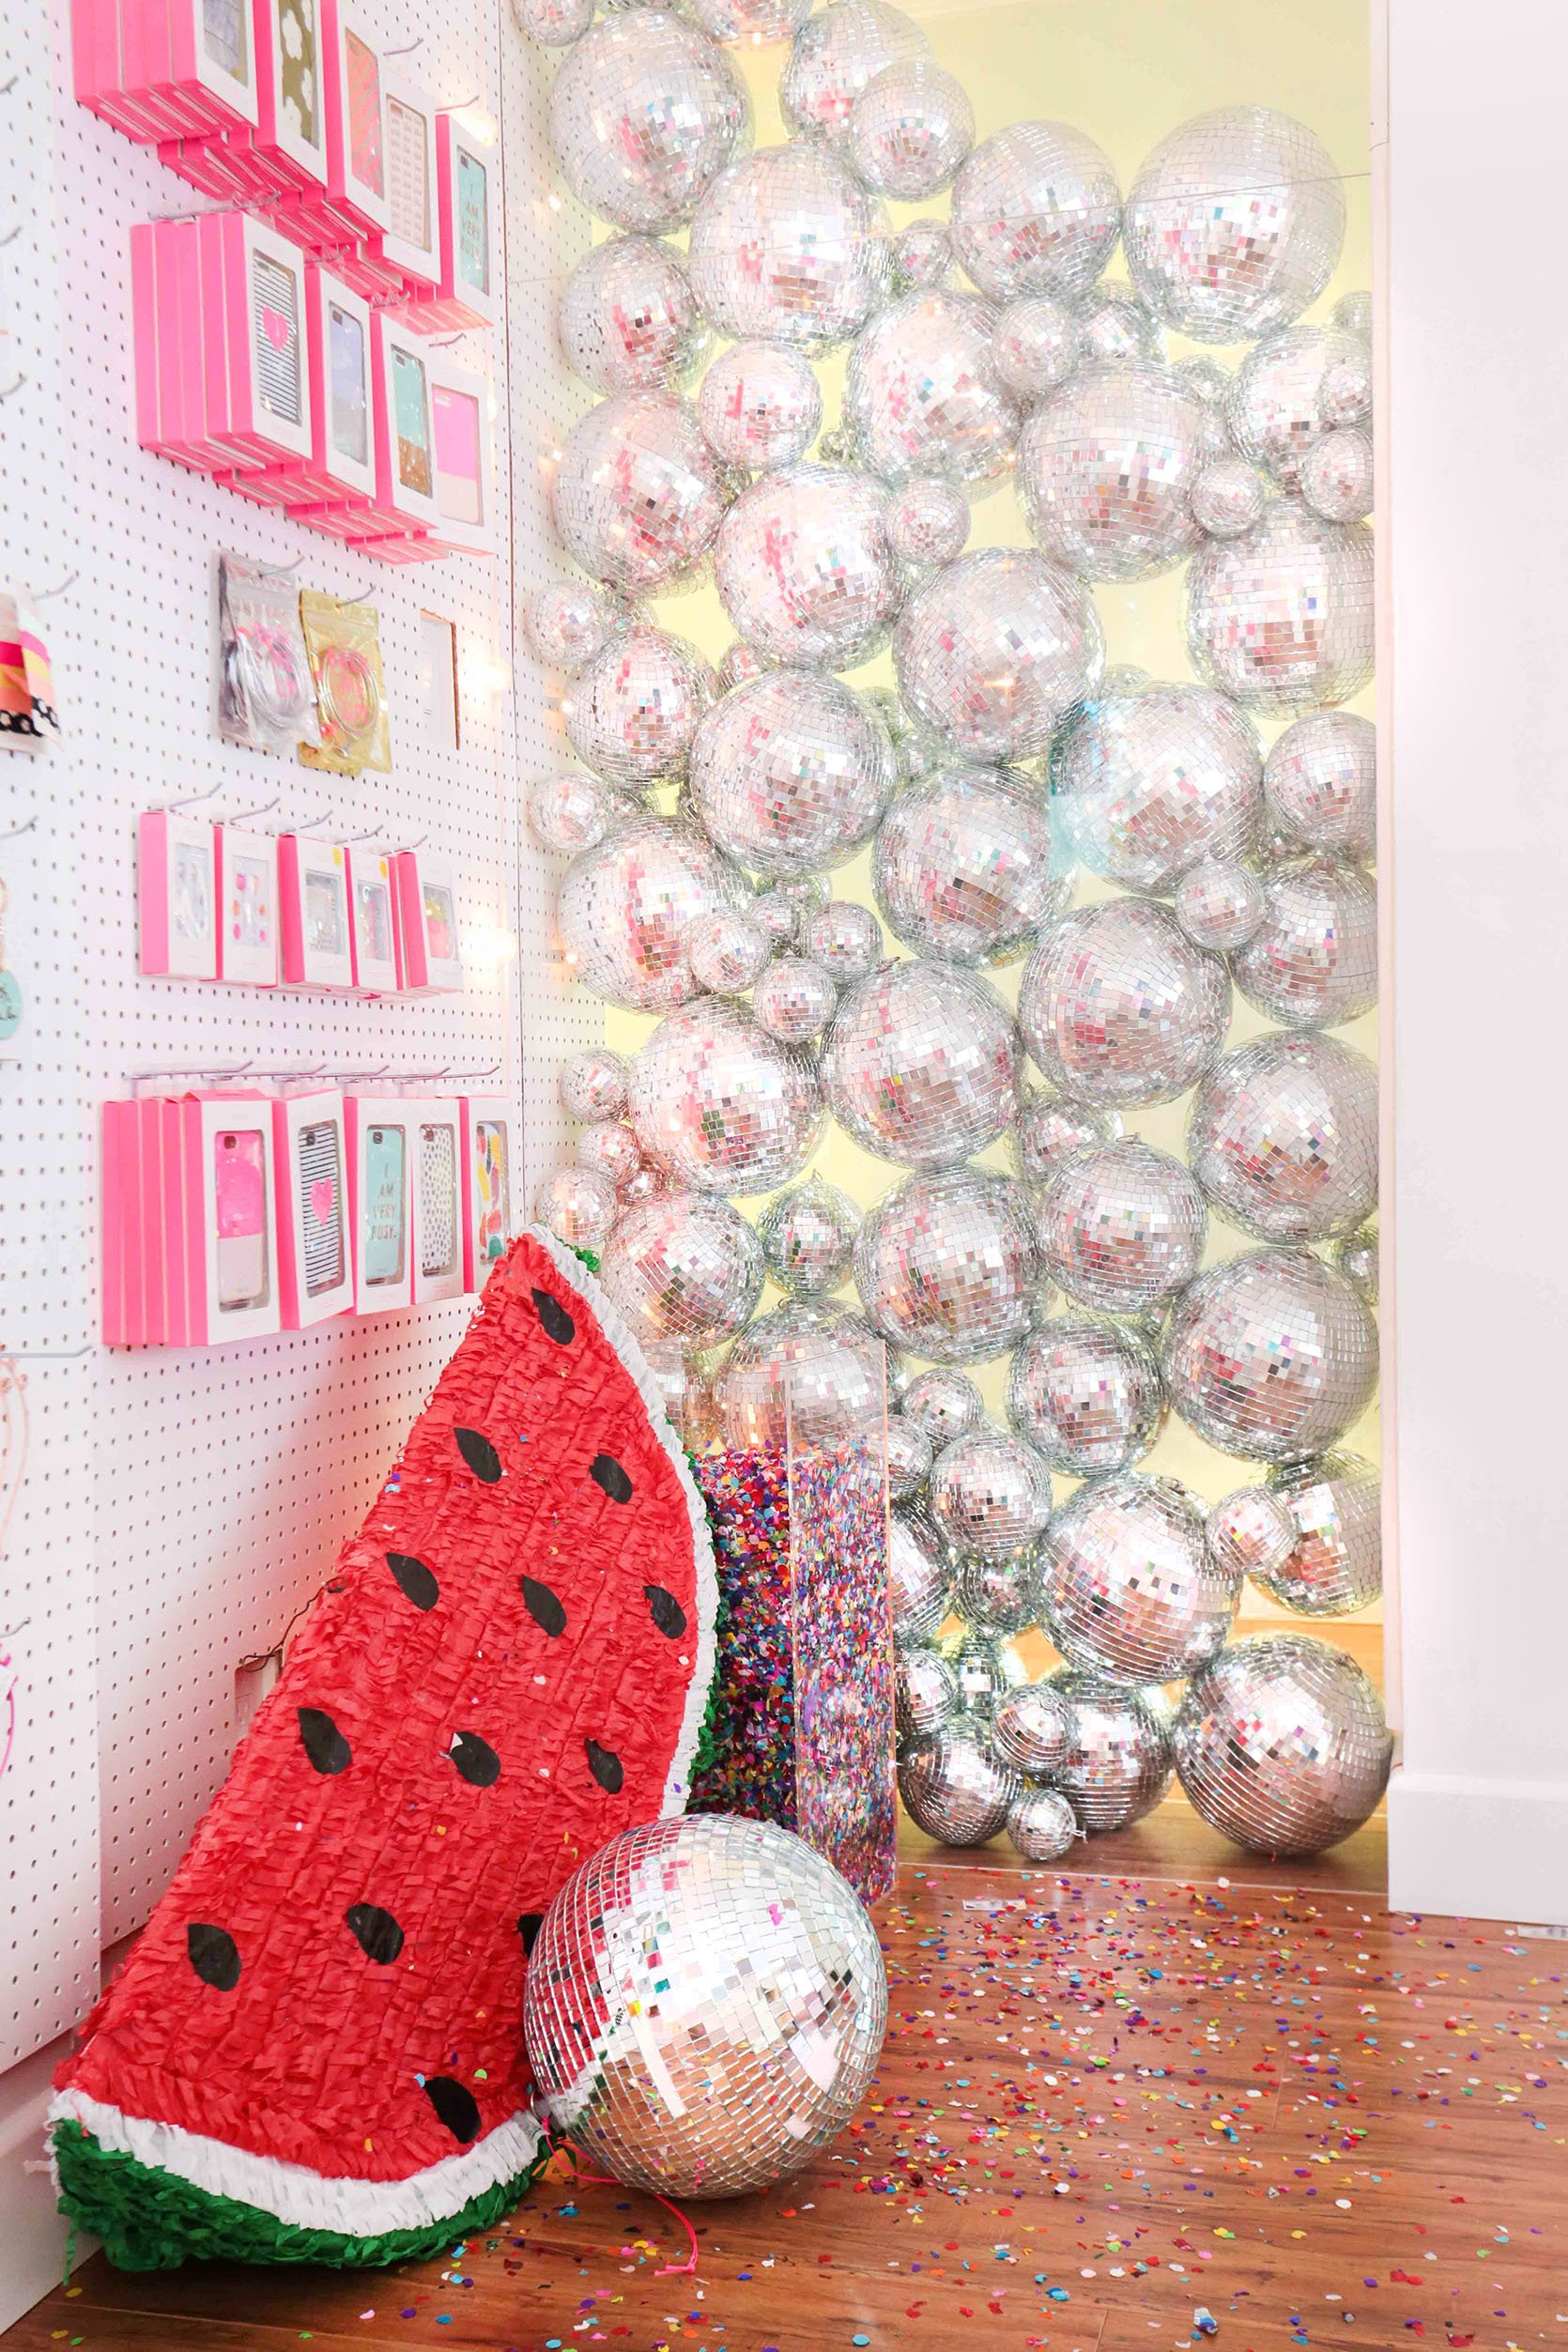
And I get it. So yes, there will be disco balls (rainbow and pink might be employed) and Charlie wants a neon light (I’ve already found a local artist who I might work with). And then in a hilariously unexpected twist, one of the ARCIFORM team members that I’ve been working with, Marty, knows how to make pinatas!!! Now I’m not sure how long-term a decorative pinata can last (doesn’t it just beg to be beaten and destroyed?) but she reached out and I’m very intrigued.
The whole “pitch” to them worked and I haven’t been so excited to design something in so long. We move in next week and I haven’t unpacked their boxes from LA yet so I’m curious what we’ll find, how and where we’ll use everything, and then we’ll get to work on some of these DIYs, assuming that I have the time and space for it 🙂
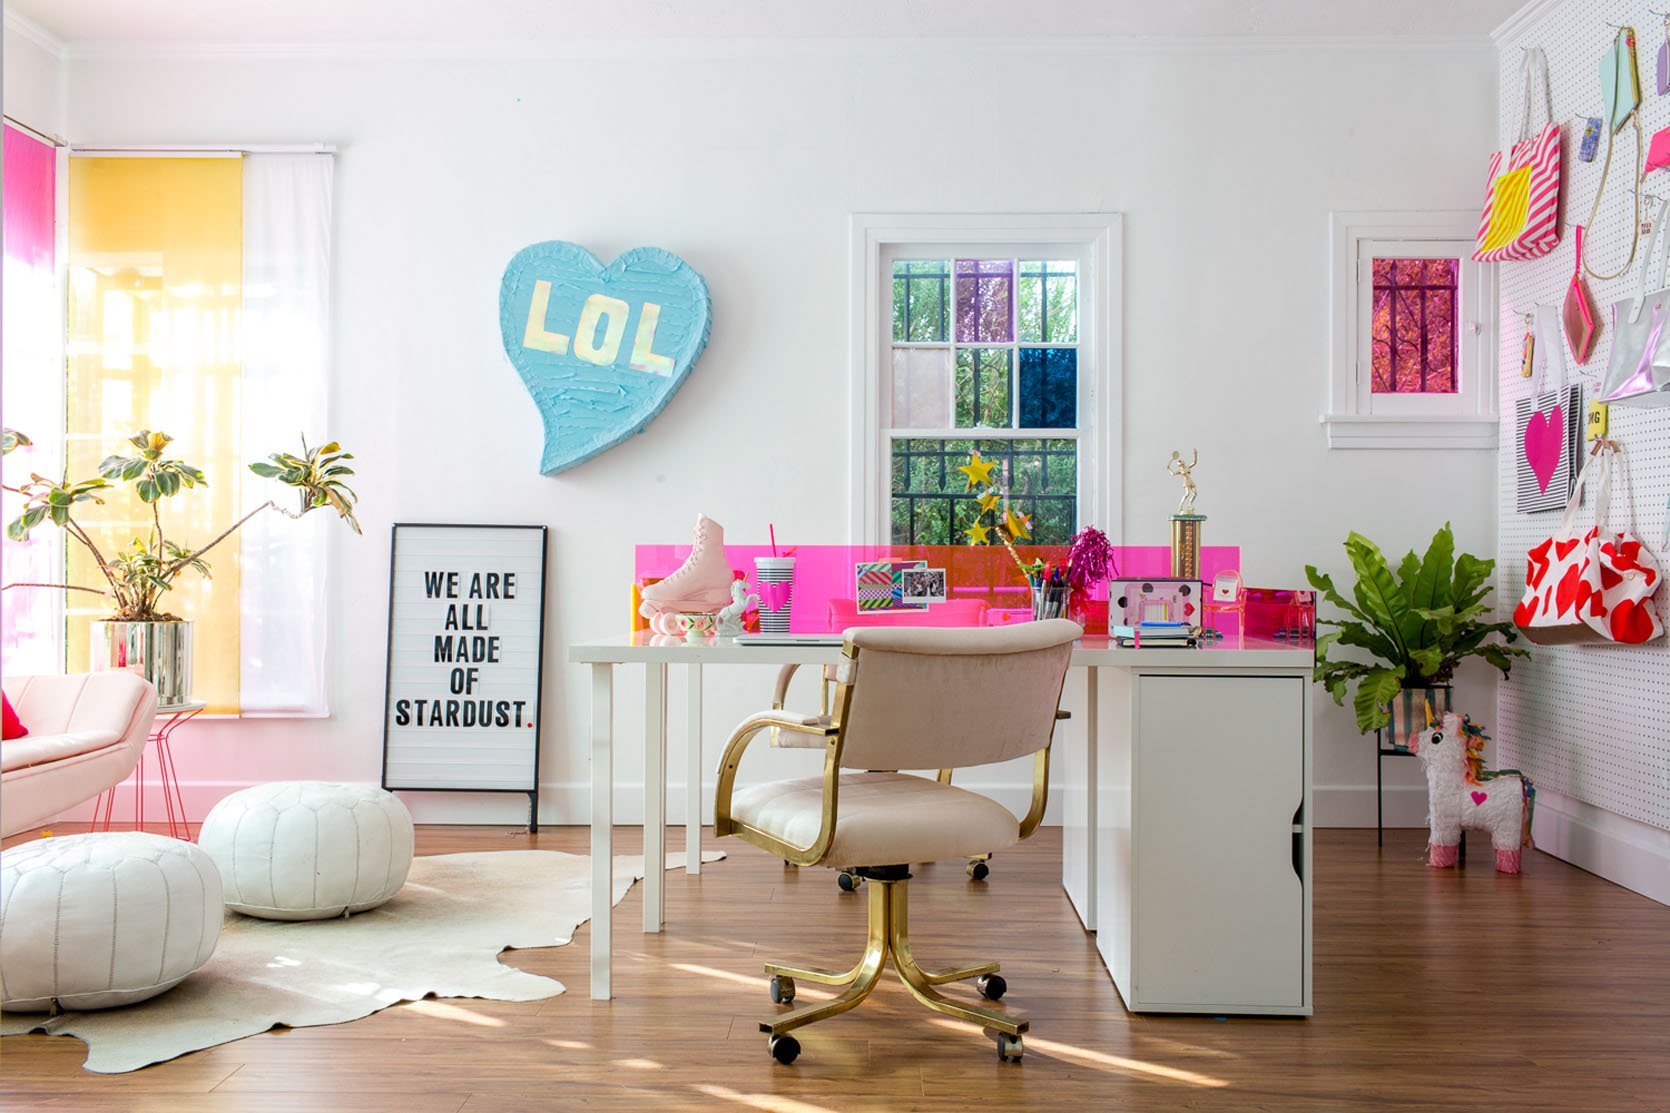
Opener Image Credits: Photo by Tessa Neustadt | From: Ban.do The Front Room + Shop The Look
THIS POST WAS ORIGINALLY PUBLISHED HERE.
