Y’all, I’m not a big DIYer, but there is a huge hole in the market for large and fun bulletin boards so we had to tackle this one and I’m soooo proud of us. Of course, it ended up being a little expensive and quite laborious (like most good DIYs are – ask all the DIY content creators out there) but it was fun and not “hard”. Just required some time/money (but I have good ideas on how you could recreate it and be much cheaper). A huge thanks to Gretchen’s mom, a former teacher, for giving me this huge school-grade bulletin board.
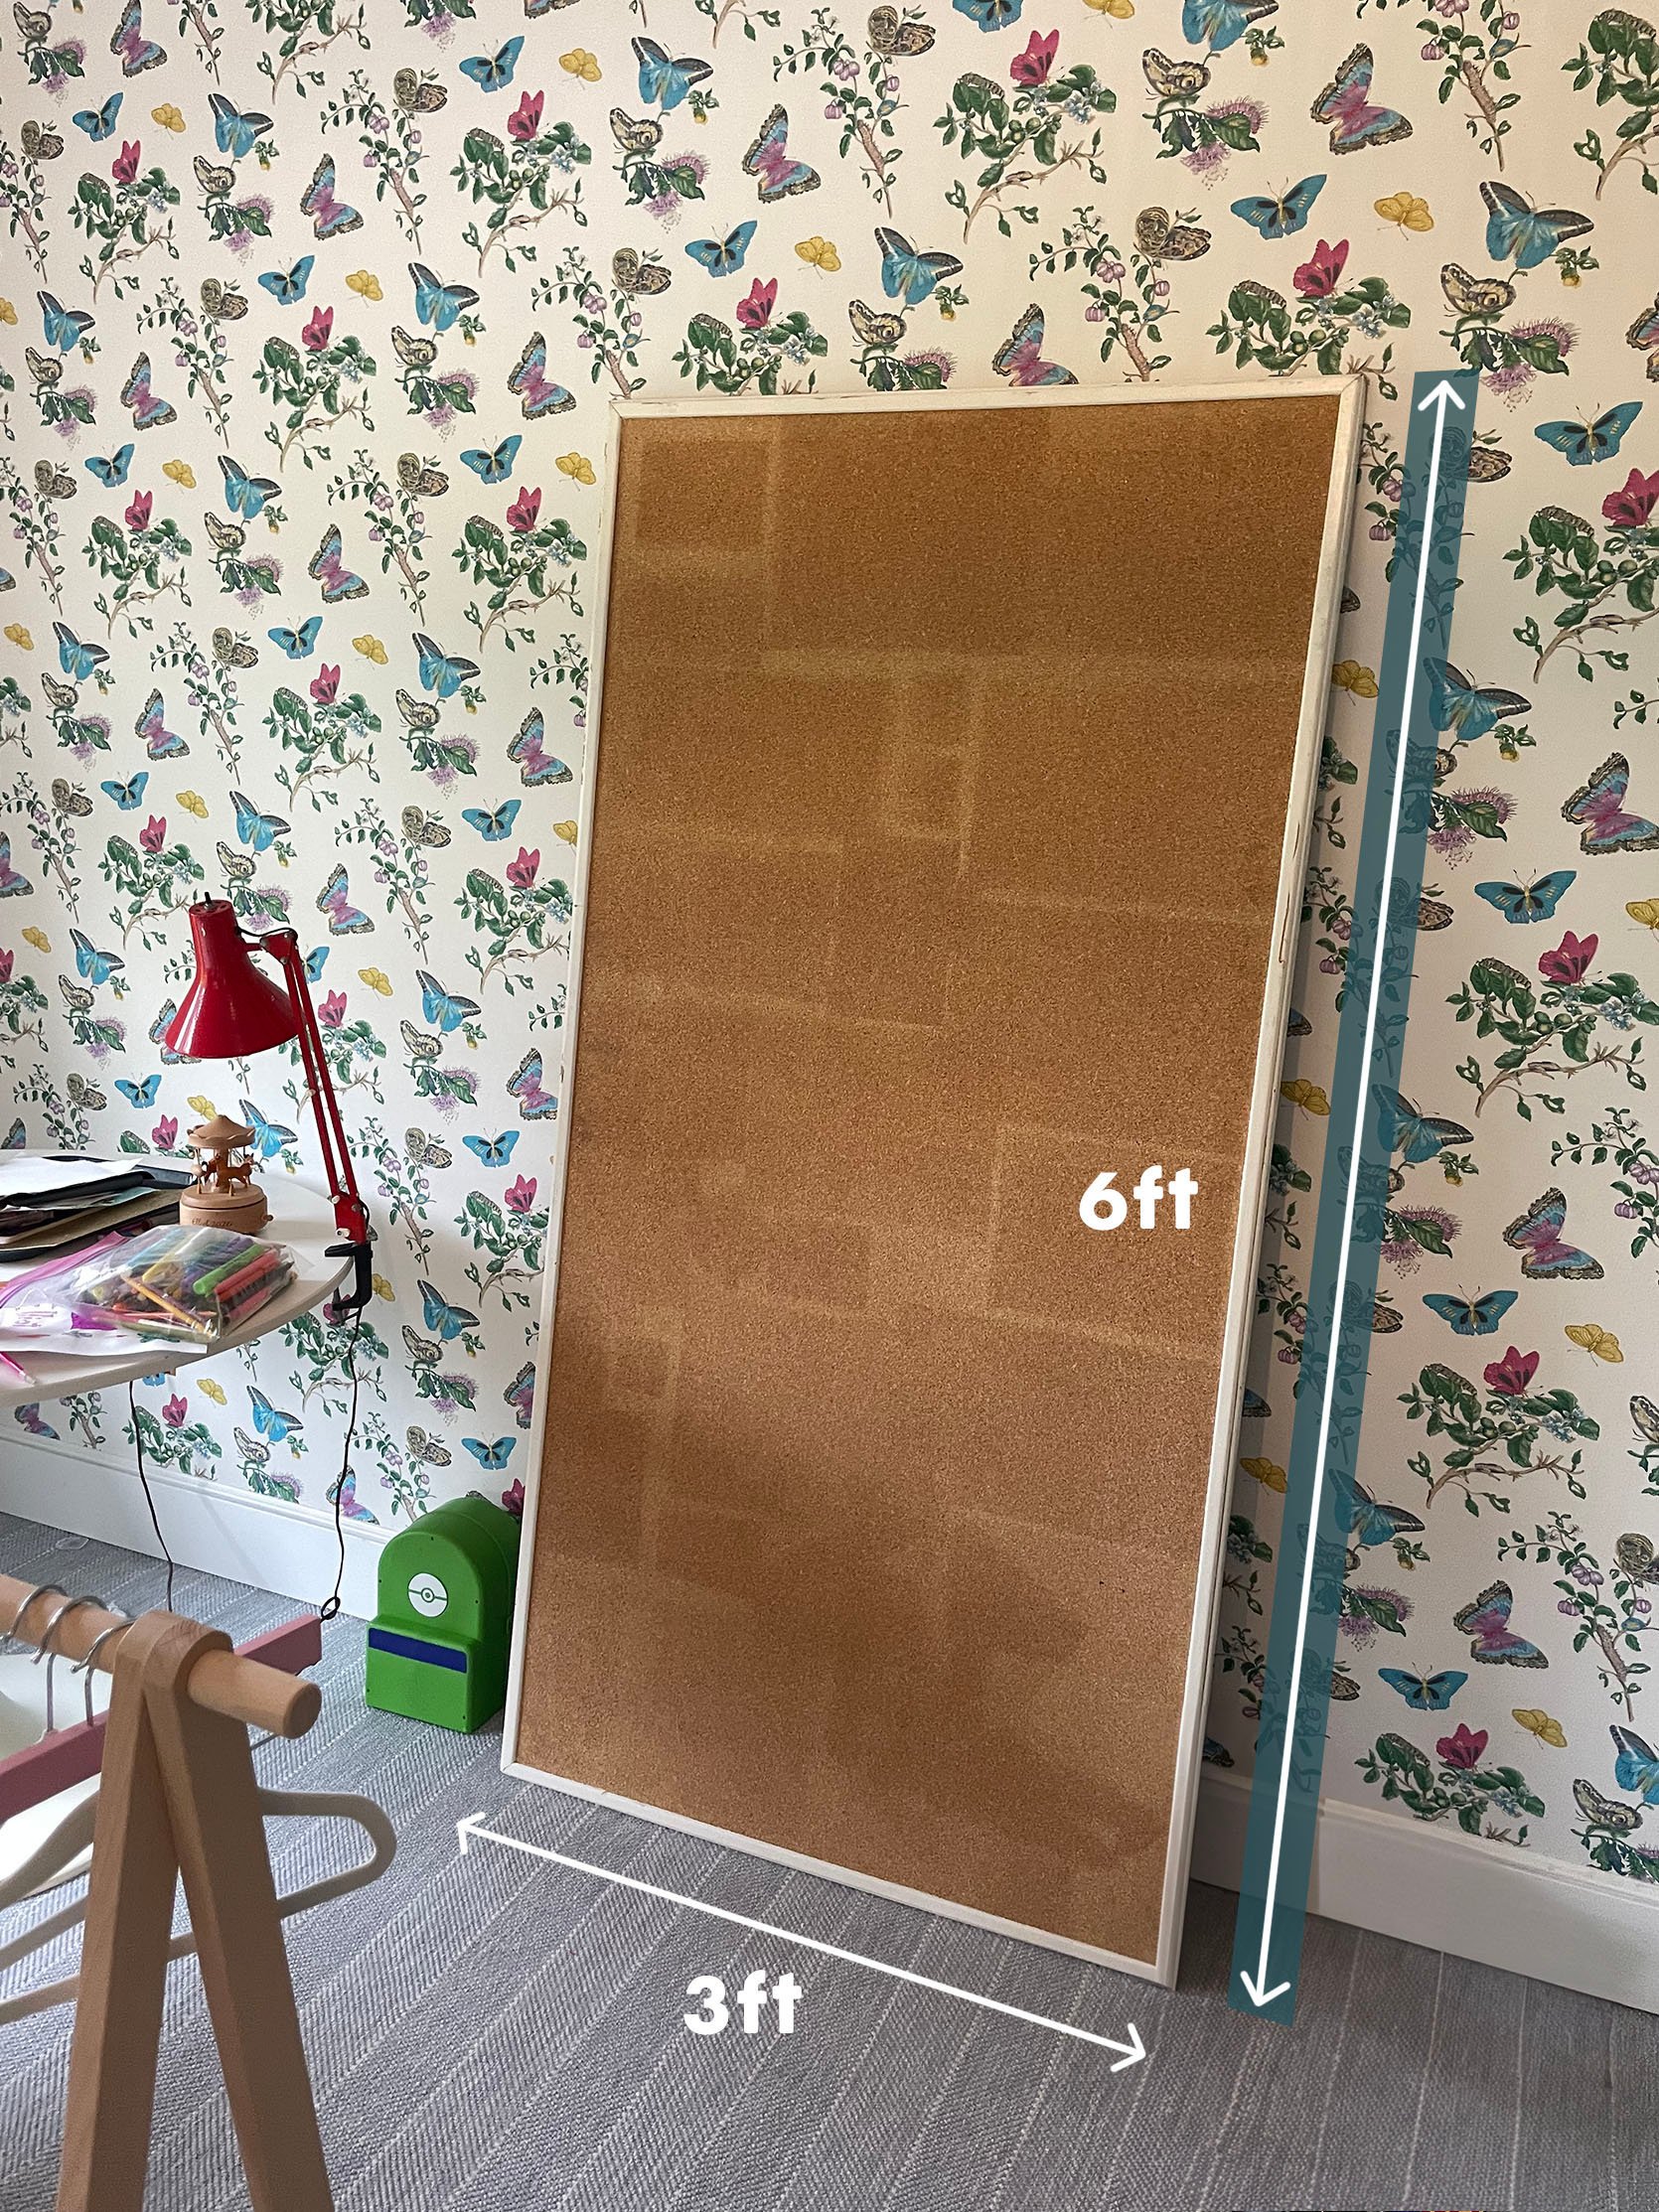
The vintage bulletin board we had to work with (admittedly hard to find) was 6′ x 3′ – so she was BIG and also very heavy. Initially, I wanted to redo it and lean it vertically over here. But let’s just get into the DIY steps:)
Step One: Paint It White


We used acrylic paint in a creamy white (matched to the wallpaper) so that it doesn’t look too yellow or too stark.
Step Two: Prepping The Wooden Ball Knobs
Playing off the Jenny Lind bed style (yes, the one that I might change) I wanted this beaded frame look. So playful and fun (and certainly a trend). But there weren’t any fun cork boards that were big and so many that were small. So we would have to make it.
The Inspiration:


Rowan Valley Linden Bed | Jenny Lind Kids Maple Wood Spindle Bed | Webster Bed

Instead of buying 1/2 balls, we found these knobs that almost have that “full ball look” (surely there is a more technical term) and committed to gluing them on. You can also buy strips of this look which I think is a way more affordable and easier thing to execute, but we went full balls to the walls on this one (quite literally).

Gretchen spearheaded this one and shoved them all on popsicle sticks in order to be able to paint them completely. This was the summer so we could do it outside.
Step Three: Paint Them Pink


I should say that Birdie chose the color and I didn’t push back. It’s SO FUN and I knew this could be a place where she could assert her style. Obviously, spray painting was a VERY fun place to involve her (she helped with the gluing, too).

This setup made all our guests triple-take – WHAT IS THAT? They took two coats and we got super messy, but shoving them into cardboard worked really well.
Step Four: Paint The Frame Pink

Then we spray-painted the frame itself knowing that you’d see the frame underneath the balls.

Nothing makes me happier than doing these projects with my kids, in the name of work. And we all know that involving them in the design AND hard work/process makes them more invested and value it all more. Not all kids want to be as involved, but she does which is why the room has stayed so true to her.
Step Five: Glue On The Pink, Wooden Balls

Ok here’s where we learned a few things. We popped the wood off the popscilce sticks and got to glueing. We bought two different types of gorilla glue, not realizing that one would try clear and the other beige. We stopped after like 12 balls, but they were already adhered and you could see it outside of the pink.


It was hard to keep them super straight and not wonky along the frame. The clear glue totally worked, but don’t use any non-clear glue. We still plan to go back and touch up, but it requires us to spray the spray paint into a bowl and use a tiny brush. You can barely see it, but it does bug me.
Step Six: Add Art & Hang!


Originally I wanted to just lean it, but Birdie REALLY wanted it hung. I think in her mind it would look more like a grownup board and more professional if it’s hung on the wall horizontally, which I totally get.

We centered it on the wall, knowing that her round white art table (which isn’t my favorite but so functional) makes the whole thing work for her needs (and you bet the disco ball reflects the light so perfectly.


It turned out pretty darn cute. And as you can see, using the *almost* full wooden balls versus a 1/2 ball gave it more texture and dimensions. I also think the scale of them worked really well with the scale of the bulletin board. Projecting out further like they do helps it look really “high-end” and intentional.
*Pretty Photos by Kaitlin Green
THIS POST WAS ORIGINALLY PUBLISHED HERE.
